

How to create a landing page
This guide takes you from an empty list to a finished landing page connected to a campaign. Time — 5-15 minutes for Default, 30-60 minutes for Custom (if the ZIP is already prepared). What to prepare
This guide takes you from an empty list to a finished landing page connected to a campaign. Time — 5-15 minutes for Default, 30-60 minutes for Custom (if the ZIP is already prepared).
What to prepare
Decide which type you need: Default (quick, with settings) or Custom (your own ZIP with HTML / CSS / JS). If Custom — prepare a ZIP archive in advance (see Custom — your own ZIP archive about the requirements). If Default — think through the text: Title, Description, and what should be on the buttons.
Video tutorial
Steps
Open Tracker → Landings
In the Landings section, there is a list of all your landing pages. Both Default and Custom appear here.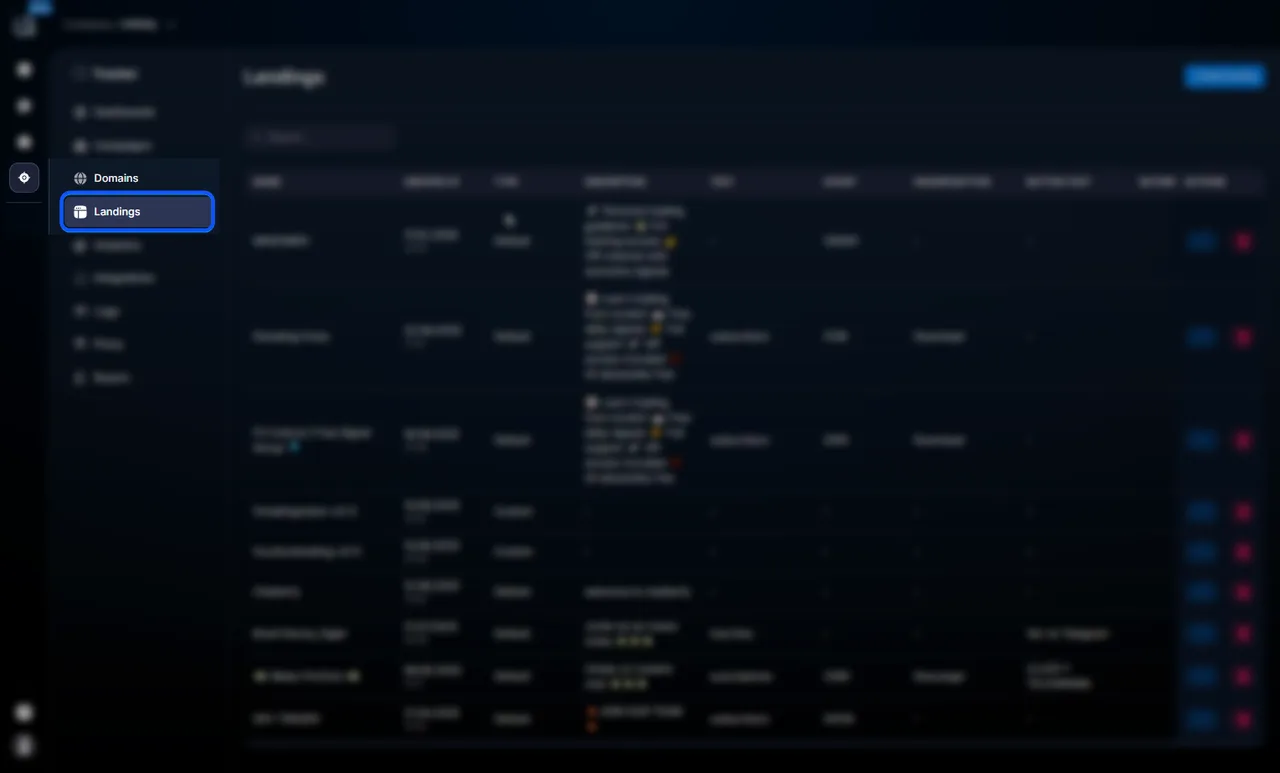
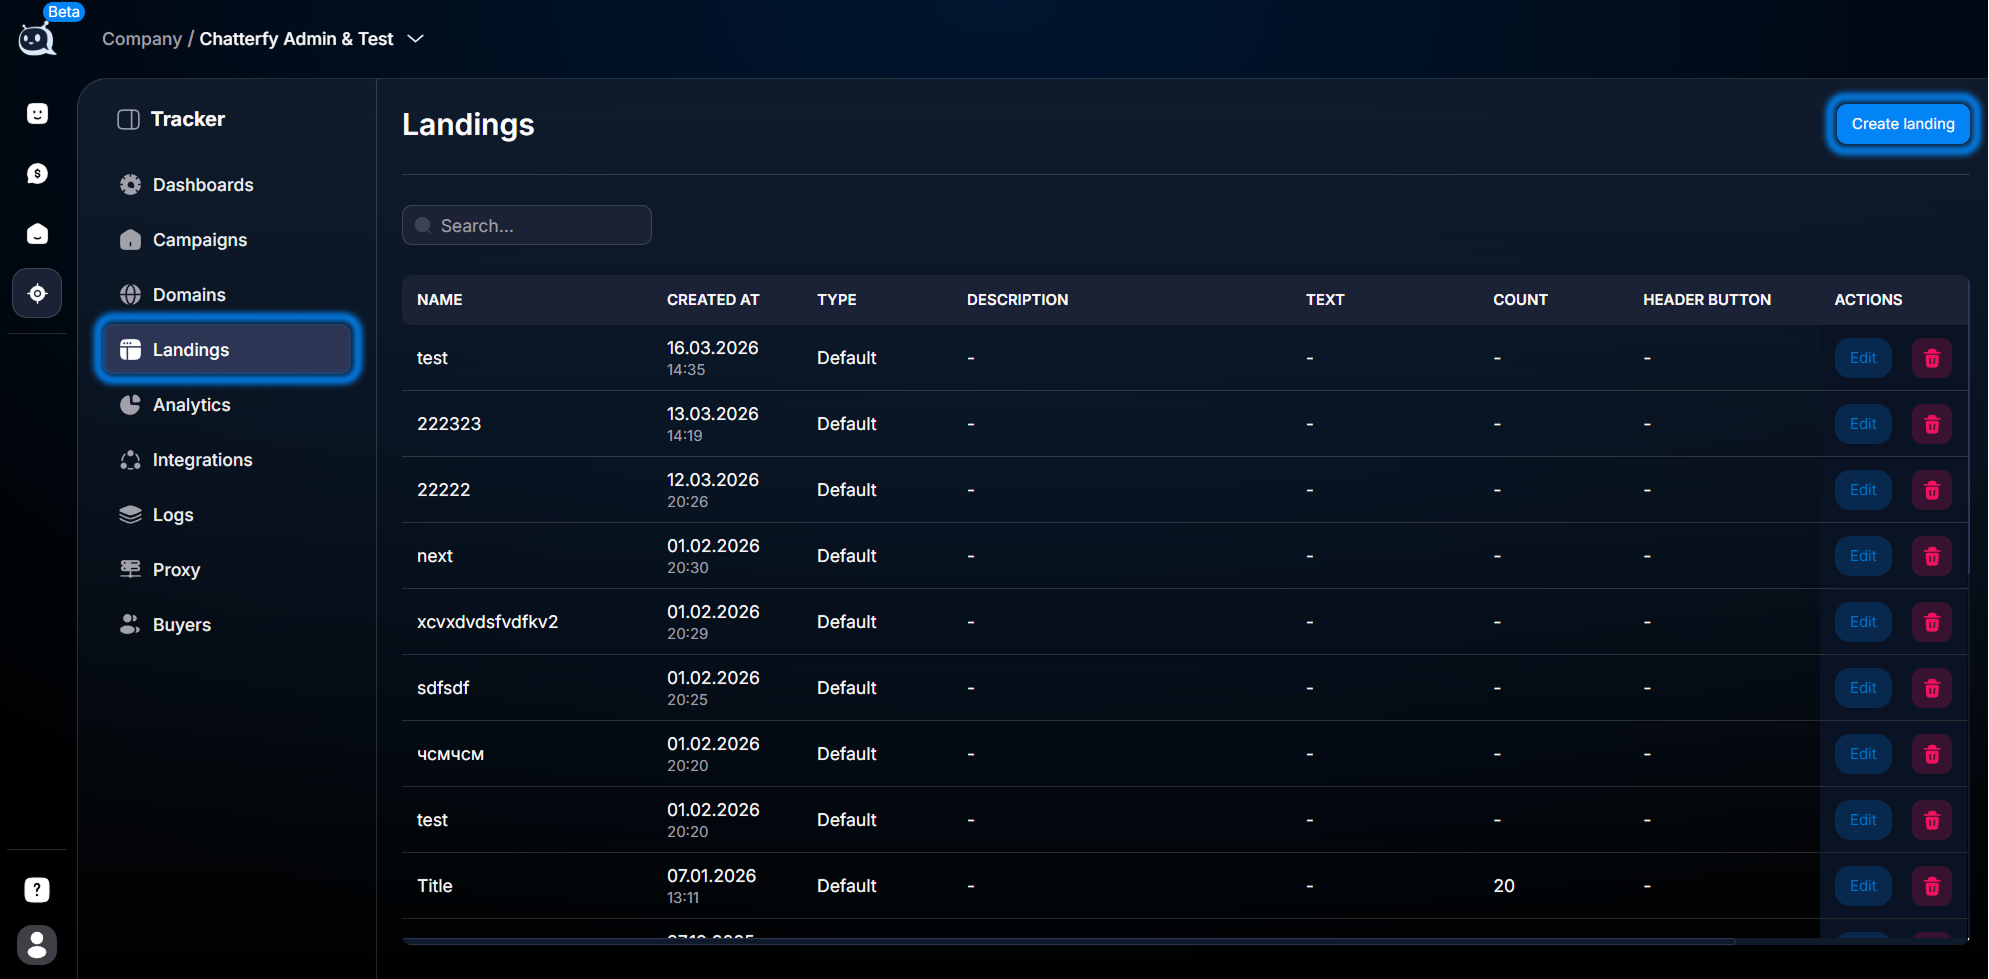
Landings section Click Create landing
The button is in the top right corner. The creation window will open.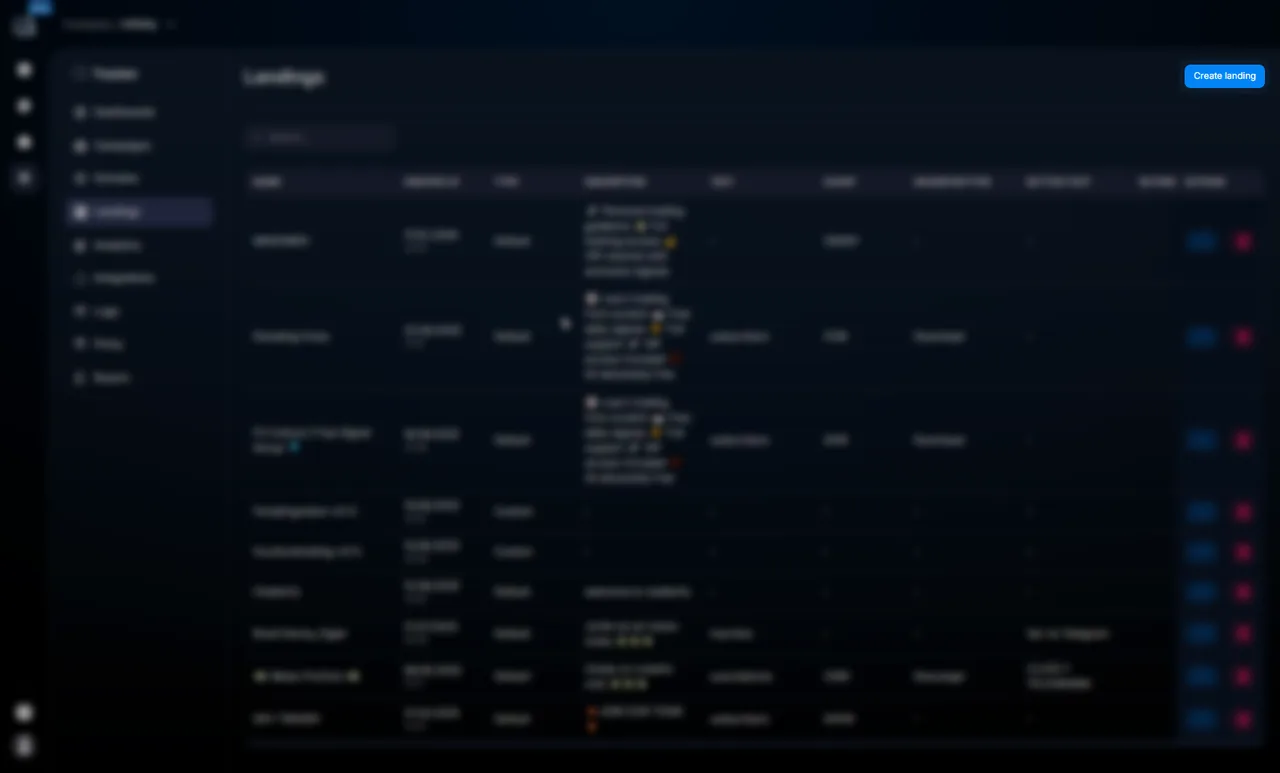
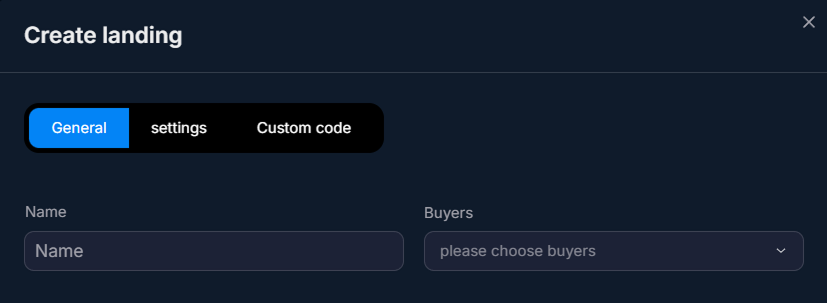
Create landing button Fill in General
— Name — internal name for the team (visible in all selectors).— Buyers — which buyers can use this landing page. If left blank, everyone will see it.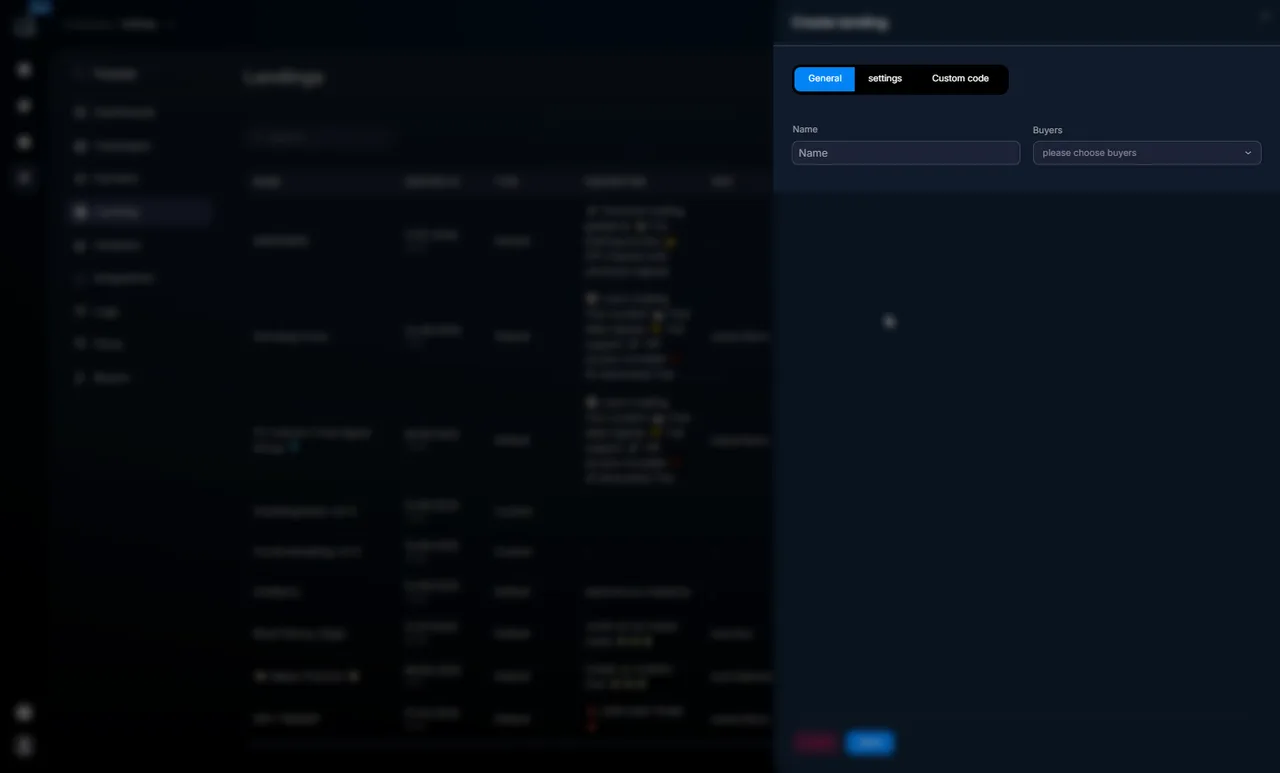
Open the created landing page
After saving General, open the landing page card. It is now created but "empty" — you need to choose the type and configure the content.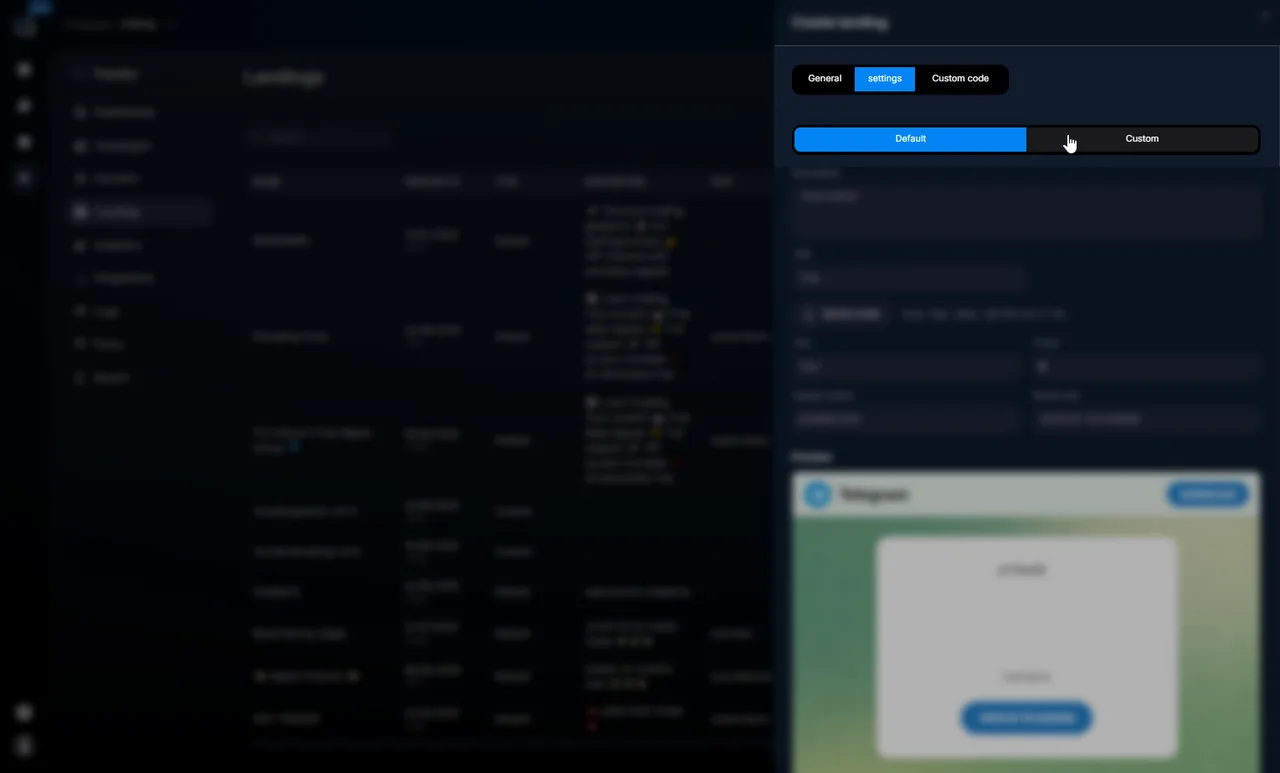
Choose a type — Default or Custom
Inside the landing page, there is a type switcher. By default, it is usually set to Default.— Default — you fill in the Settings fields (Title, Avatar, Description, buttons). For details — Default — standard template.— Custom — you upload a ZIP archive with a finished page. For details — Custom — your own ZIP archive.Configure the content and save
For Default, fill in all the required fields and save. For Custom, upload a ZIP file, wait for it to process, and save.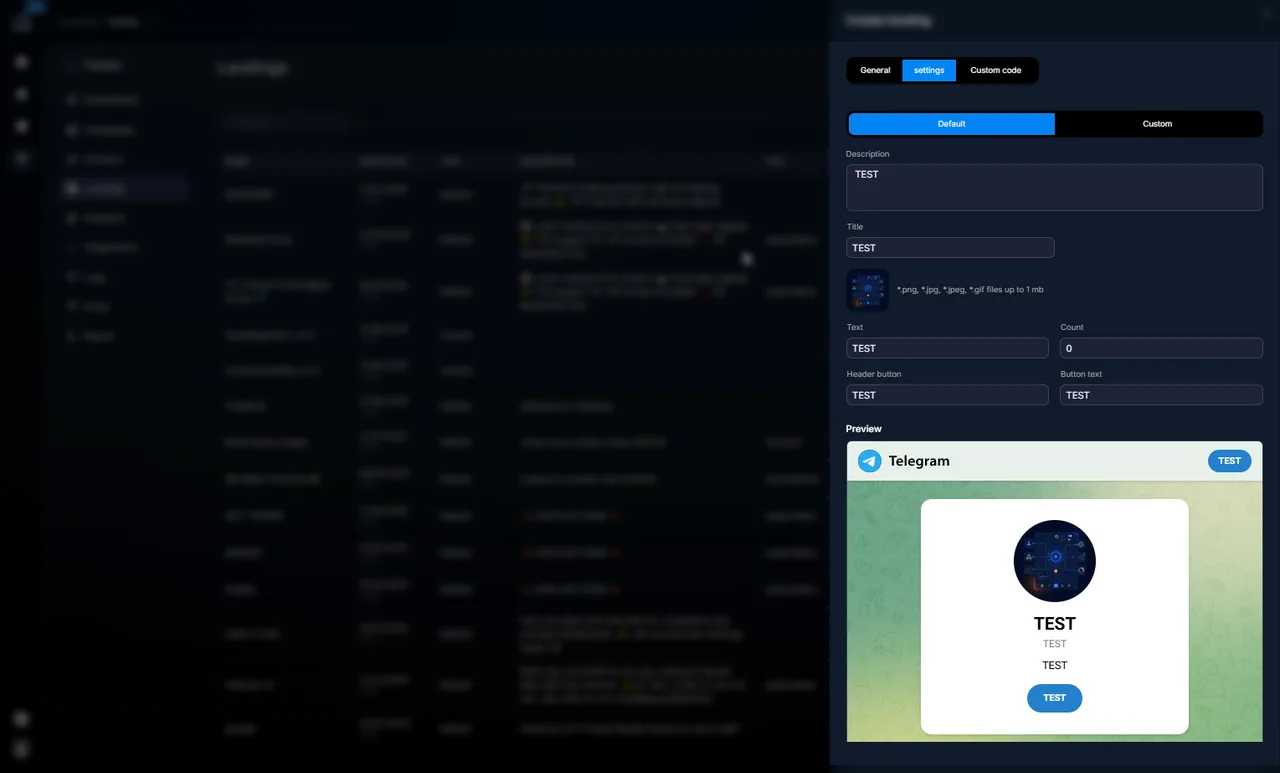
Connect the landing page to a campaign
In Information — Basic Campaign Identification select this landing page in the Landing selector. After clicking Save, the campaign is ready — traffic will be directed through your landing page.


What should be done
The landing page is created and visible in the Tracker → Landings list. The type is selected (Default or Custom), and the content is filled in. When creating/editing a campaign, your landing page is available in the Landing selector. After passing Test — checking a campaign before launch the landing page opens in the browser without errors.
Important things to understand
- A landing page is a separate page within Tracker. It is hosted on tracker.chatterfy.ai and is accessible via the domain configured in.
- A landing page is a reusable object. One landing page can be used in multiple campaigns.
- Default is suitable for quickly building a page from pre-defined fields. Custom is for complete freedom in design and logic.
- The landing page is the user entry point before the next step of the scenario (redirecting to Telegram). Tracker records a Page View upon opening and a Click when the redirect button is pressed.
What to check after creation
- The landing page is visible in the general list under Tracker → Landings.
- The landing page card opens without errors.
- The type is set (Default or Custom), and the content is filled in.
- When creating a campaign, the landing page is available in the selector.
- Assigned Buyers can see the landing page (if isolation is enabled).
- After , the landing page opens in a real browser, and the redirect button leads to Telegram.
Troubleshooting
What's next


Was this article helpful?