

How to add a domain in Chatterfy
This step is the final one. By this point, the domain must be connected in Cloudflare ( ), SSL configured ( ), and the domain must be accessible via https without errors. Now, you need to add it withi
This step is the final one. By this point, the domain must be connected in Cloudflare ( How to add a domain to Cloudflare), SSL configured ( How to Set Up SSL), and the domain must be accessible via https without errors. Now, you need to add it within Chatterfy and grant access to the necessary buyers.
After this, the domain will appear in the Domain selector when creating a campaign ( Information — Basic Campaign Identification) and will become available for selection in Landings — Telegram redirect landing pages. Without this step, the Cloudflare configuration remains "hanging in the air."
What to prepare
A domain connected in Cloudflare with an Active status, an active SSL certificate, and accessibility via https. A list of buyers who need access to this domain (if isolation is not required, leave everyone). Admin / Owner role in Chatterfy (this operation is not available to a Buyer).
Video tutorial
Steps
Open Tracker → Domains
Section in the left Tracker menu.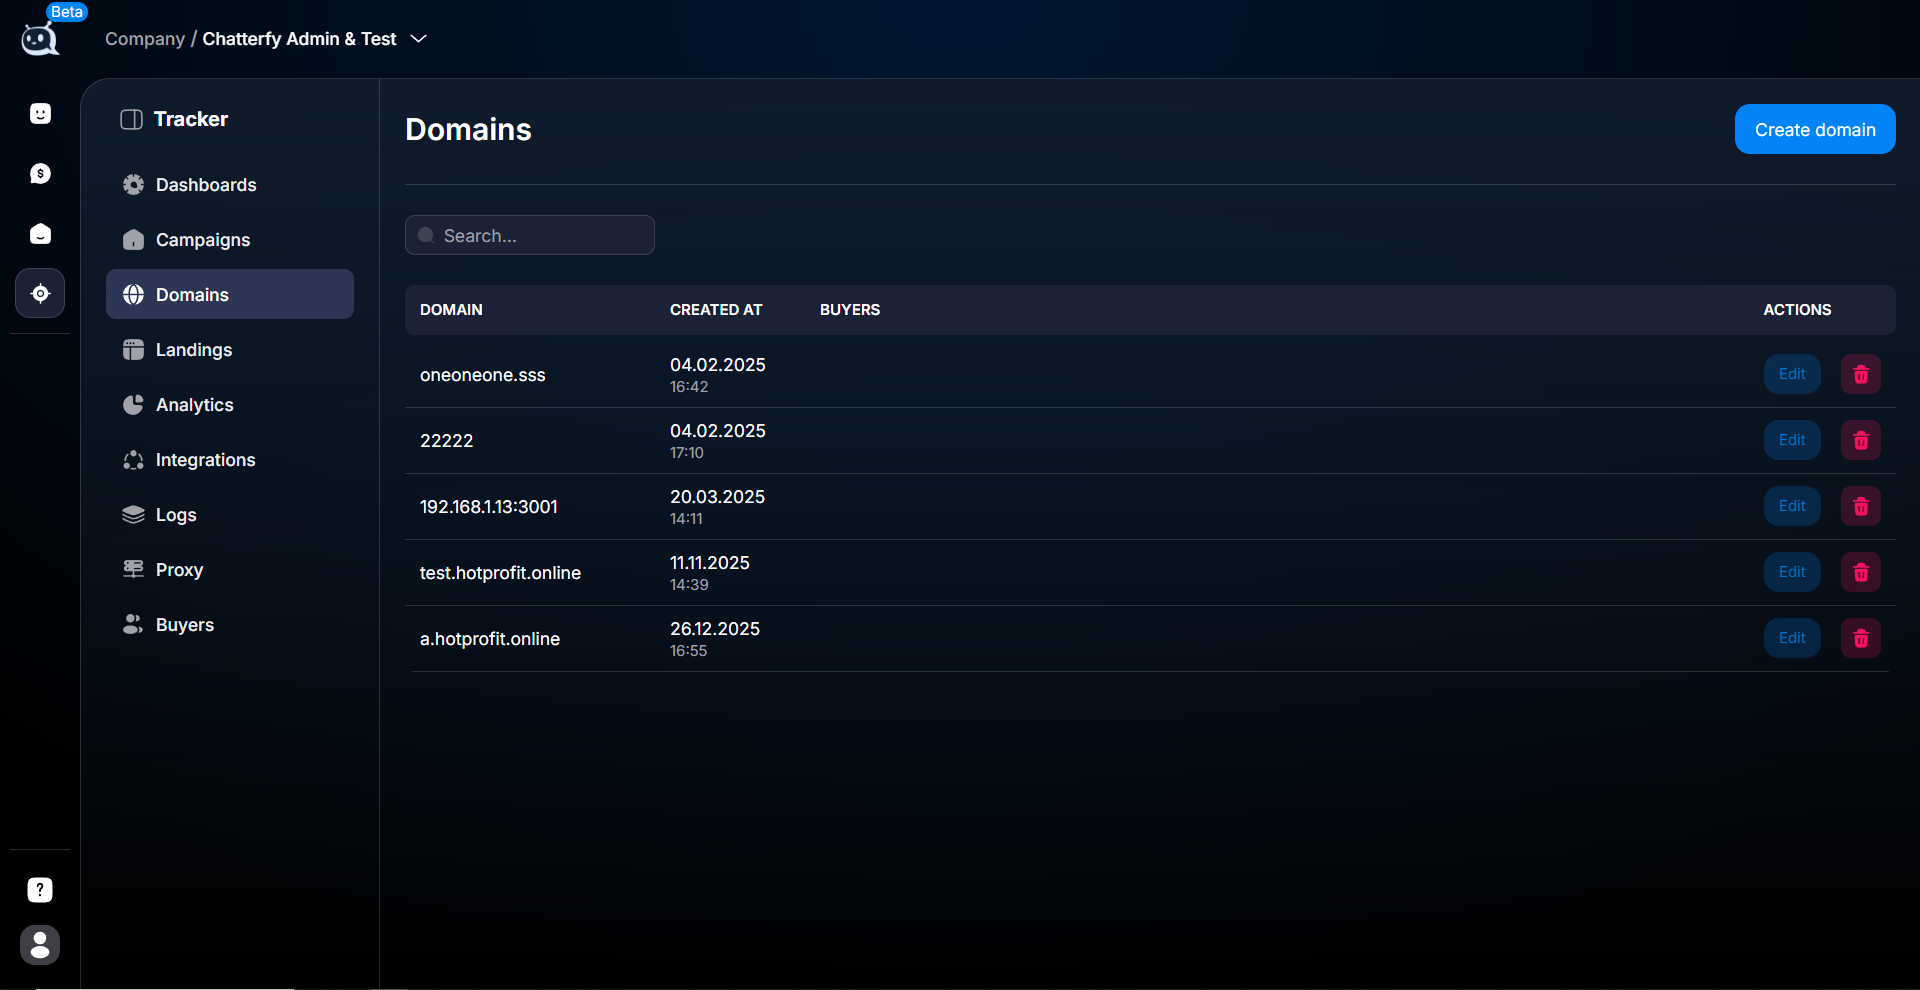
Tracker → Domains section Click Create domain
Button in the top right corner. The creation form opens.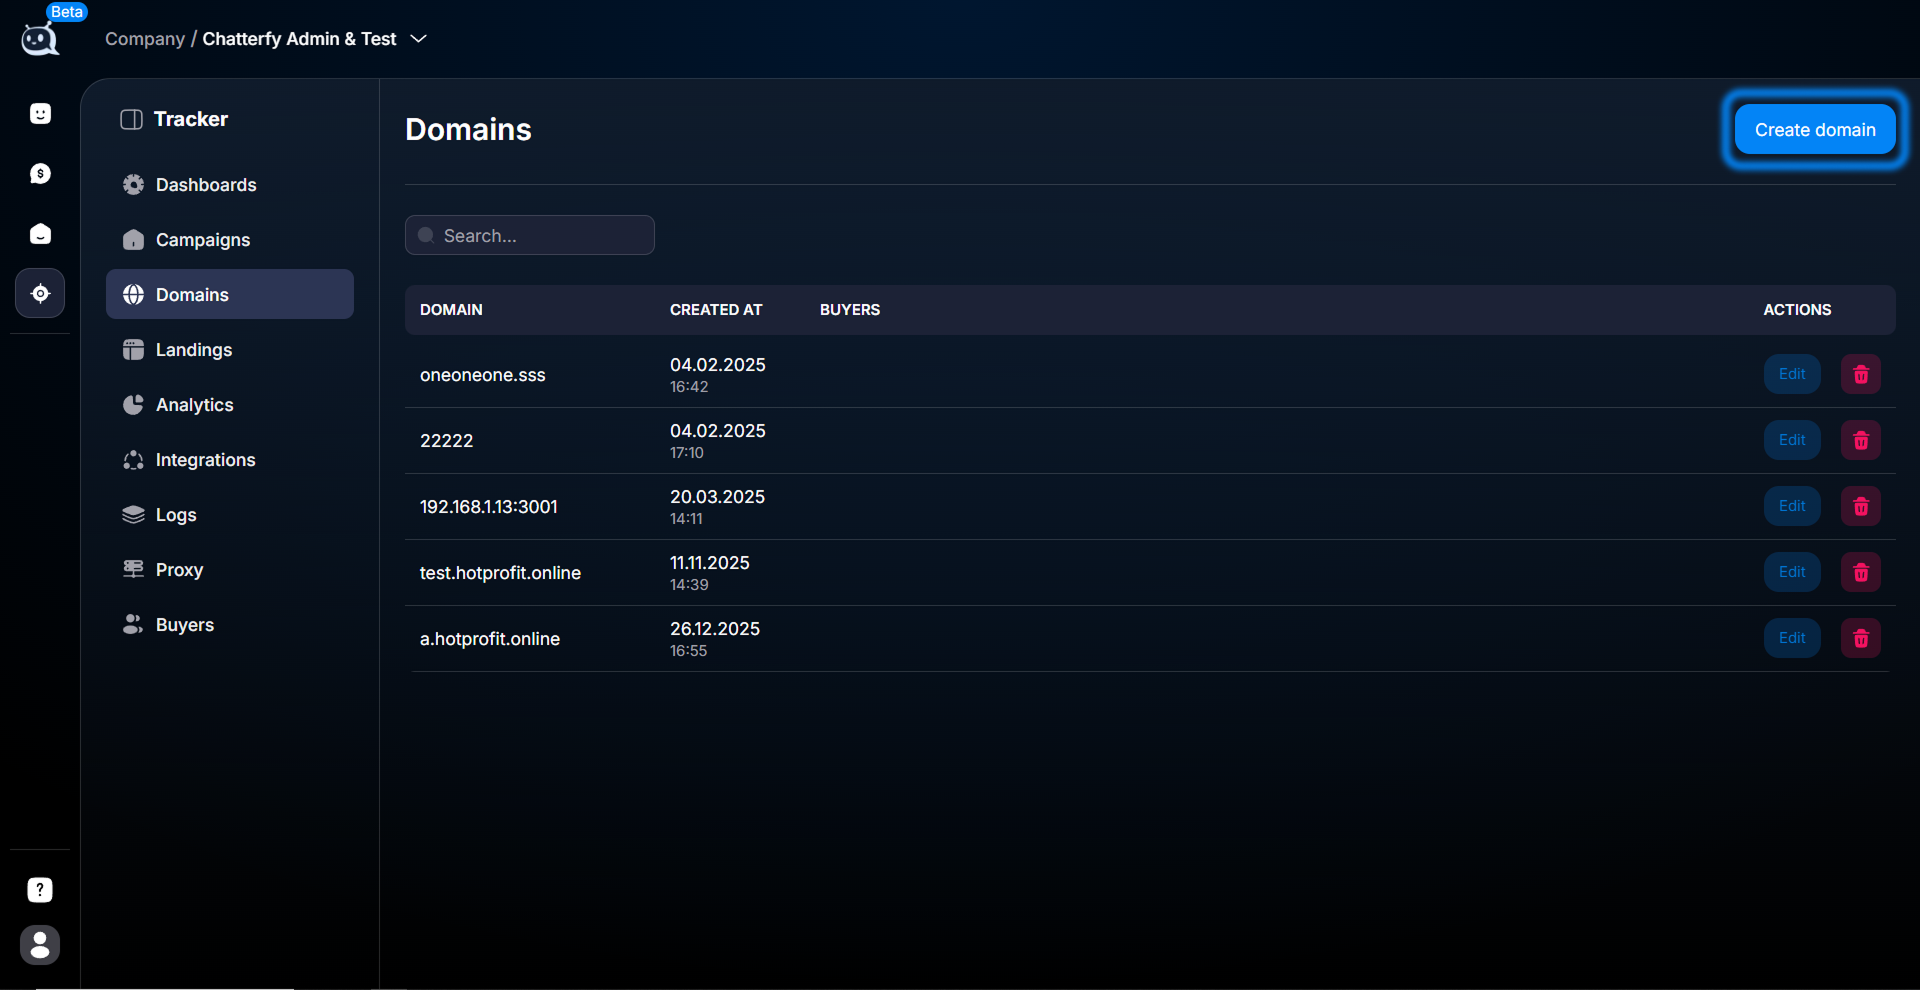
Create domain button Fill in Domain
The full address of the domain in the format you will use. Withouthttps://, without a slash. Examples:example.com,us.example.com,forex.example.com. If case matters, write as you prefer; domains are case-insensitive.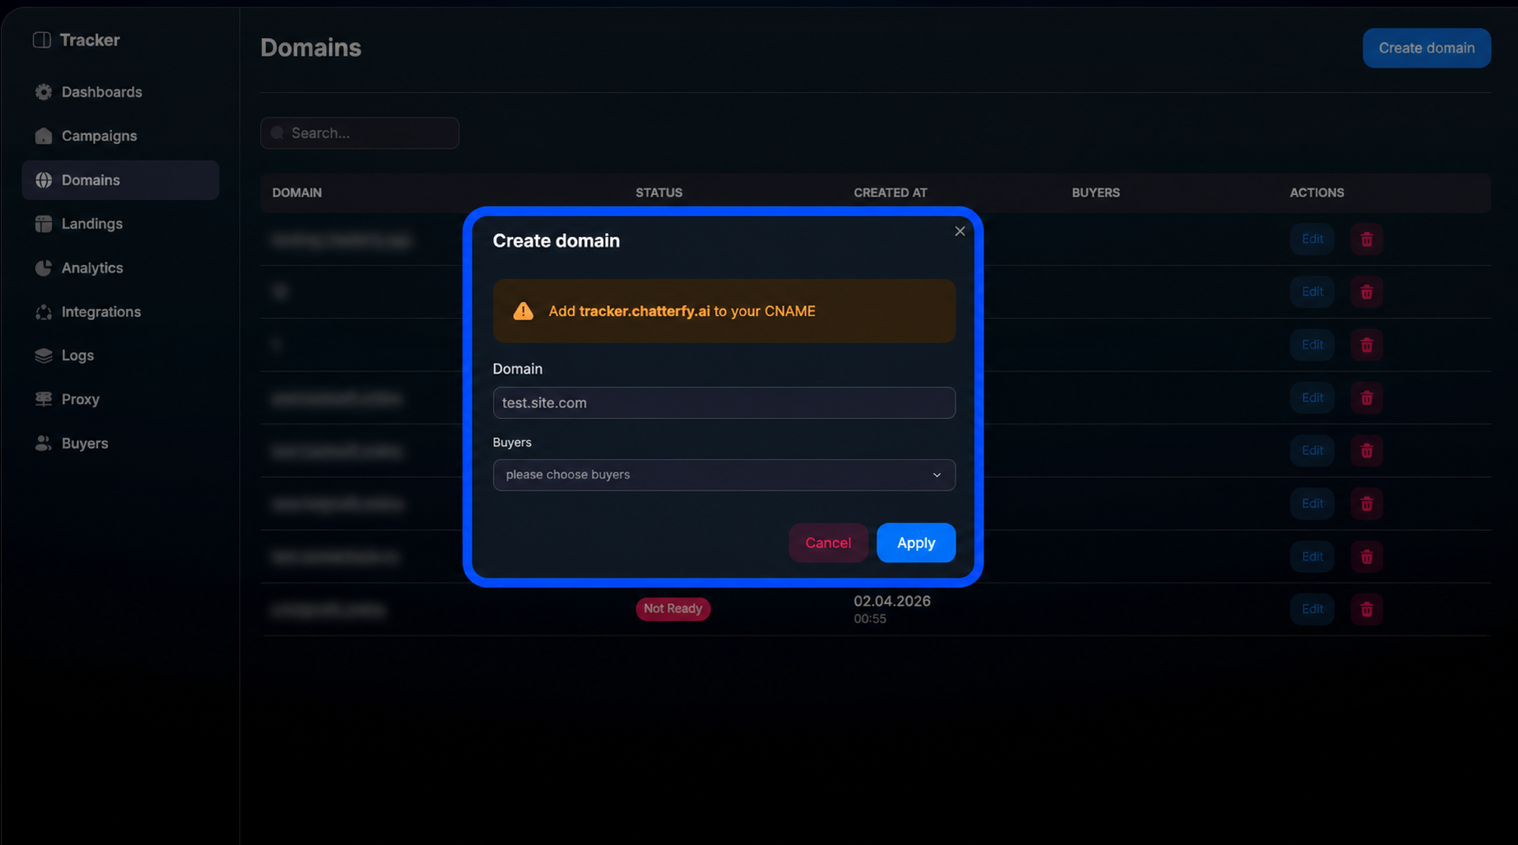
Domain creation form Fill in Buyers
List of buyers who will have access to this domain in the campaign selector. If you want the domain to be available to everyone (no isolation), mark everyone or leave it empty (depending on the UI). If isolation is required, select only specific Buyer / Buyer Team Lead.Owner / Admin can see all domains without restrictions — they are independent of Buyers.Click Apply
Saving. The domain will appear in the Tracker → Domains list. It will also become available in the Domain selector when creating a campaign (Information — Basic Campaign Identification).
Form fields
— Domain — the full address. Must match the one connected in Cloudflare. Otherwise, a desynchronization occurs: Cloudflare passes traffic, but Chatterfy is unaware of the domain.
— Buyers — the list of buyers. This is an access list: only those listed here will see the domain in Chatterfy. Everyone else will not see the domain in the campaign selector.
What to check after setup

- The domain has appeared in the general list under Tracker → Domains.
- Opened in the browser https://your-domain.com — it loads without SSL errors.
- Your domain is present in the Domain selector when creating a new campaign.
- Assigned buyers can see the domain in their Tracker (under their Buyer account).
- Unassigned buyers do not see it (if isolation was the goal).
When to return
This guide is needed more than once — every new domain / subdomain goes through Add to Chatterfy. Also:
- — When adding a new buyer and needing to grant them access to an existing domain — edit Buyers in the domain settings.
- — When a buyer leaves — remove them from the Buyers of all domains to ensure they lose access.
- — When a domain has lost its SSL or Cloudflare binding — delete it from Chatterfy, restore the Cloudflare setup, and add it again.
Important considerations
Specify the domain in the format it will be used — without http://, without a trailing slash, and in lowercase by convention. If you have
us.example.com in Cloudflare, but enter US.example.com in Chatterfy, some components may get confused. Be consistent. Buyers is an access list, not an assignment list. One domain can be available to 5 buyers and 3 team leads simultaneously. Deleting a domain does not delete existing campaigns using it — they remain linked to the domain ID, but you cannot create new campaigns on it. Do not delete a domain with active traffic — this may break the chain.Frequently Asked Questions
Related


Was this article helpful?