Creating a flow is the first operation you perform in Flow Settings. Immediately after connecting, the bot already has one empty default flow. If you need another one (for example, a separate funnel f
Updated May 16, 20264 min
Creating a flow is the first operation you perform in Flow Settings. Immediately after connecting, the bot already has one empty default flow. If you need another one (for example, a separate funnel for VIP leads or for reactivation campaigns), create it via Create New Flow.
You can also use this same button to import a ready-made flow from another bot. If the company already has a fine-tuned funnel, this greatly speeds up setting up a new bot.
When to create a flow
The bot needs a second parallel funnel (for example, main + reactivation for dormant users). You want to isolate test logic from production. You are launching a new campaign with a different offer — a separate flow makes analytics easier. You are importing a ready-made funnel from another bot in your company — saving time on setup.
Two modes — Create vs Import
Create flow — creates an empty flow with minimal settings. Use it when you are building a funnel from scratch.
Import flow — transfers a ready-made flow from another bot with all its settings. Optionally, it can also include AI Settings and push messages.
Creating an empty flow
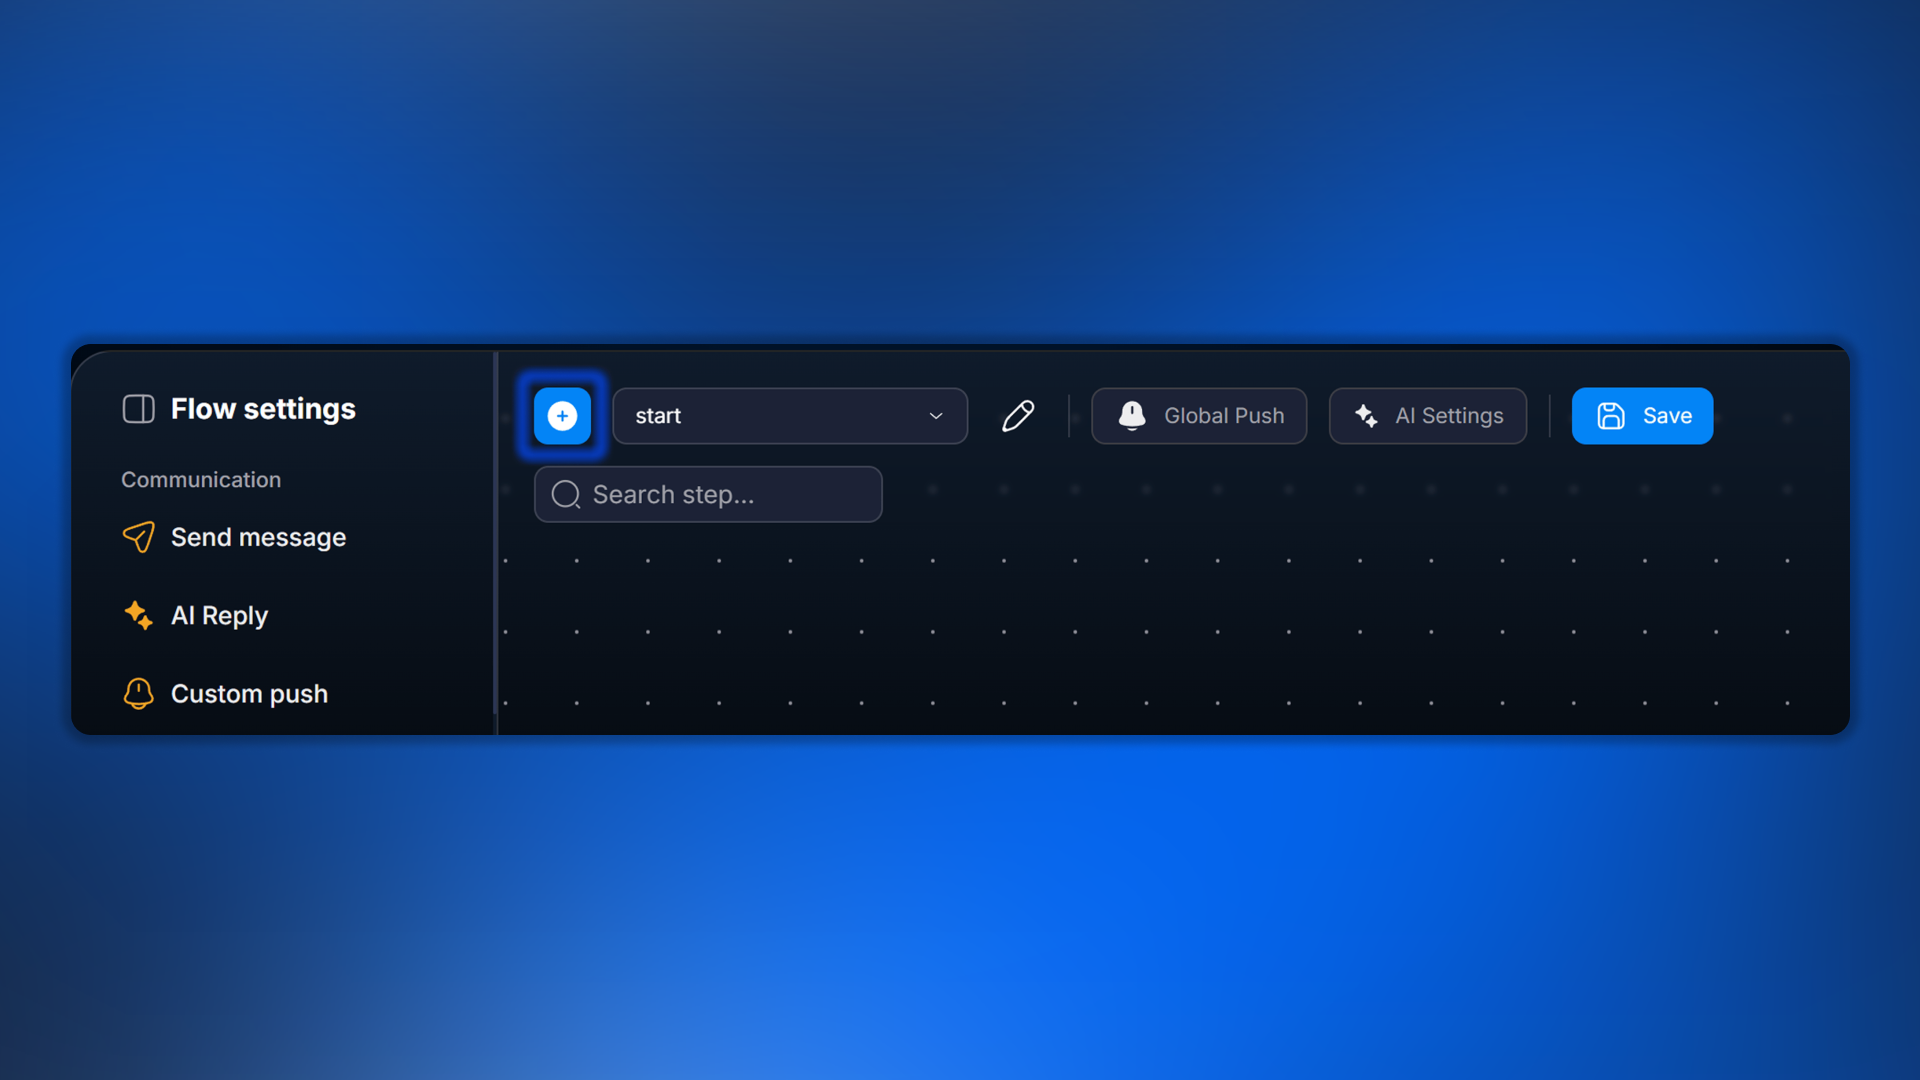
Flow creation button in Flow Settings
1
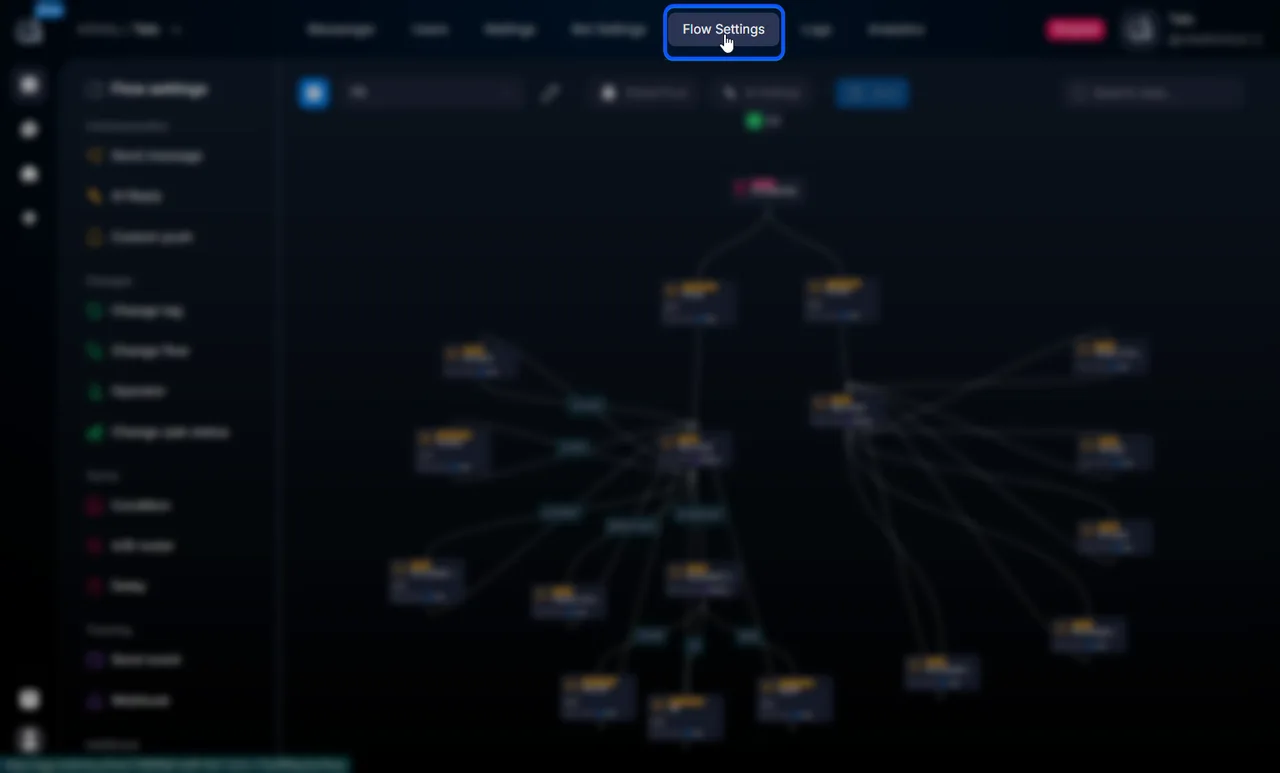
Open Flow Settings for the required bot
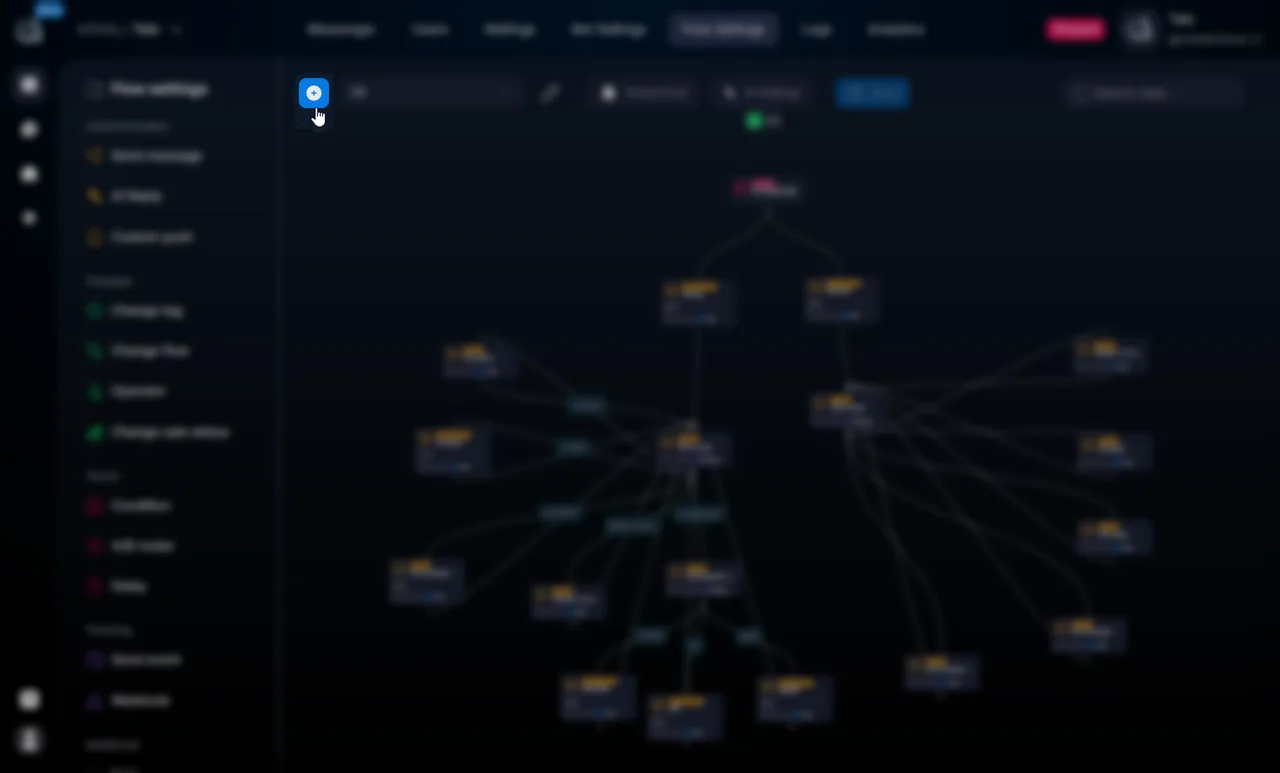
There is a create button at the top of the flow list.
2
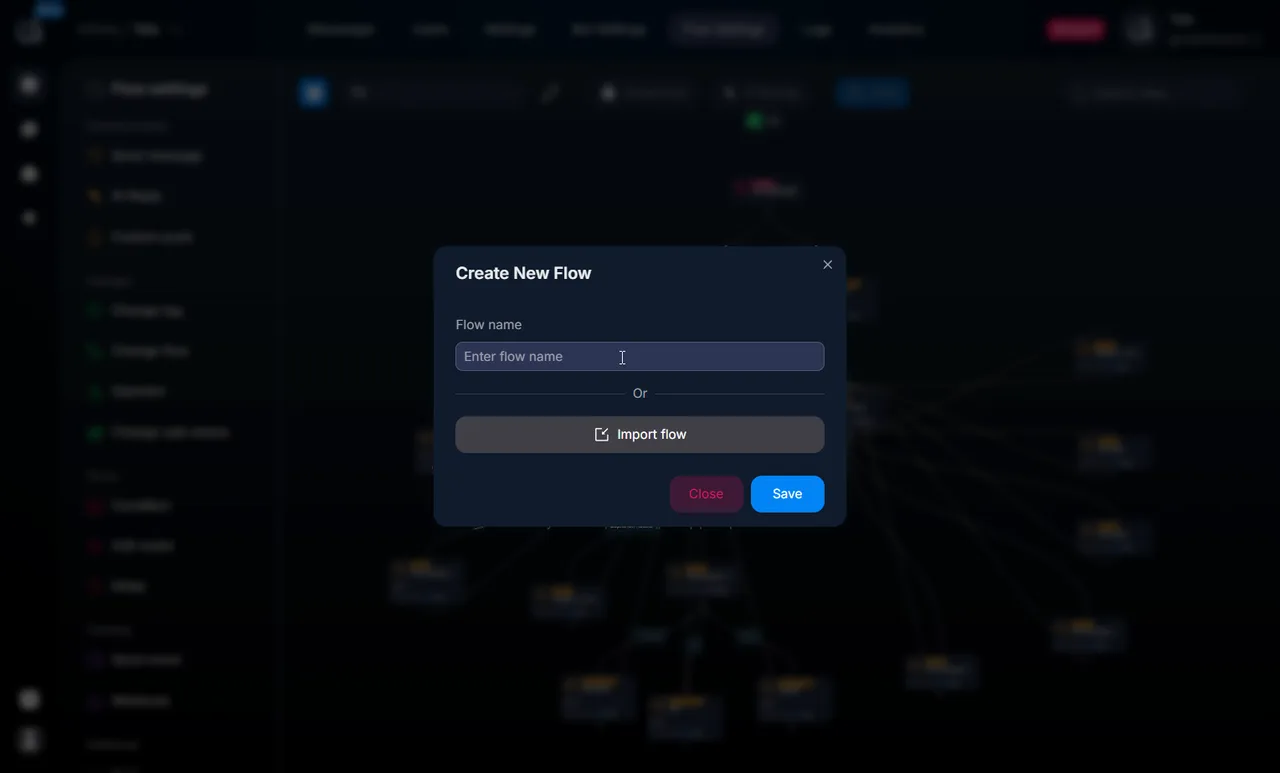
Click Create New Flow
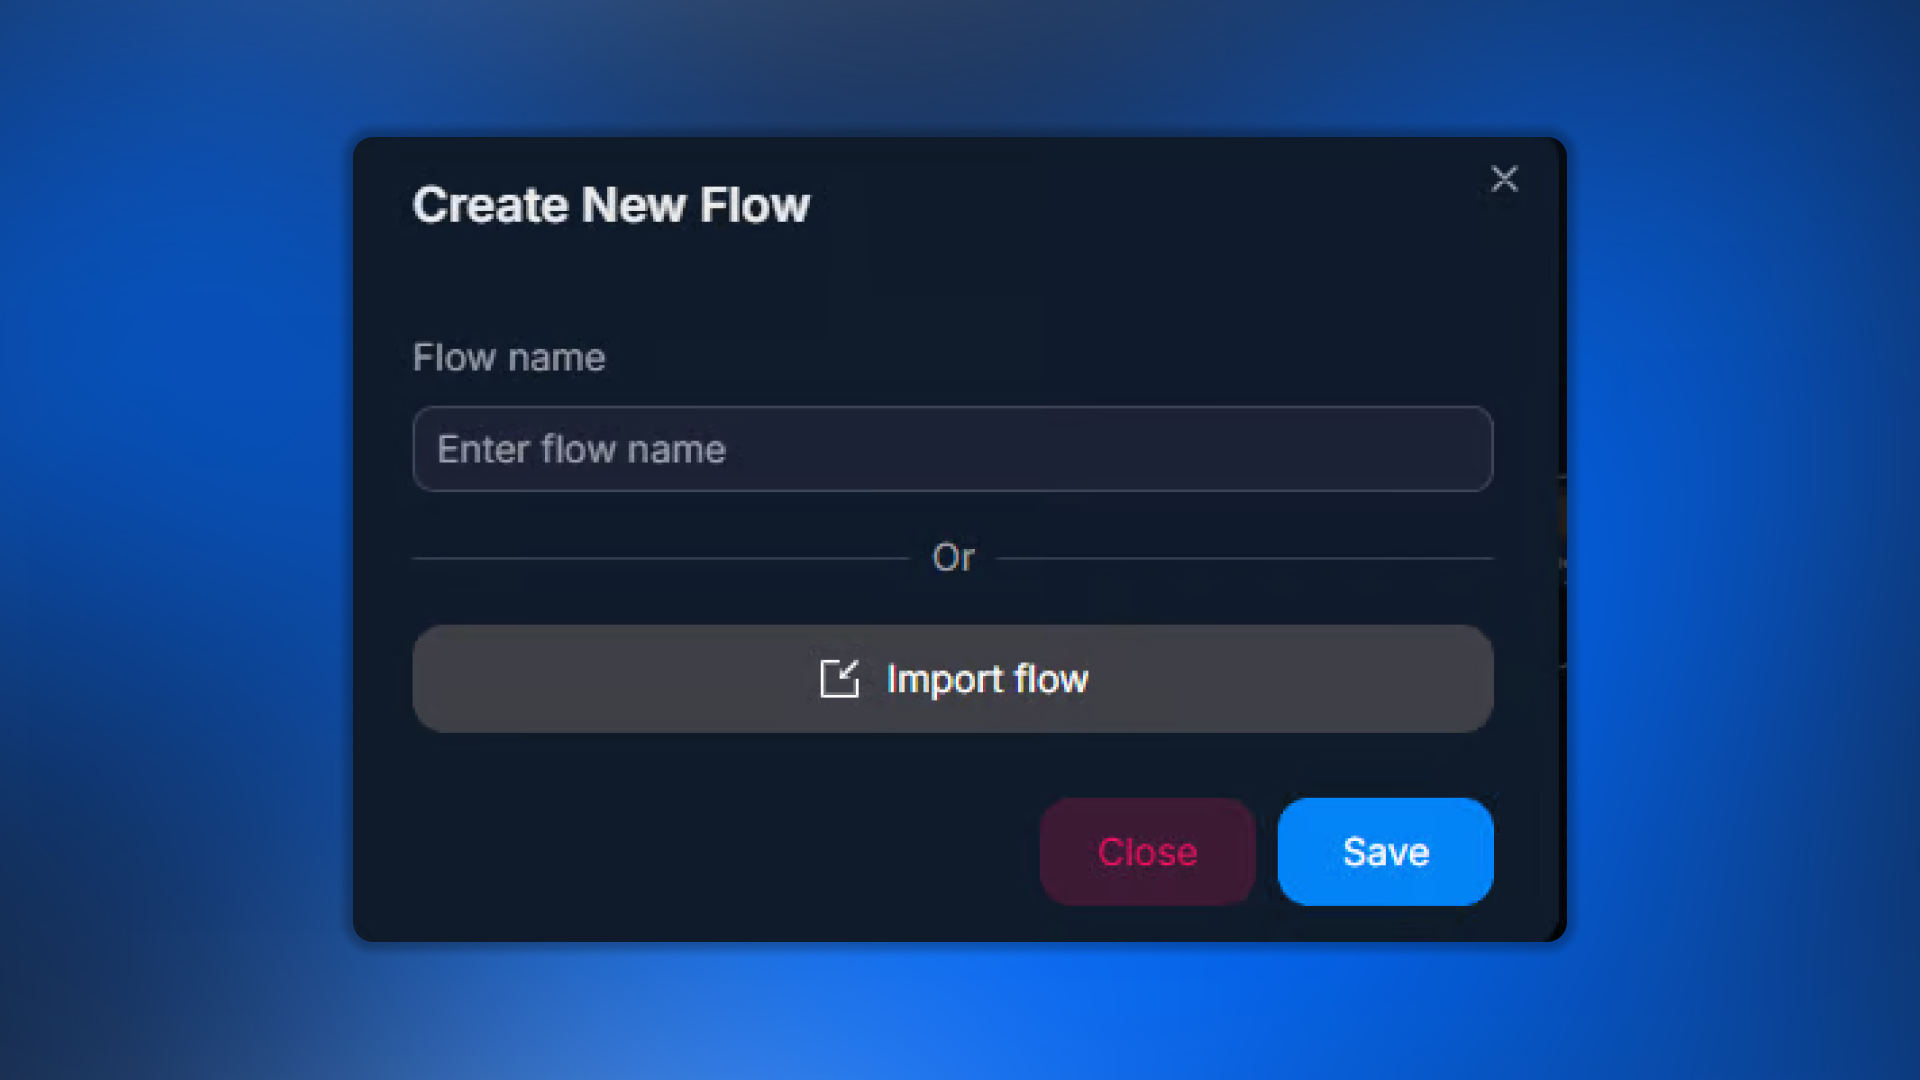
A dialog with two tabs opens — Create vs Import. Select Create.
Enter the name of the new flow
3
Enter the flow name
It should be meaningful for the team. Examples: “Main funnel”, “VIP reactivation”, “Test 1Win Q4”. The name is not shown to the lead; only the team sees it.
4
Click Save
The empty flow has been created. Open it — you’ll see an empty canvas, and you can add steps via Flow step types.
Importing a flow
Importing a flow from another bot
1
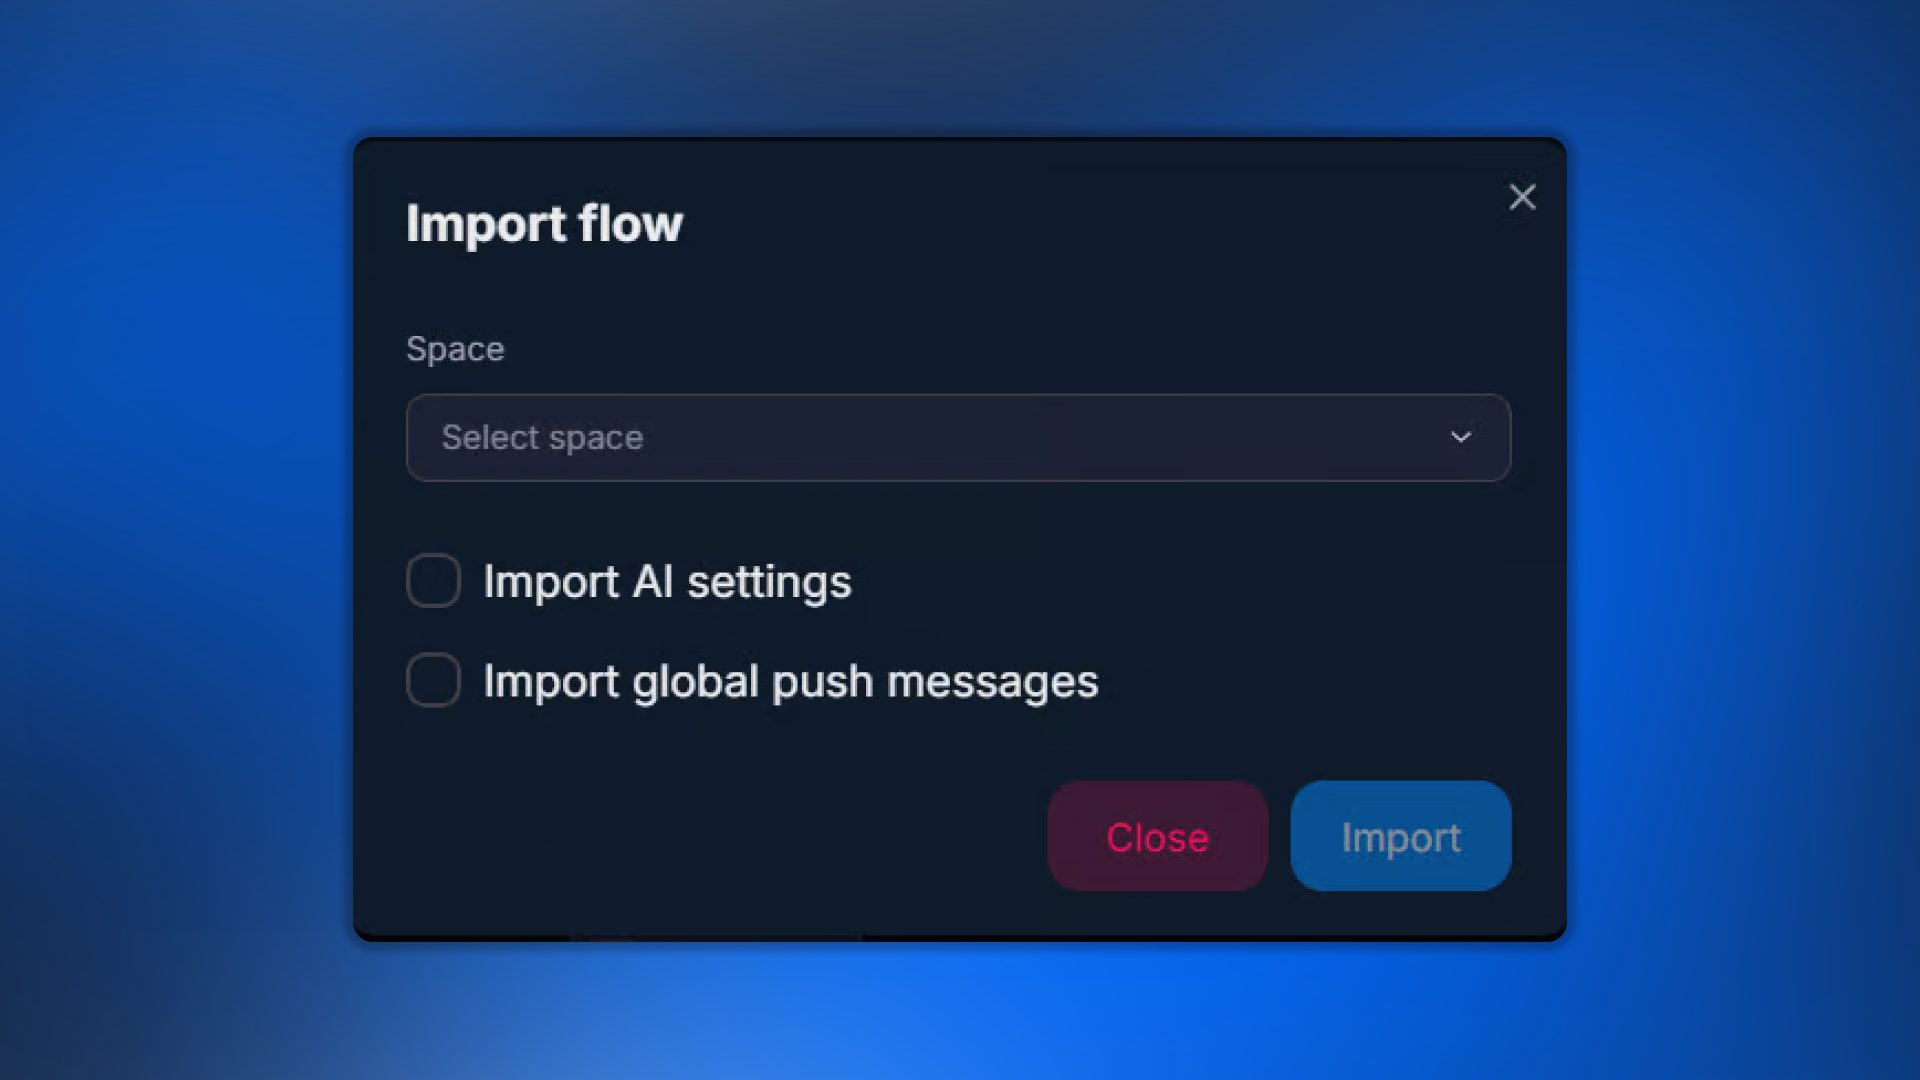
Click Create New Flow → Import
In the dialog, switch to the Import tab.
2
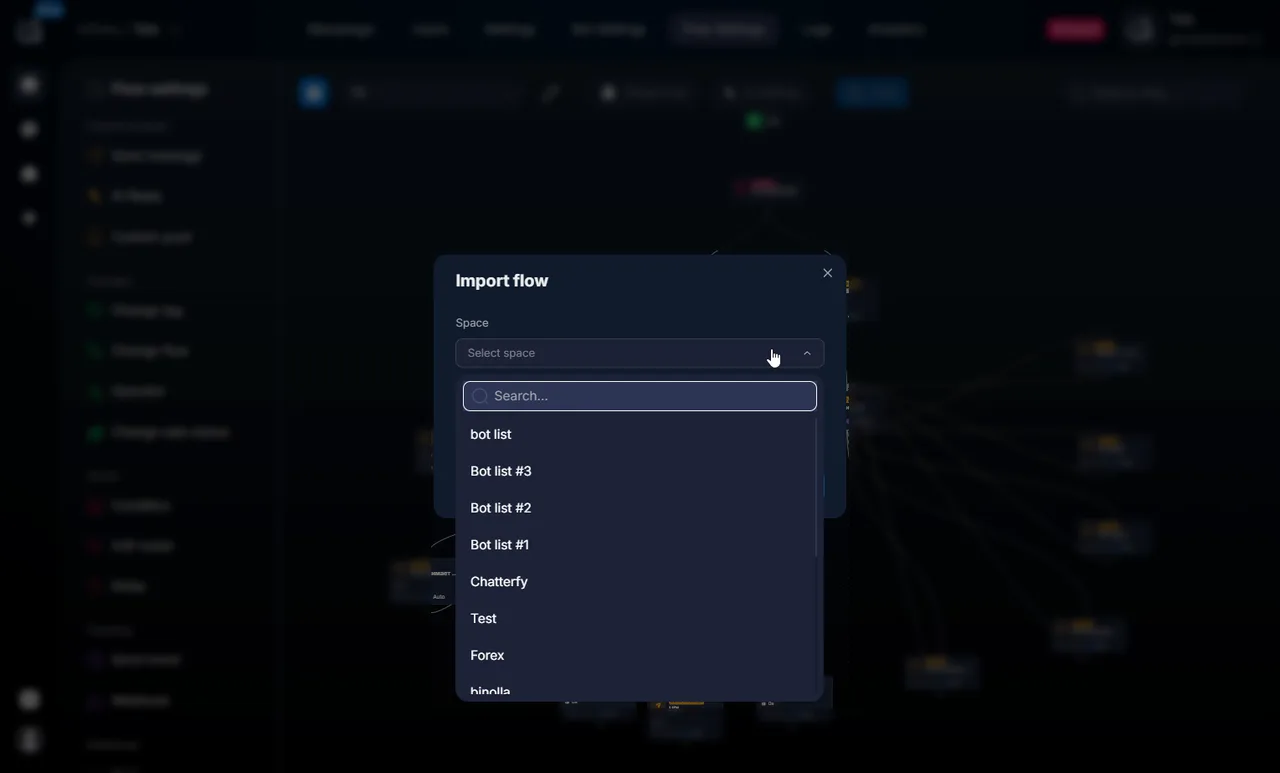
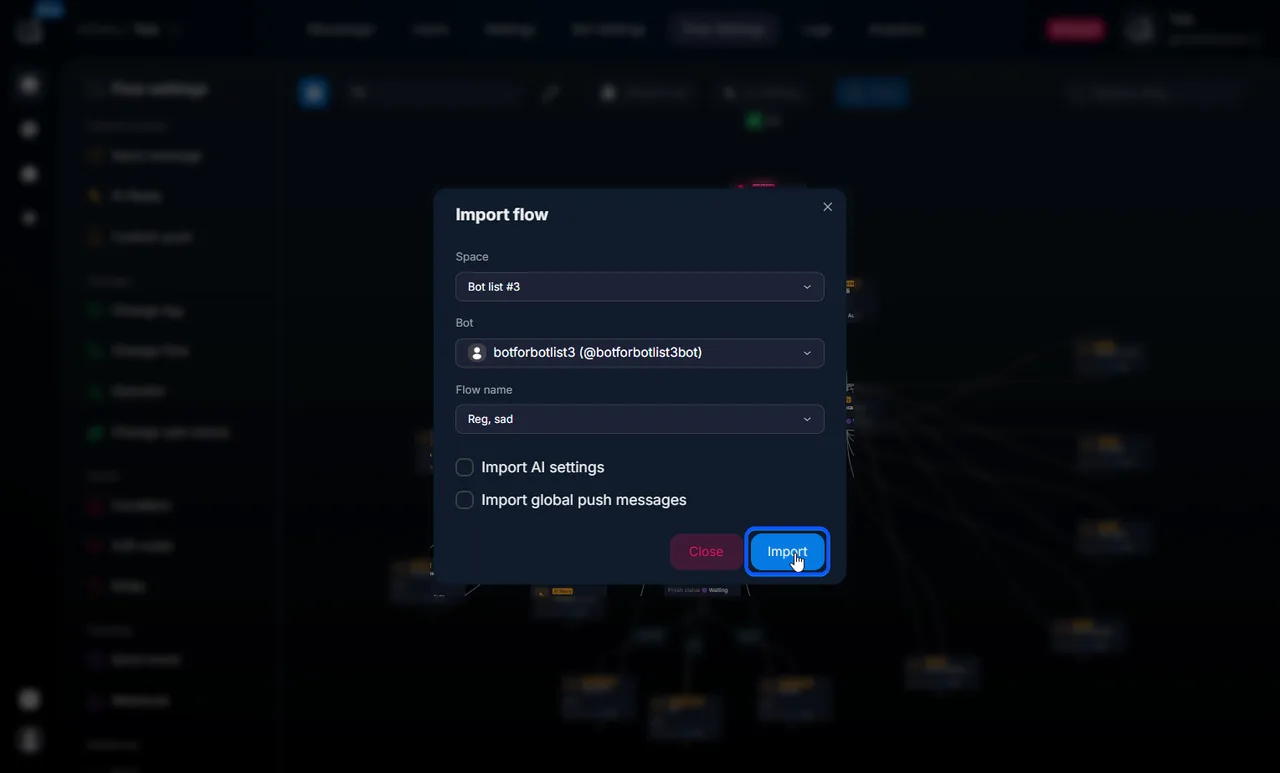
Select a Space
The source to import from. You can import from any Space you have access to. If there are multiple Spaces, select the one where the source bot is located.
3
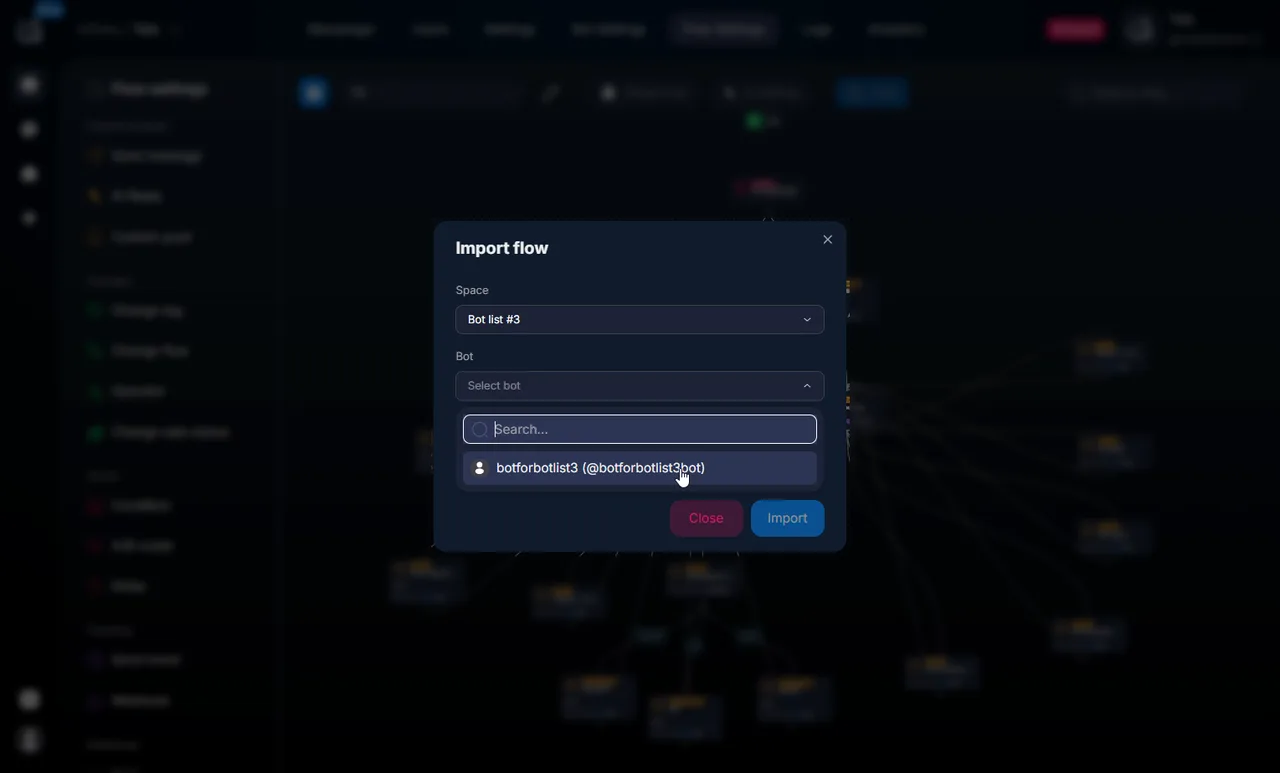
Open the donor bot
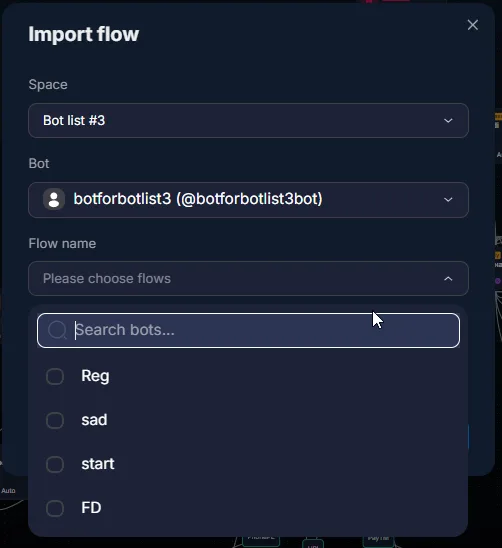
From the list of bots in the selected Space, choose the one that has the required flow. You will see the list of this bot’s flows.
4
Select the flow to import
You can select several at once. For example, import the main flow + reactivation flow in one go.
5
Start the import
After Save, the flow with all steps and connections appears in the current bot. Step names are preserved. Custom Fields, Sale Status, and Tags are not imported automatically — you need to create them separately in the new bot (if they have not been created yet).
Importing AI Settings
This is a separate option in the import dialog. If you enable Import AI Settings, the following are copied:
Use this when you want to transfer the bot’s “personality.” Without this option, only the step structure with AI Reply is imported in its default form.
Importing global Push Messages
The Import global push messages option transfers Push Messages — Re-engaging Silent Usersat the bot level. These are reactivation “wallpaper” — delayed messages that are sent automatically if the lead does not respond at any step.
Use this when the reactivation logic is the same across projects. Convenient for arbitrage: the same push strategy for different offers.
What is not imported
Settings are not transferred in full
Create New Flow / Import transfers only the flow + optionally AI Settings + optionally push messages. The following are NOT transferred: Bot Variables, Custom Fields, Sale Status, Tags, Webhooks. If these objects are used in the imported flow, they must be CREATED in advance in the new bot with the same names/keys. Otherwise, steps that reference non-existent objects will work incorrectly.
Use cases
Launching a new bot for the same campaign
You already have a polished bot for the 1Win offer. Open a new bot for the same offer. Create Custom Fields and Sale Status manually (with the same names). Create Tags. Do Import flow + Import AI Settings + Import push messages — and in a minute you get a fully configured bot.
Branching a single funnel
You want to move the VIP logic into a separate flow. Create a new empty flow called “VIP funnel”. In Main flow, at the right moment (for example, after a large deposit), add the step Change flow — transfer to another flow → switch to VIP funnel. Leads now go through two different branches in one bot.
Frequently asked questions
There is no technical limit. In practice, more than 5–10 flows becomes difficult to maintain. If it seems like you need more, consider splitting them into separate bots.
Yes. After import, this is a regular flow in the current bot. There is no connection to the original flow in the donor bot — changes in one do not affect the other.
Webhook URLs are imported as is. If they point to external services, they will continue to work. If they point to a webhook of this same bot (via Bot Settings → Webhooks & API), you need to update the URL for the new bot because the POSTBACK_ID will be different.
Yes, via the flow menu. It will be deleted with all its steps. Active chats in this flow will remain, but without a scenario — switch them to another flow manually or via Change flow — transfer to another flow.
A lead enters the flow that you explicitly specify as the starting flow. Enable Is start step of flow on one of the steps in the required flow. Without this, a new chat will “hang” — it will have nowhere to go.