

Connecting the Chatterfy Chat Widget
When to use Widget. Choose this option if you need a ready-made chat interface without developing your own frontend. For a custom interface, use the Client API. Creating a Widget bot Open the new bot
When to use Widget. Choose this option if you need a ready-made chat interface without developing your own frontend. For a custom interface, use the Client API.
Creating a Widget bot
Open the new bot creation tool and go through the setup wizard. The main steps are the same for Widget and API (Web); only the selected platform differs.
- On the platform selection screen, select Widget and click the continue button.
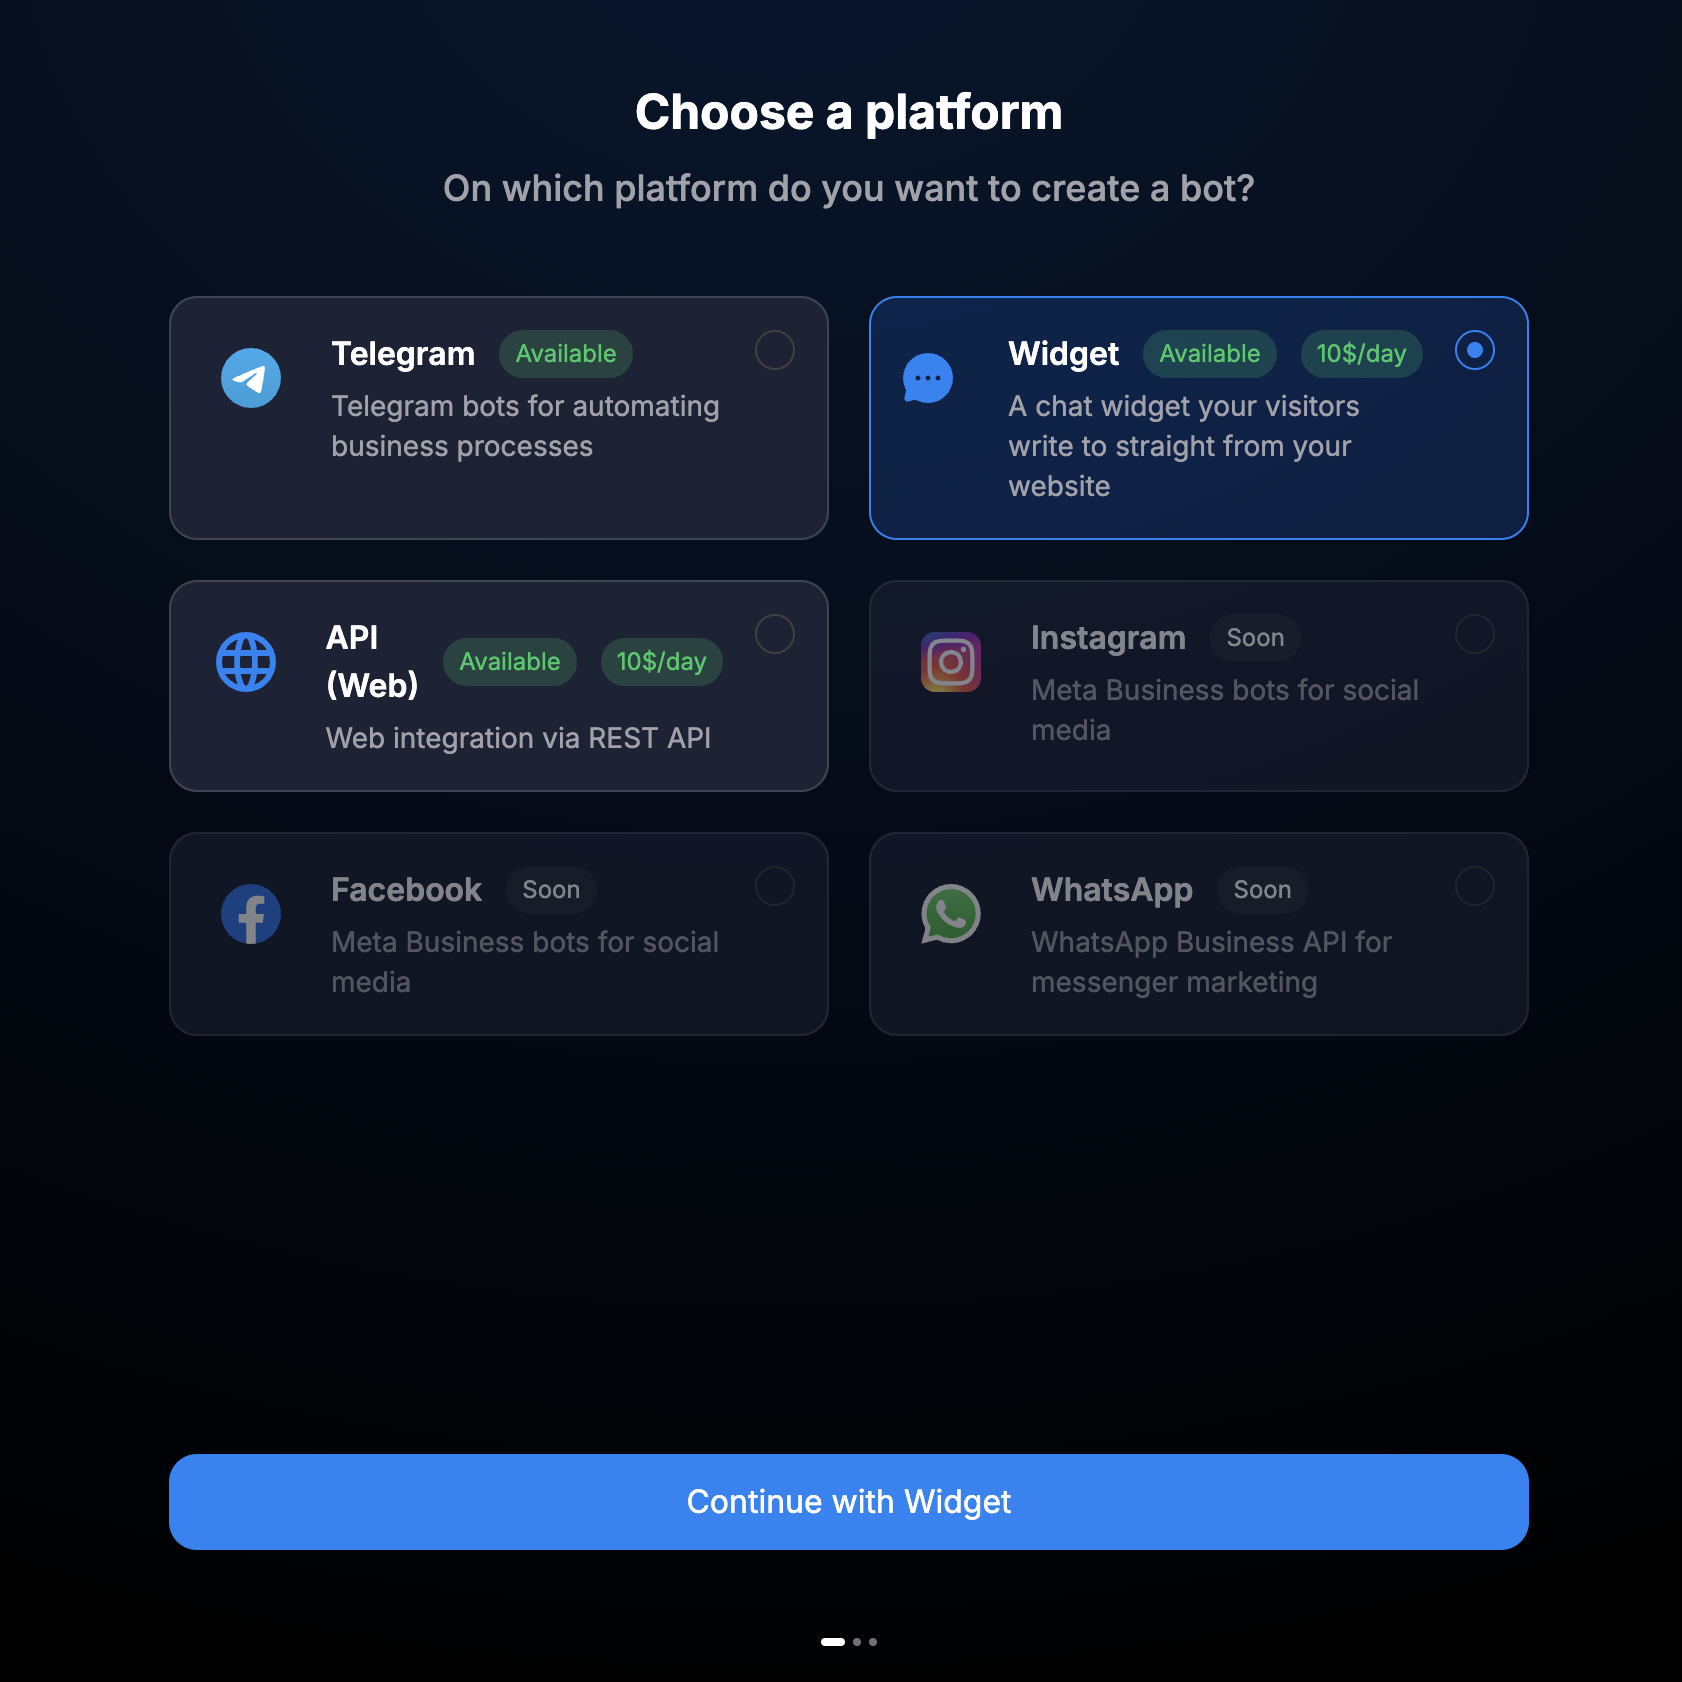
Selecting Widget when creating a bot. - Specify the Space, bot theme, and add a description and tags if necessary.
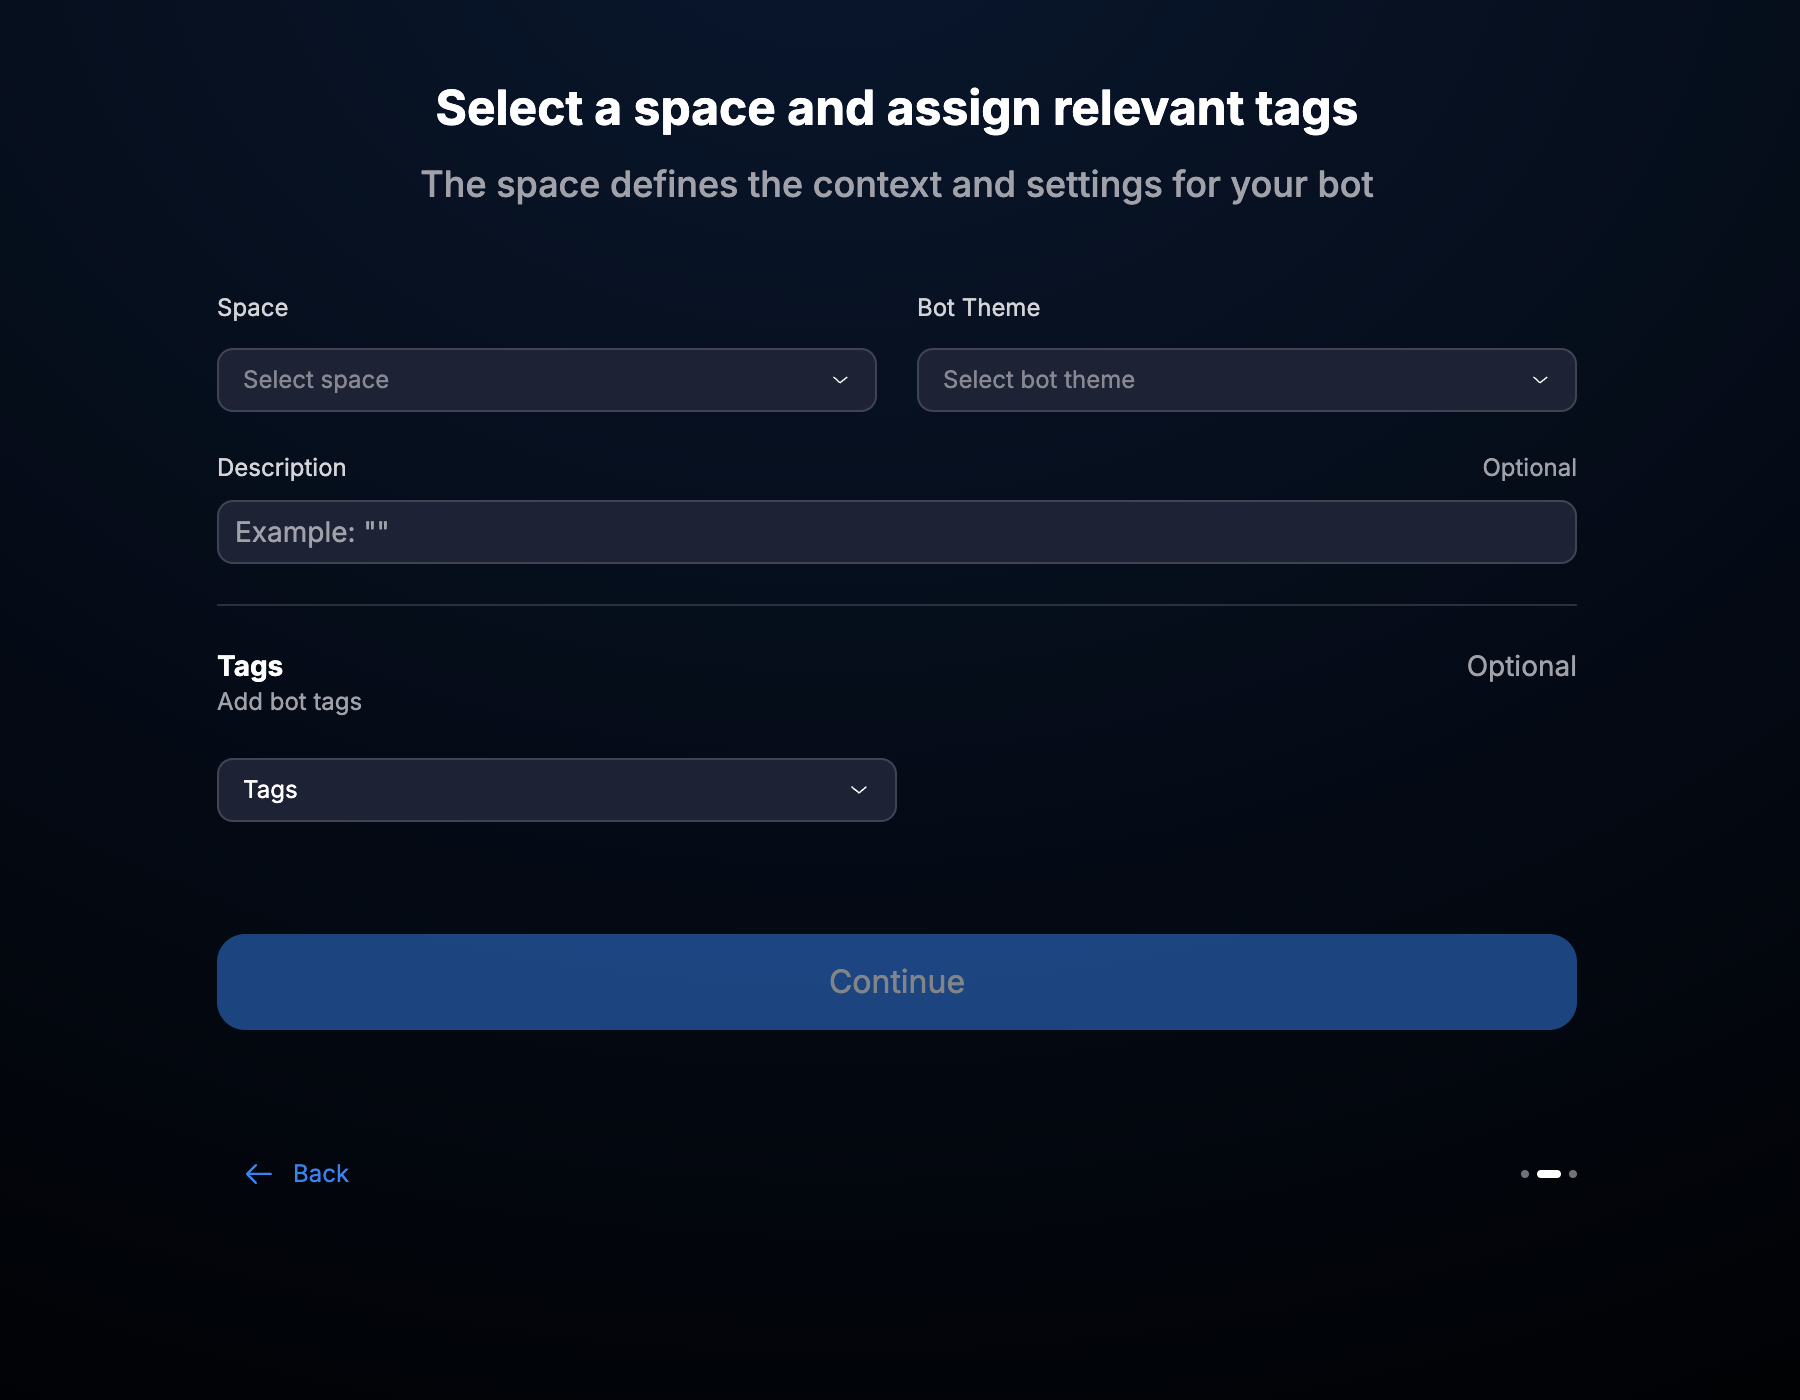
General parameters of the bot being created. - Provide a clear name. It can be changed later in the bot settings.
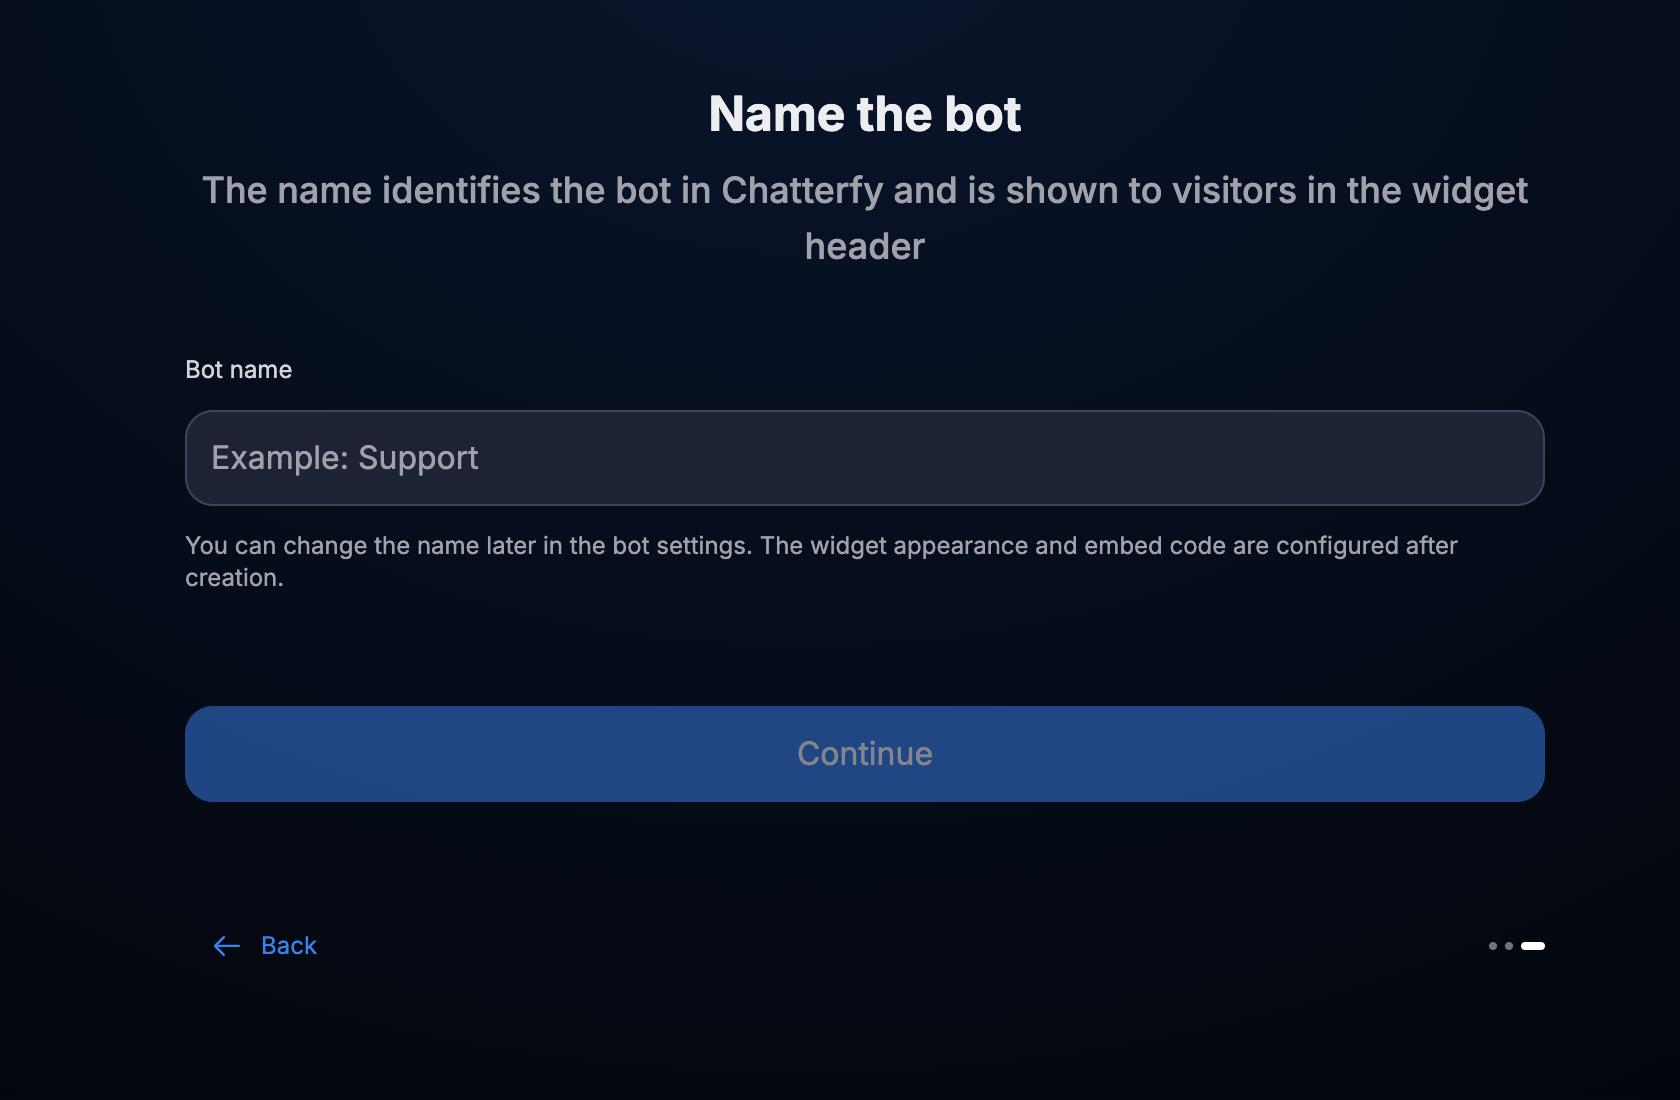
Bot name in the creation wizard. - You can import settings from an existing bot or configure a new bot manually.
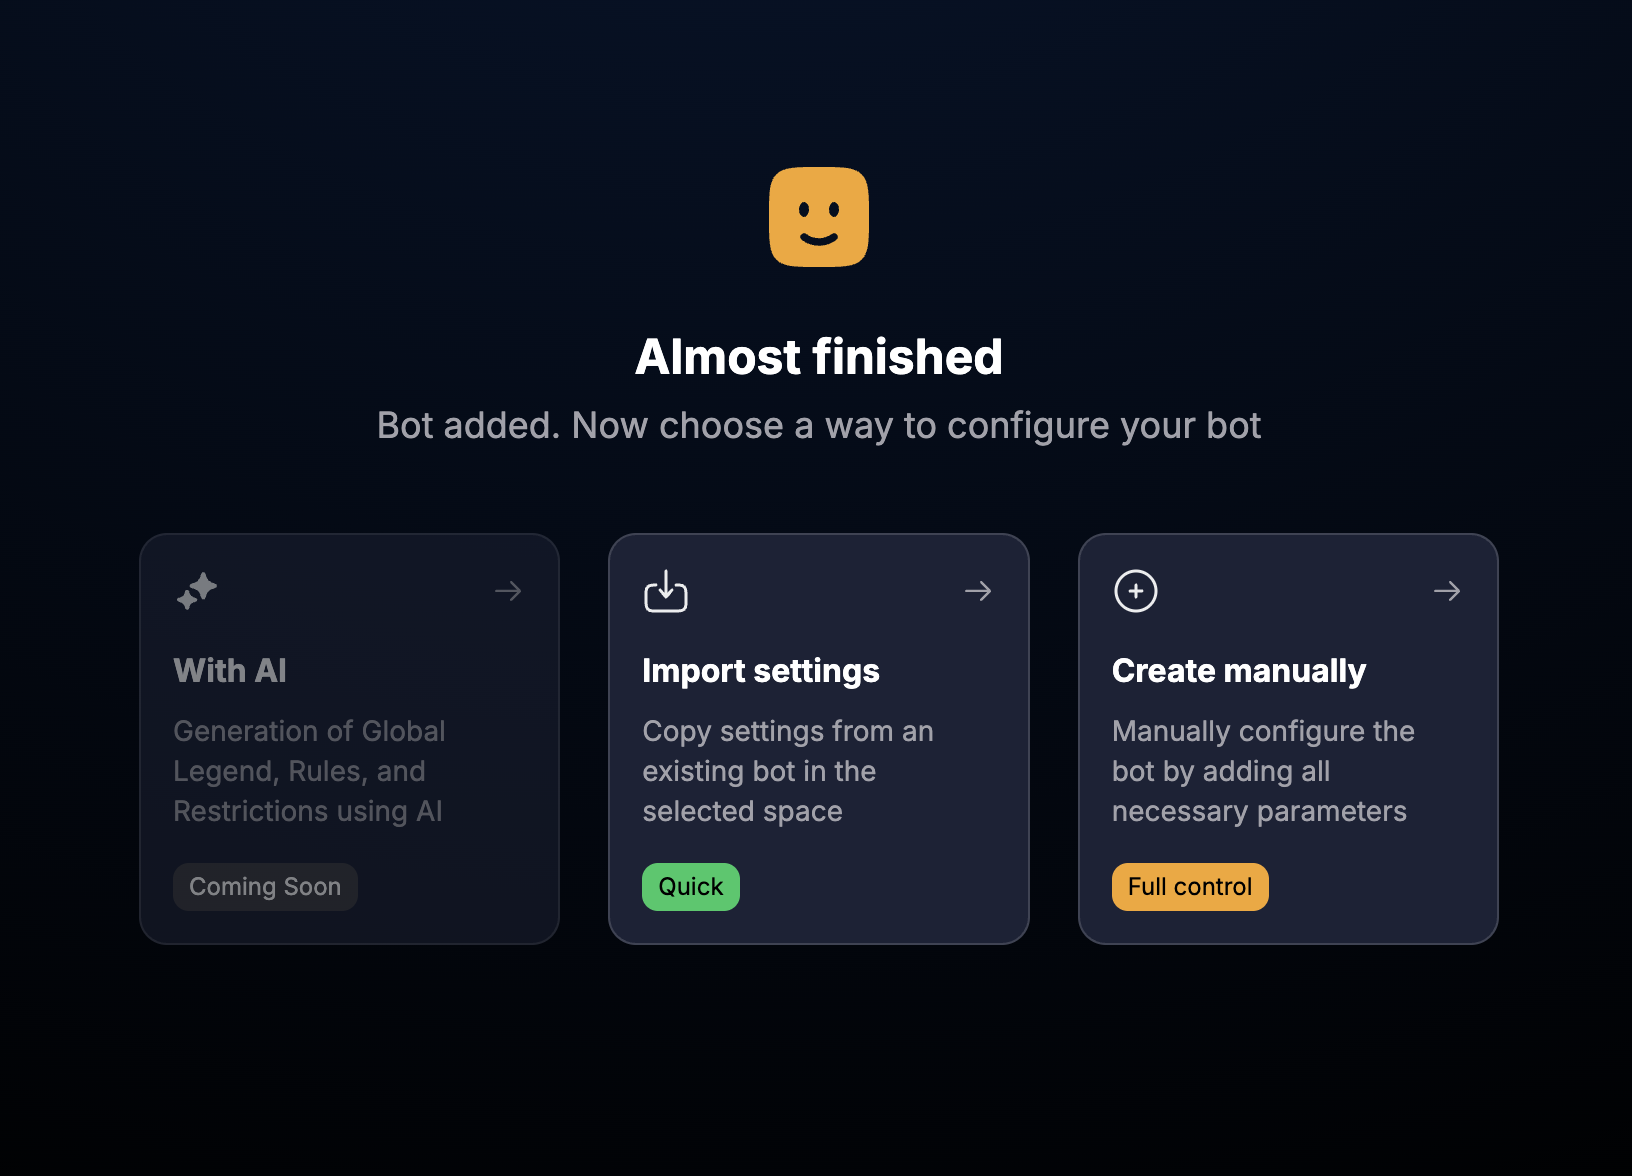
Importing settings or manual configuration. - Specify the response delay and create custom fields if necessary.
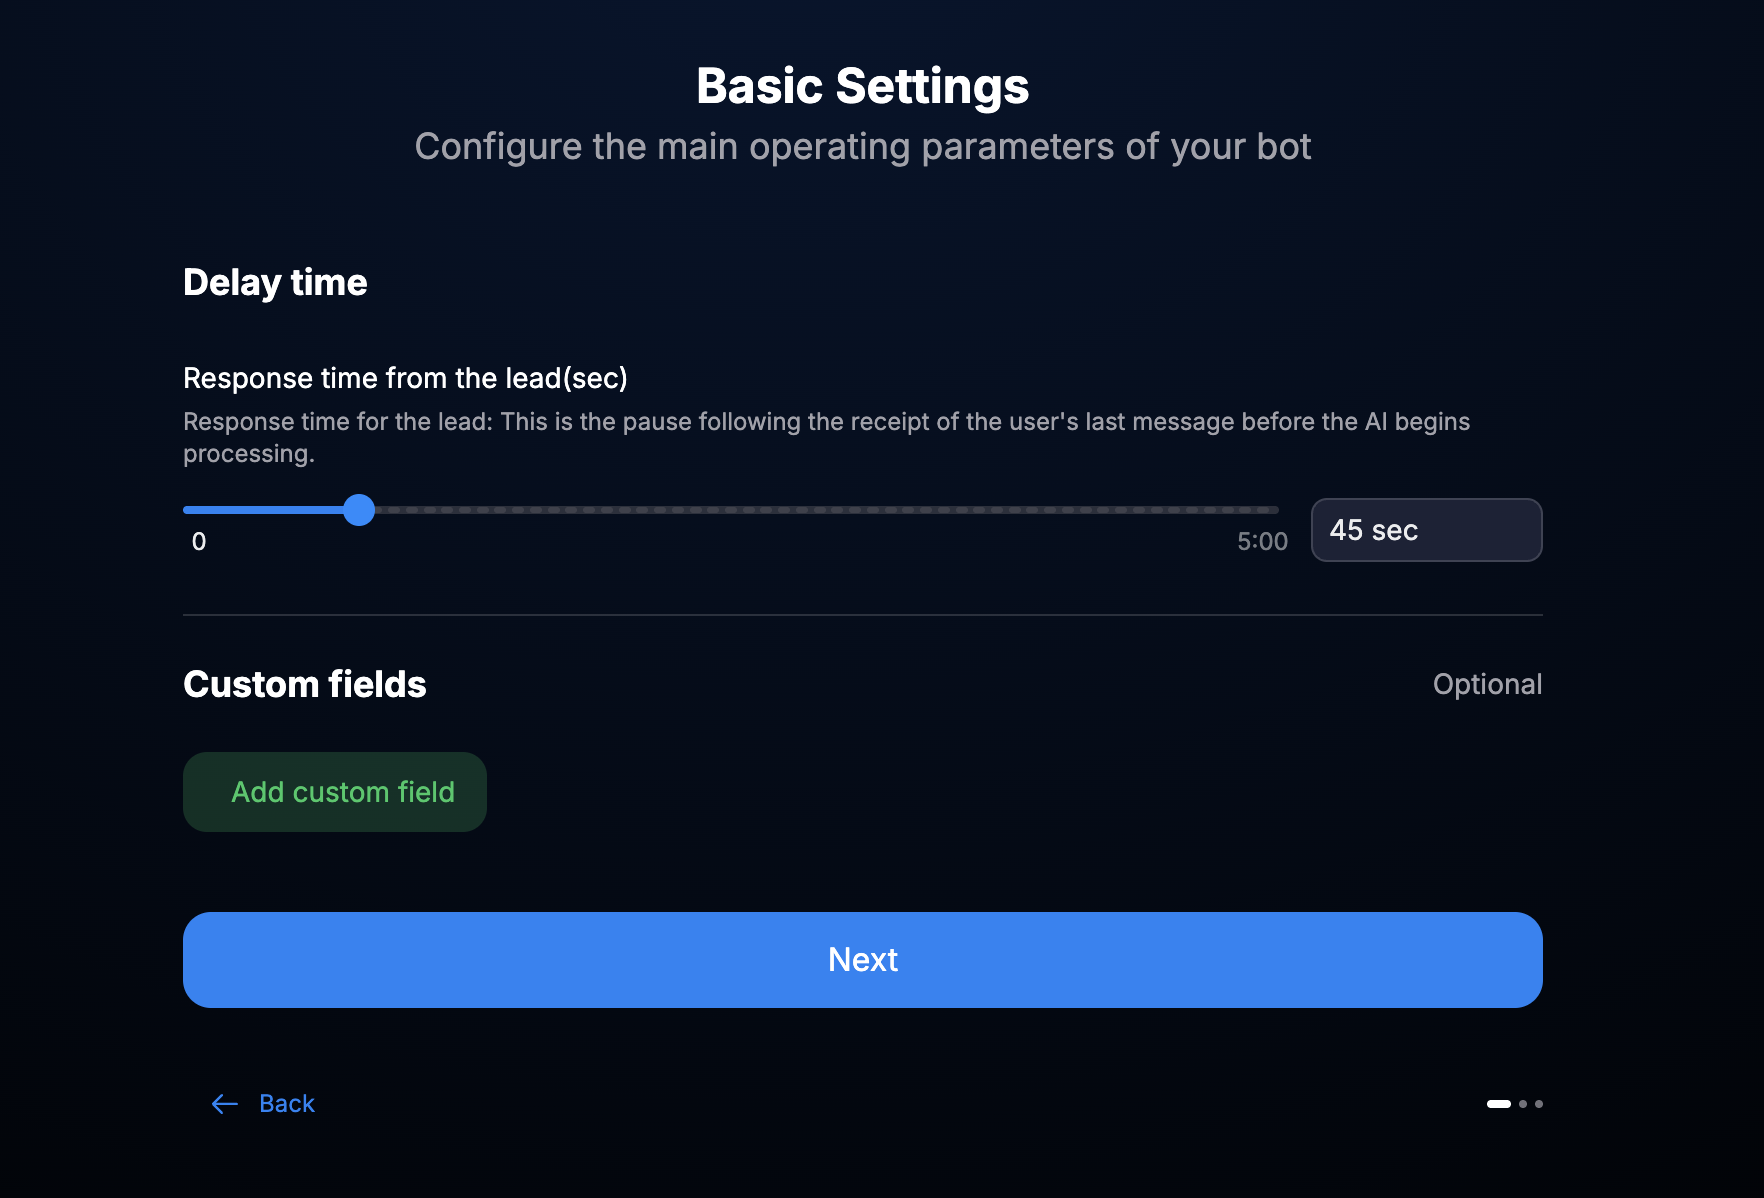
Response delay and custom fields. - Choose models for message analysis and generating responses.
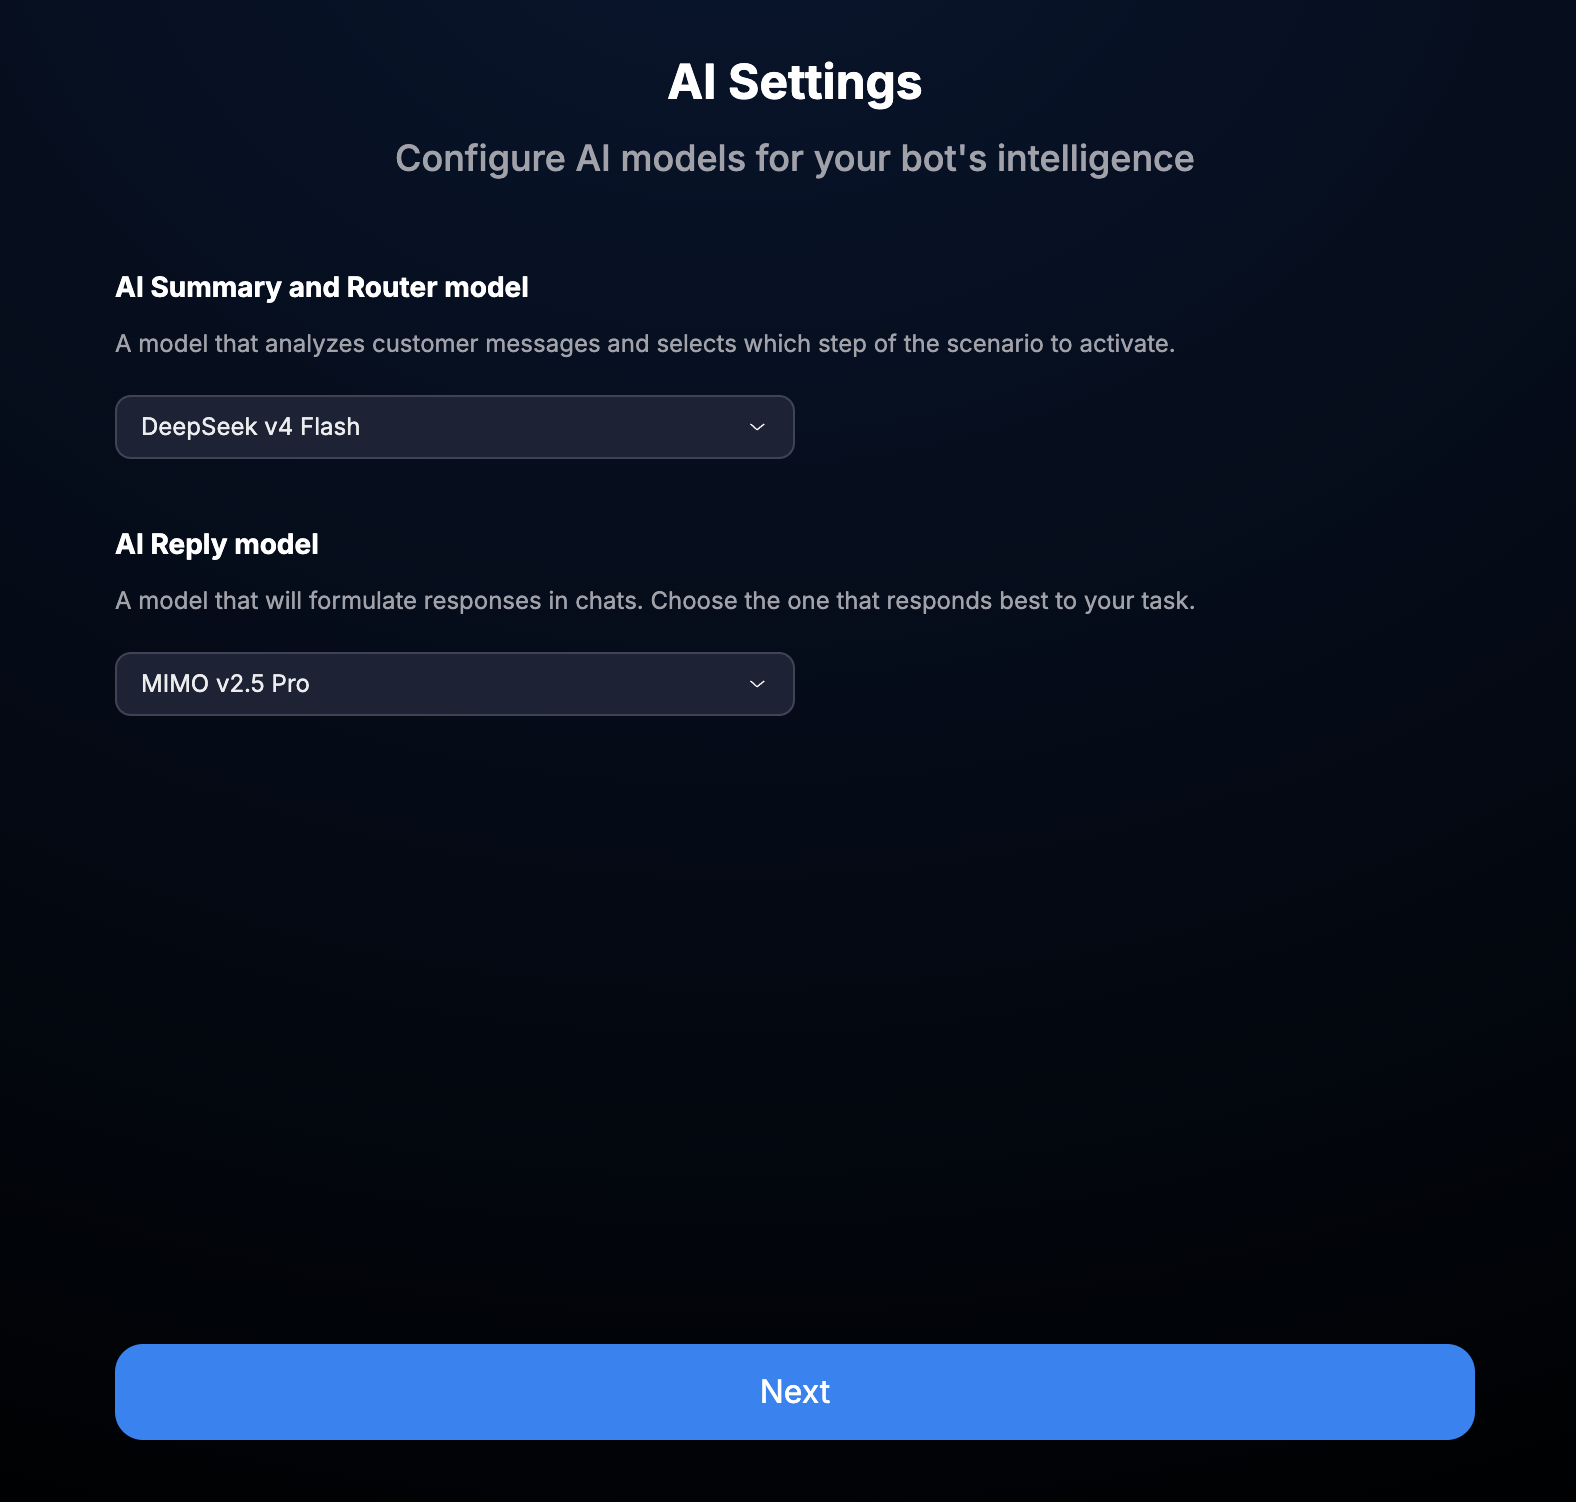
AI models for routing and bot responses. - Describe the bot's role, prohibited actions, and requirements for response formatting, then finish creation.
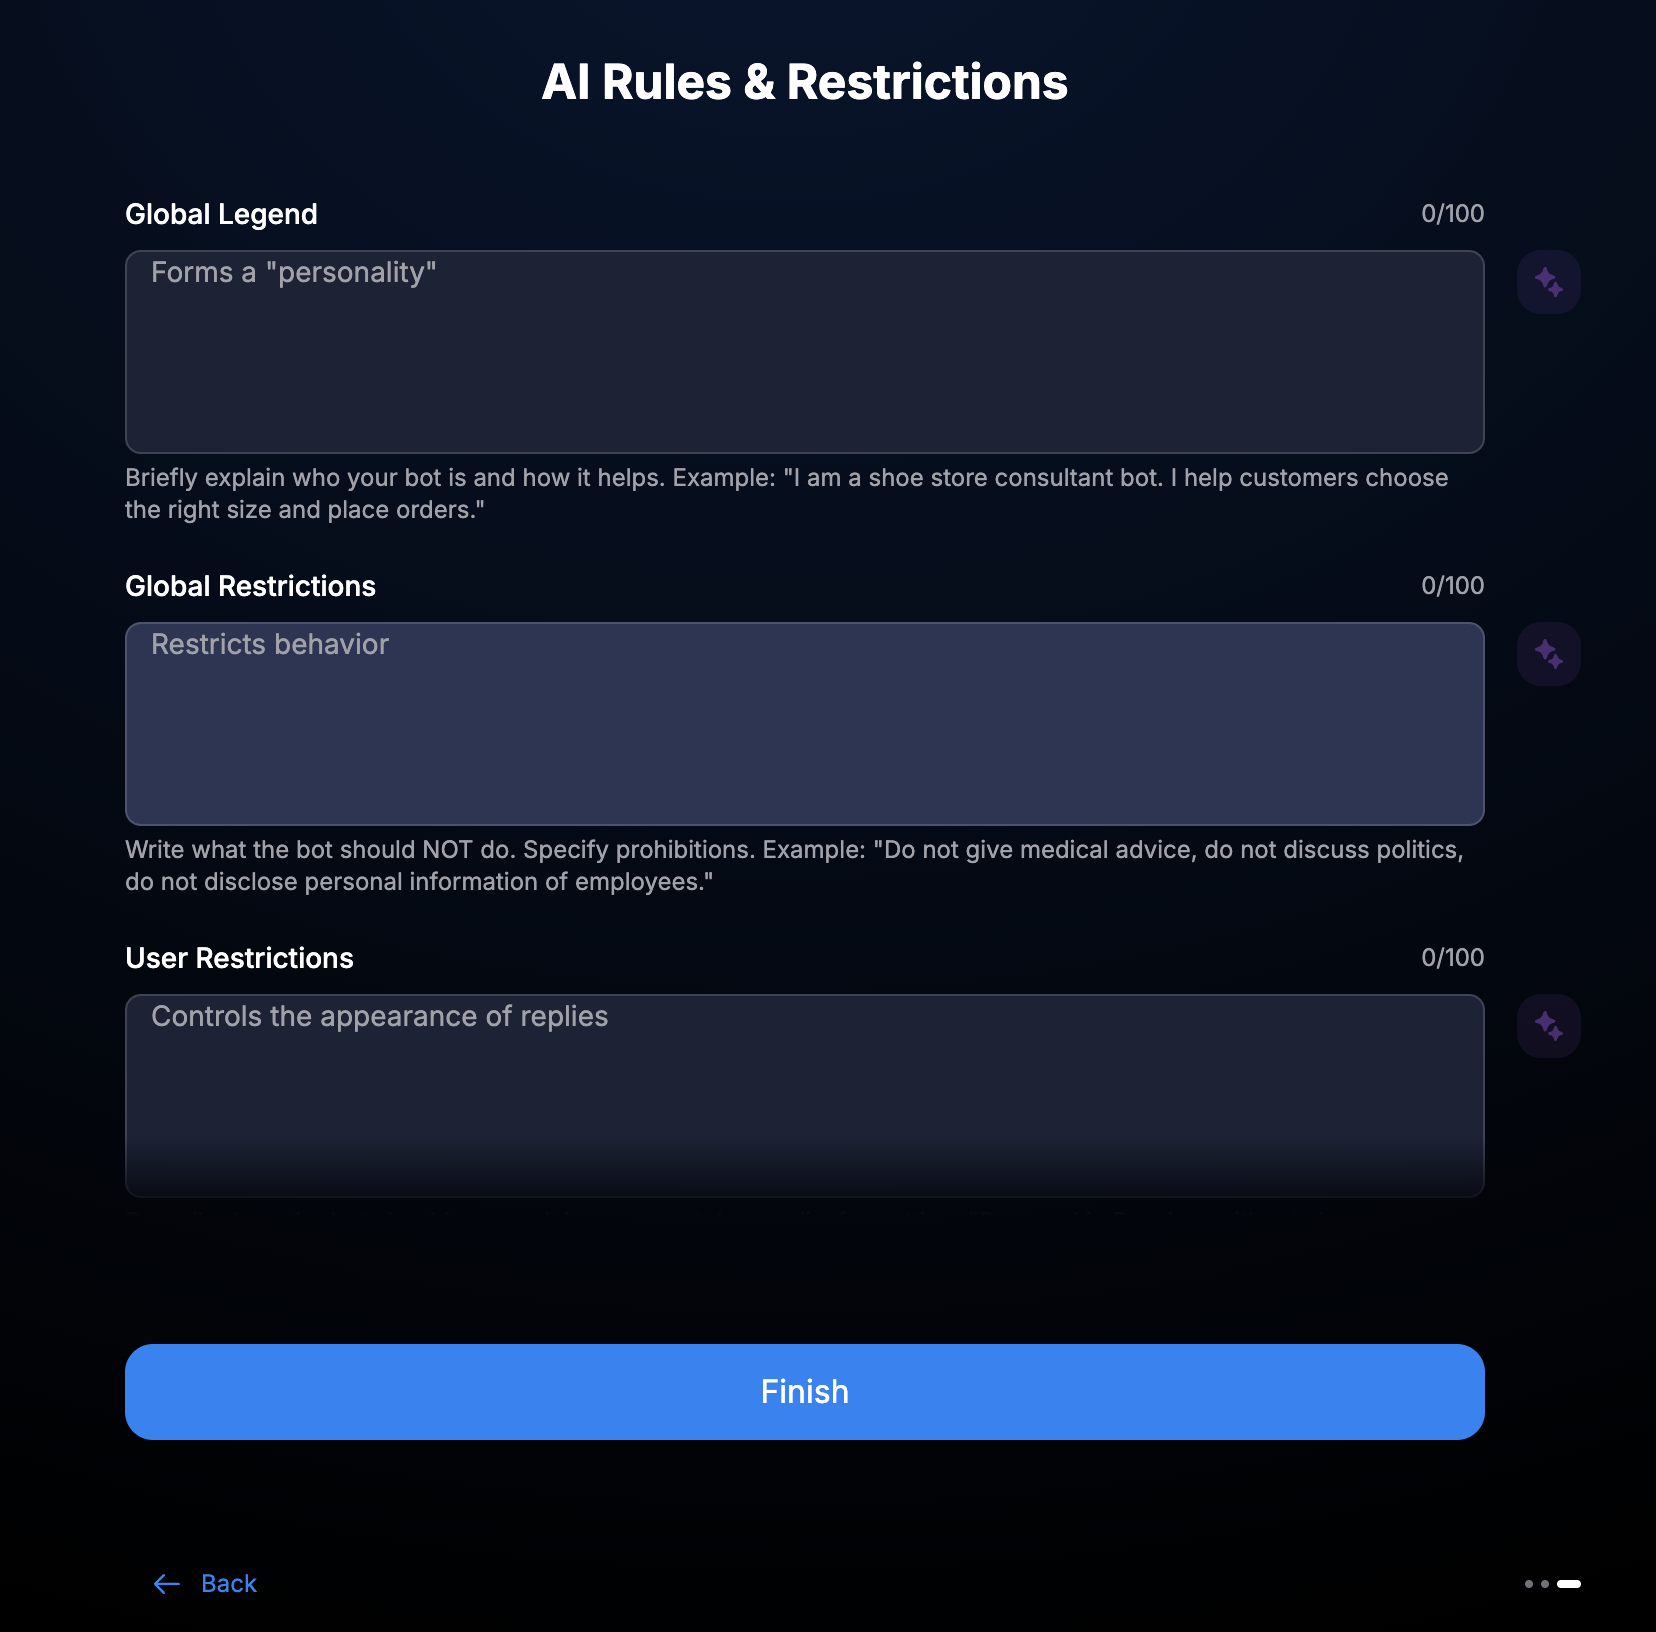
Global Legend, Global Restrictions, and User Restrictions.
What you will need
Loader: https://cdn-widget.chatterfy.ai/loader.js
Public bot key: client_key of the form cli_...
Site with HTTPS: required for recording voice messages; localhost is suitable for development.
Quick start
Add the code before the closing
</body> tag:html
<script
  src="https://cdn-widget.chatterfy.ai/loader.js"
  data-widget-key="cli_example_key"
></script>
After the script loads, the chat button will appear automatically. Color, theme, multi-chats, and attachments are loaded from the bot settings—you do not need to pass them in the page code.
Deferred initialization
If the widget should only launch after the page is loaded or after your logic is executed, call
init() manually:html
<script src="https://cdn-widget.chatterfy.ai/loader.js" data-widget-key="cli_example_key"></script>
<script>
  window.addEventListener('load', () => {
    ChatterfyWidget.init()
  })
</script>
Where to find the client_key
Open the settings for the required bot and copy the public key of the form
cli_.... The loader uses it to create a user session and load widget settings.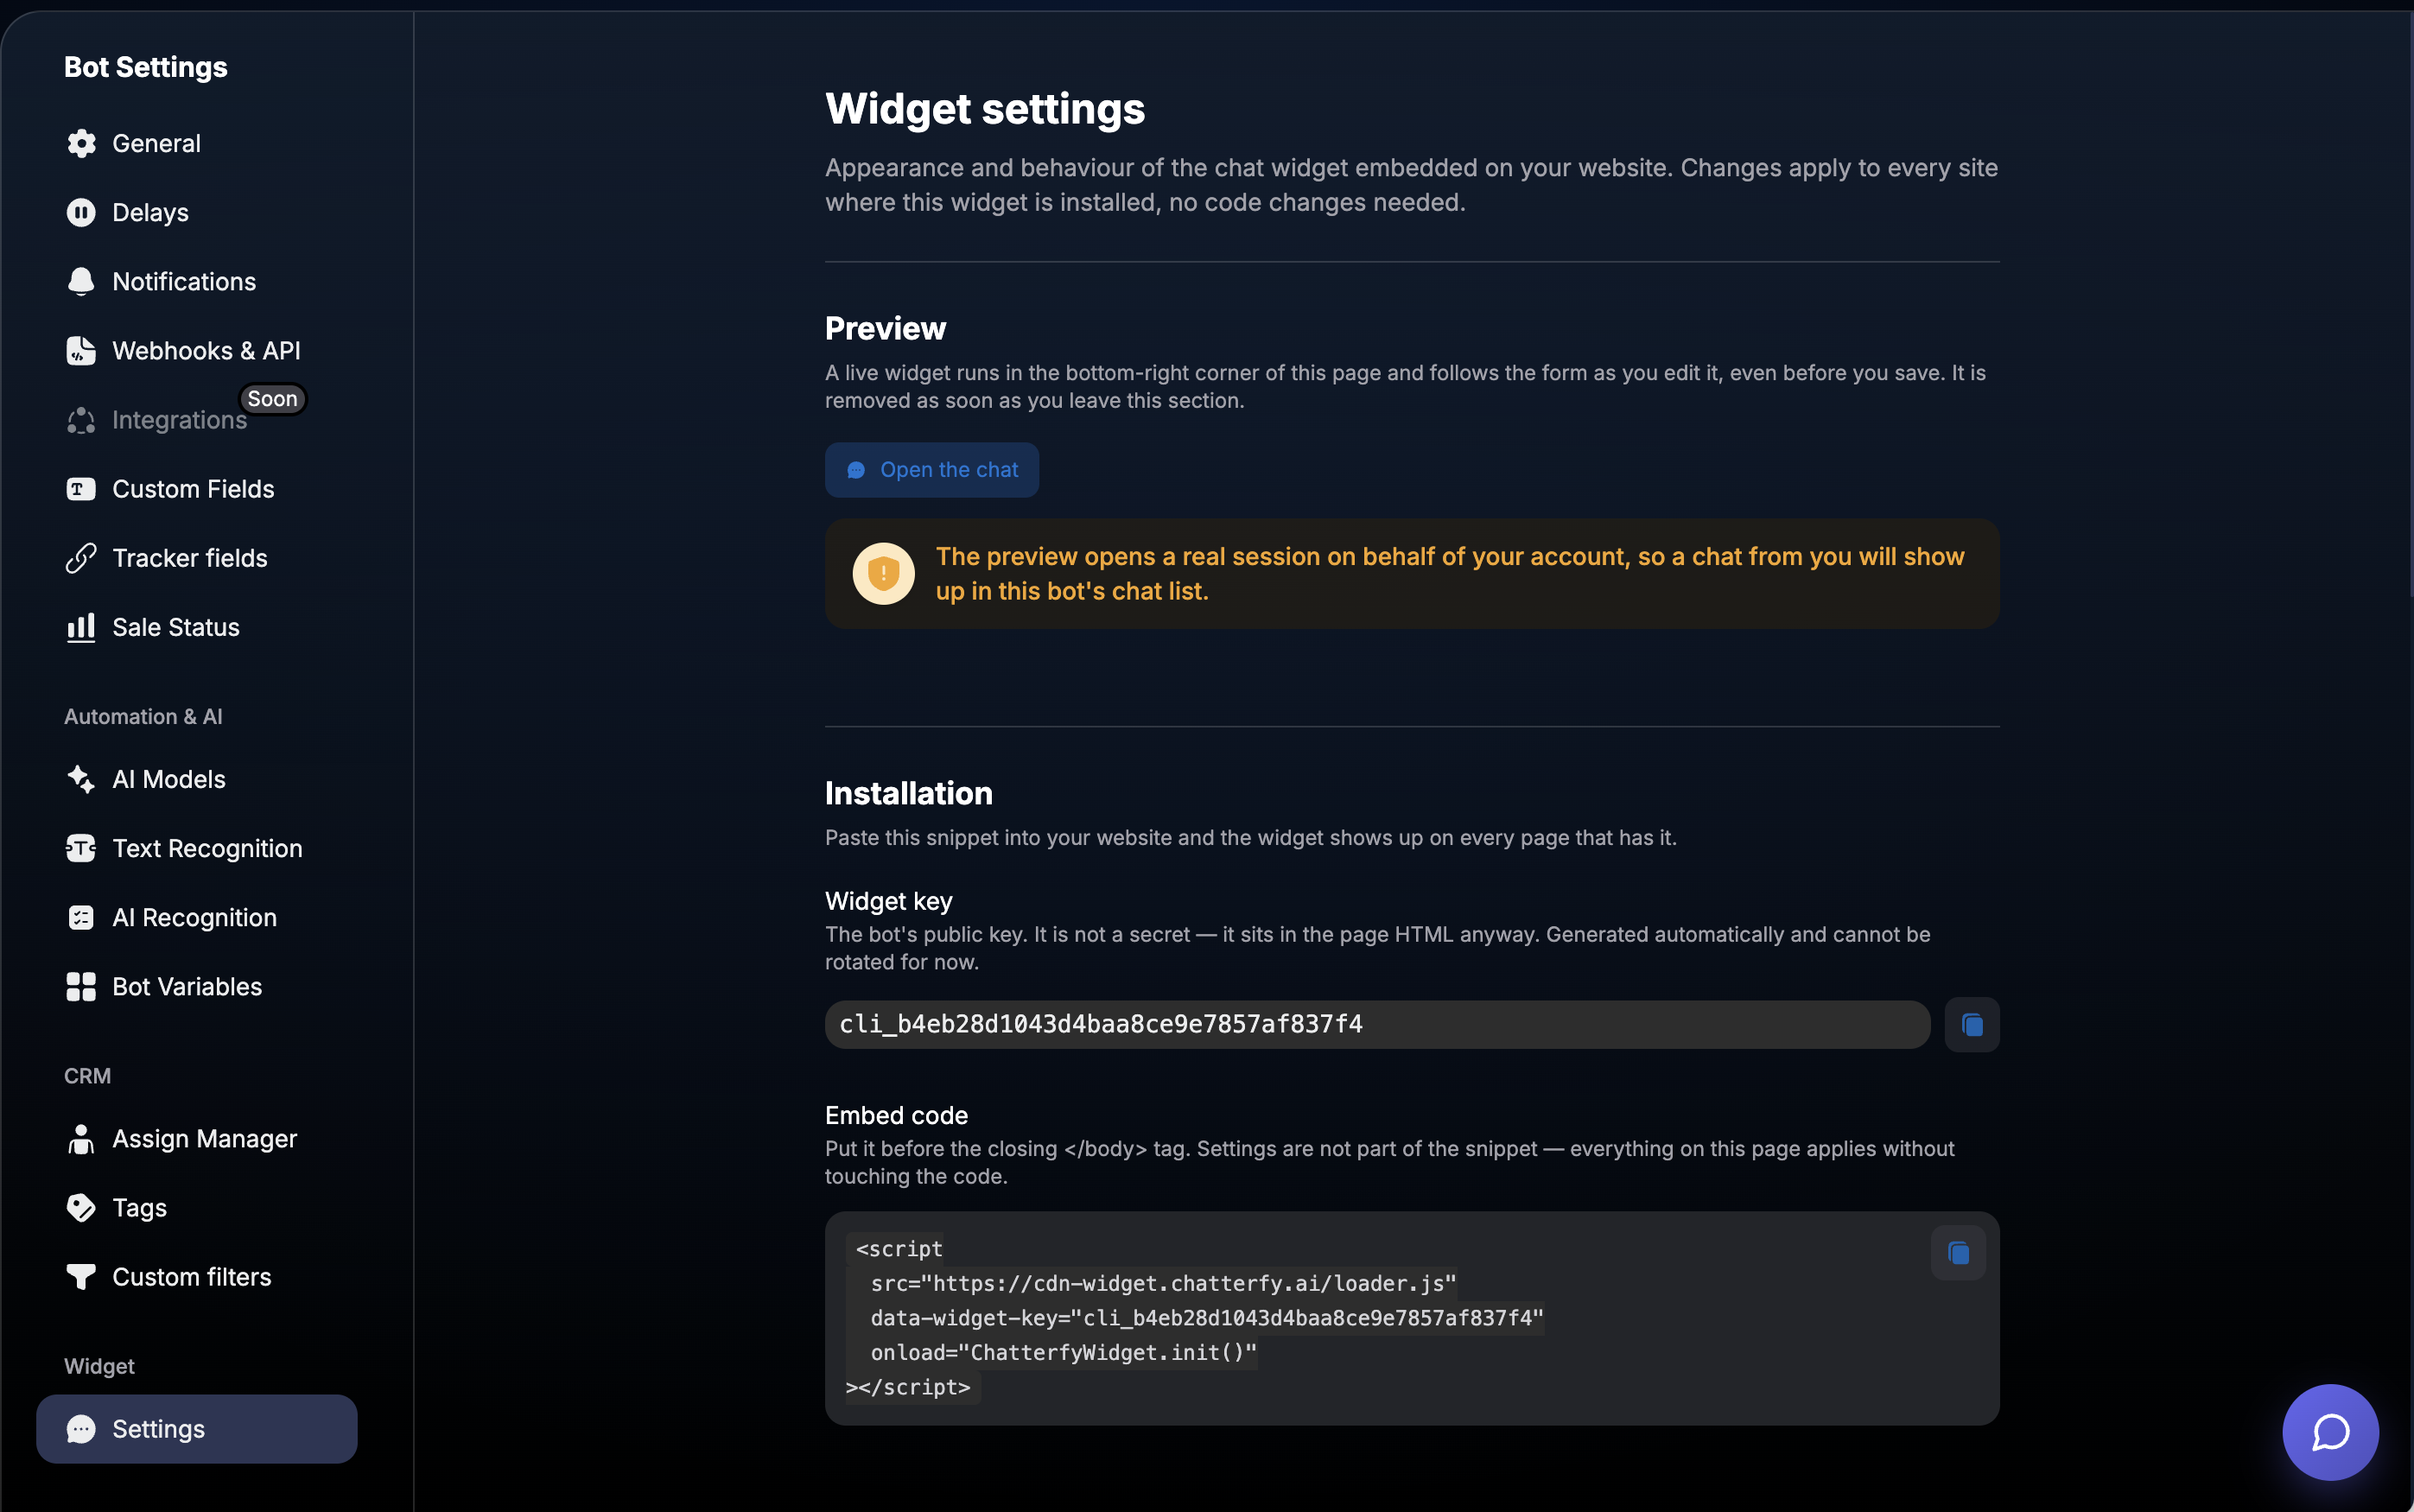
JavaScript API
Once the loader is finished, the
window.ChatterfyWidget object is available on the page:init(config?) — initializes the widget and mounts the button. Call this once.open() — opens the chat panel.close() — collapses the panel into a button.toggle() — toggles between open and closed states.identify(user) — меняет пользователя и пересоздаёт сессию, например после входа в аккаунт.shutdown() — полностью удаляет виджет и сбрасывает его состояние, например при выходе пользователя.javascript
document.querySelector('#help').addEventListener('click', () => {
  ChatterfyWidget.open()
})
Инициализация пользователя
Метод
init(config) принимает только ключ бота и данные конкретного посетителя. Настройки внешнего вида остаются в конфигурации бота.javascript
ChatterfyWidget.init({
  widgetKey: 'cli_...',
  user: {
    externalId: 'user-42',
    firstName: 'Alex',
    lastName: 'Taylor',
    imageUrl: 'https://site.com/avatars/42.jpg',
  },
  additionalInfo: {
    plan: 'pro',
    orderId: 12345,
    custom_fields: {
      utm_source: 'google',
    },
  },
})
widgetKey — публичный ключ бота. Можно не передавать, если он указан в data-widget-key.user.externalId — стабильный идентификатор пользователя на вашей стороне.user.firstName / lastName — имя и фамилия посетителя.user.imageUrl — публичная HTTPS-ссылка на аватарку. Квадратные изображения выглядят лучше всего.additionalInfo — произвольный JSON-контекст для оператора: тариф, номер заказа, текущая страница и другие данные.Важно: additionalInfo и imageUrl записываются в момент создания чата. Передача новых значений не изменит уже существующий чат.
Кастомные поля чата
Объект
custom_fields внутри additionalInfo заполняет кастомные поля, которые оператор видит в карточке чата и использует в фильтрах.javascript
ChatterfyWidget.init({
  additionalInfo: {
    custom_fields: {
      city: 'example-city',
      utm_source: 'google',
    },
  },
})
Use the field keys from the bot settings, not their IDs.
Unknown fields are ignored and do not prevent chat creation.
Strings, numbers, and true/false are permitted. Objects and arrays are skipped.
Strings longer than 1000 characters are truncated.
Fields are only populated when creating a chat and do not overwrite existing values.
Настройки внешнего вида и поведения
These parameters are defined in the bot settings and are automatically applied on all sites where the widget is connected:
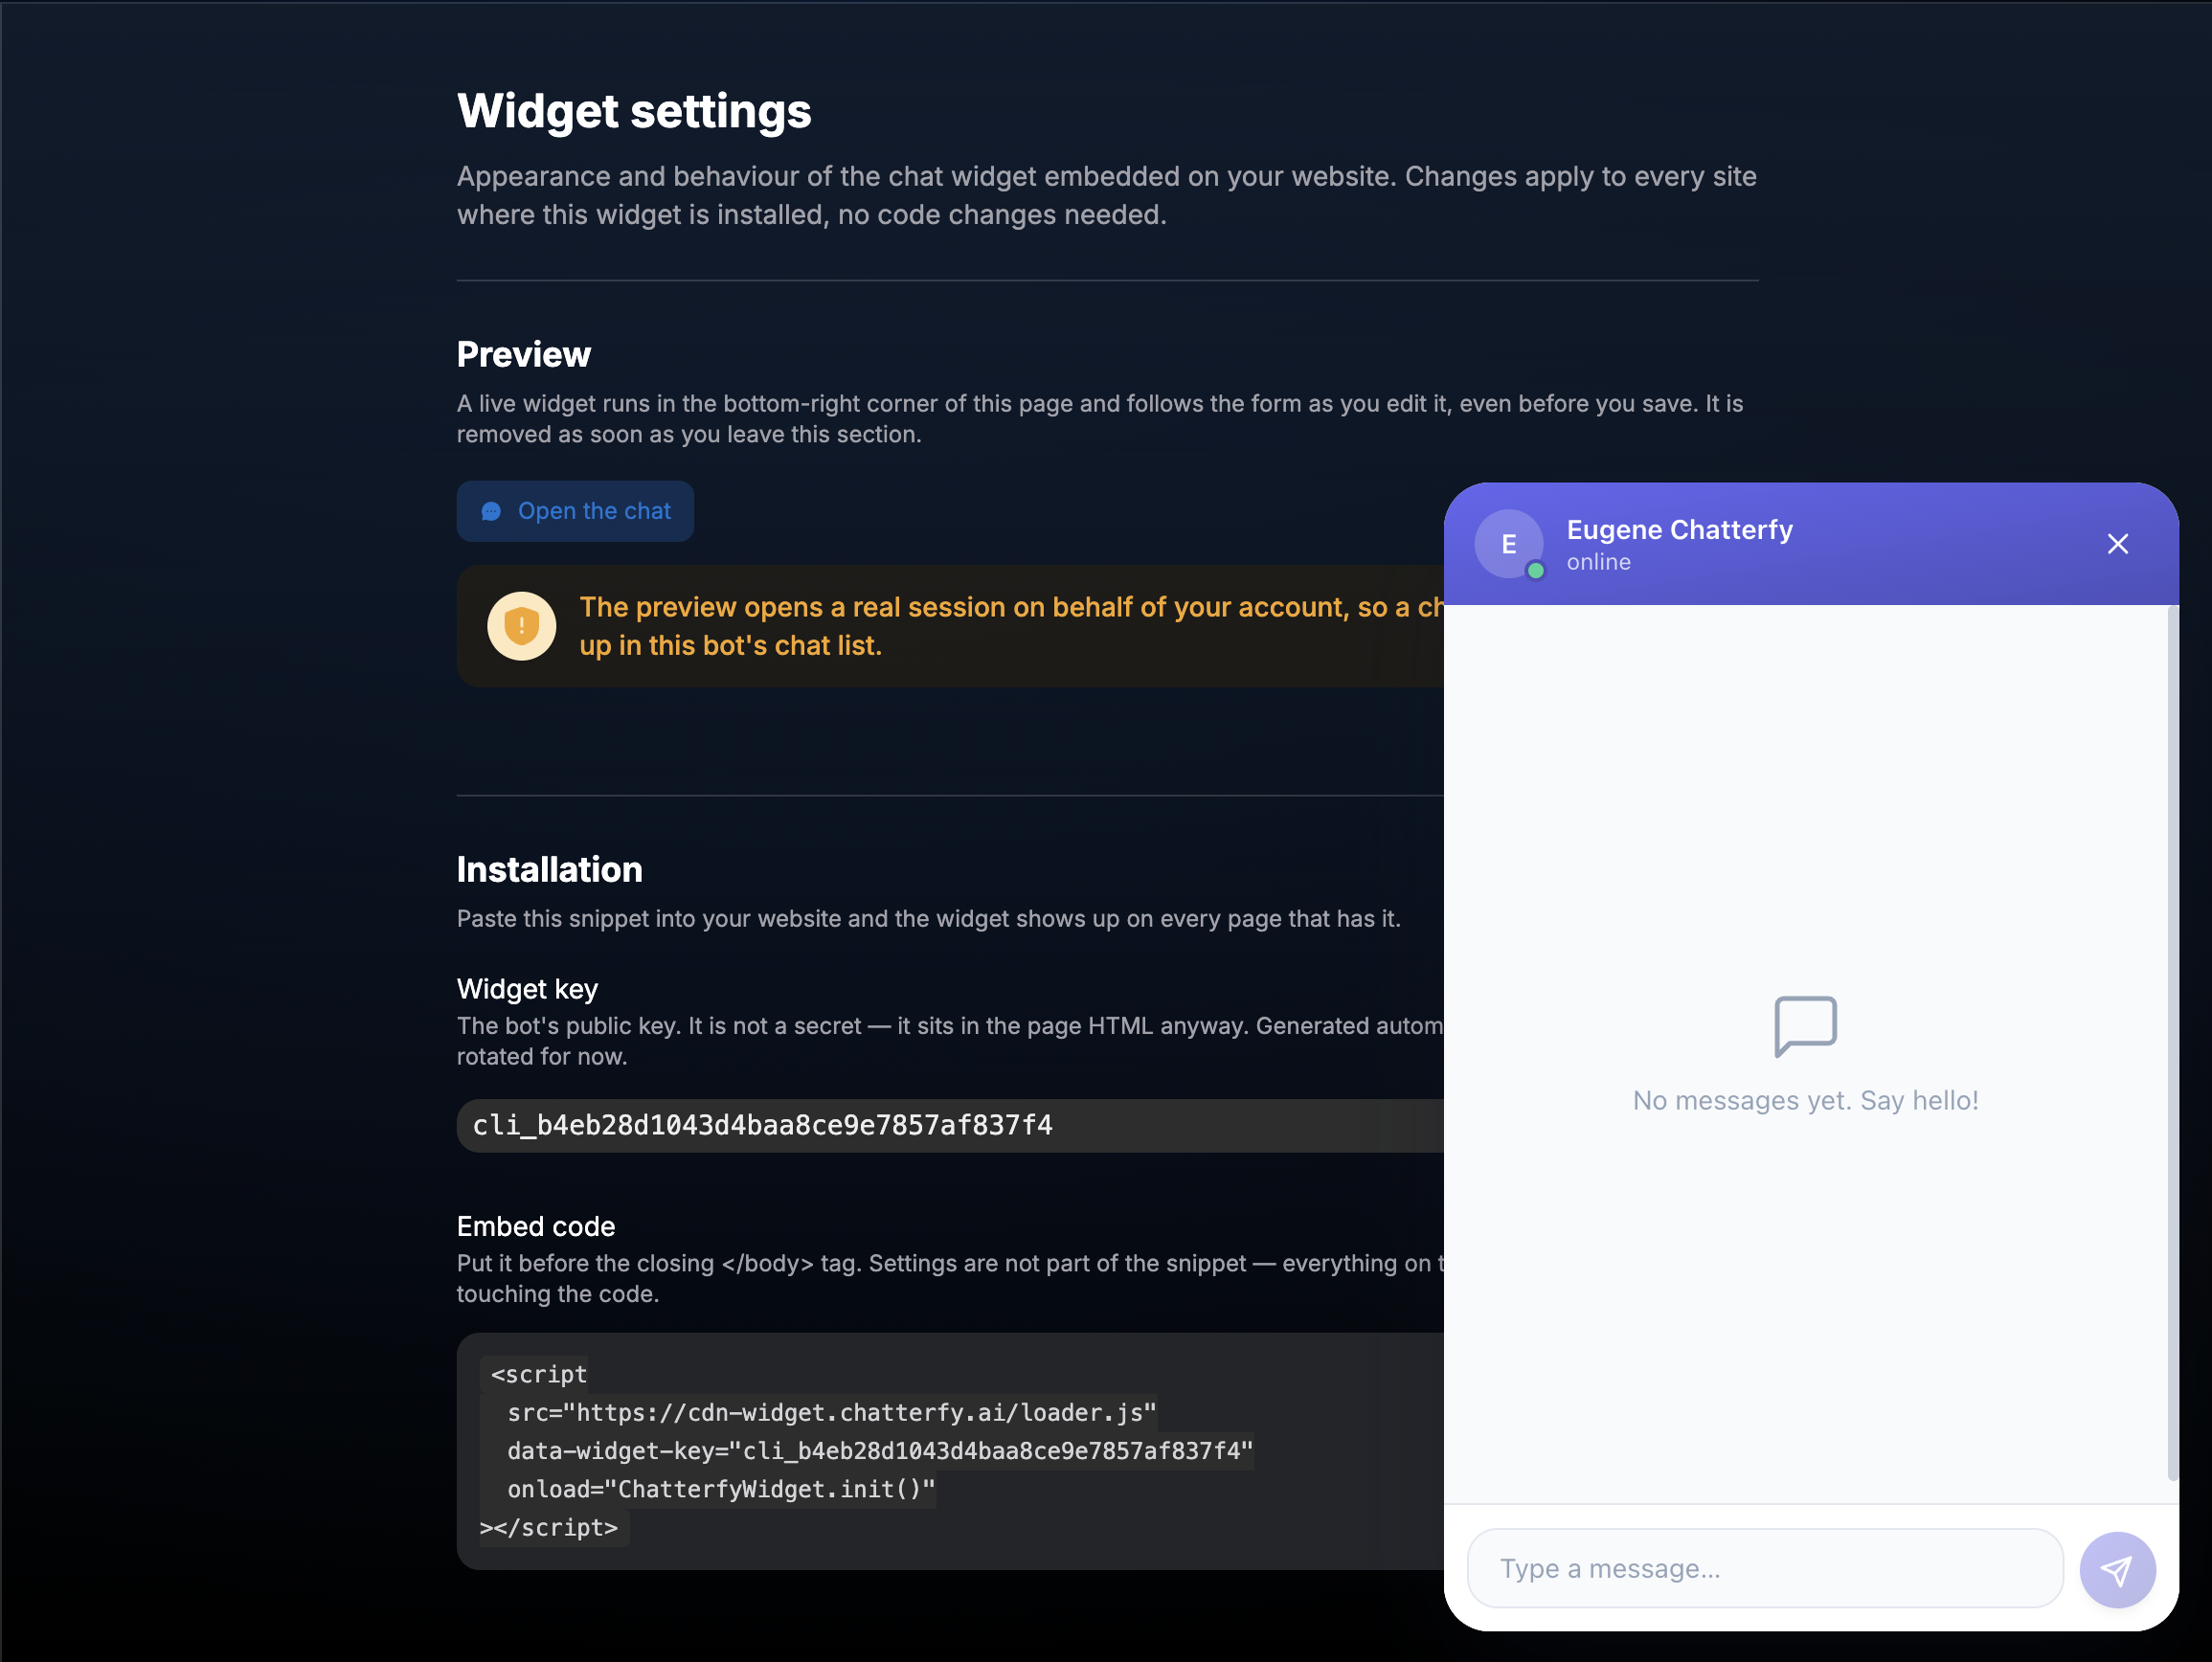
Предпросмотр
Click the chat open button to test the widget directly in the settings. The preview creates a real user session and the chat will appear in the bot's list.
Оформление
Here you can configure the primary color, theme, rounding, header style, and the appearance of outgoing messages.
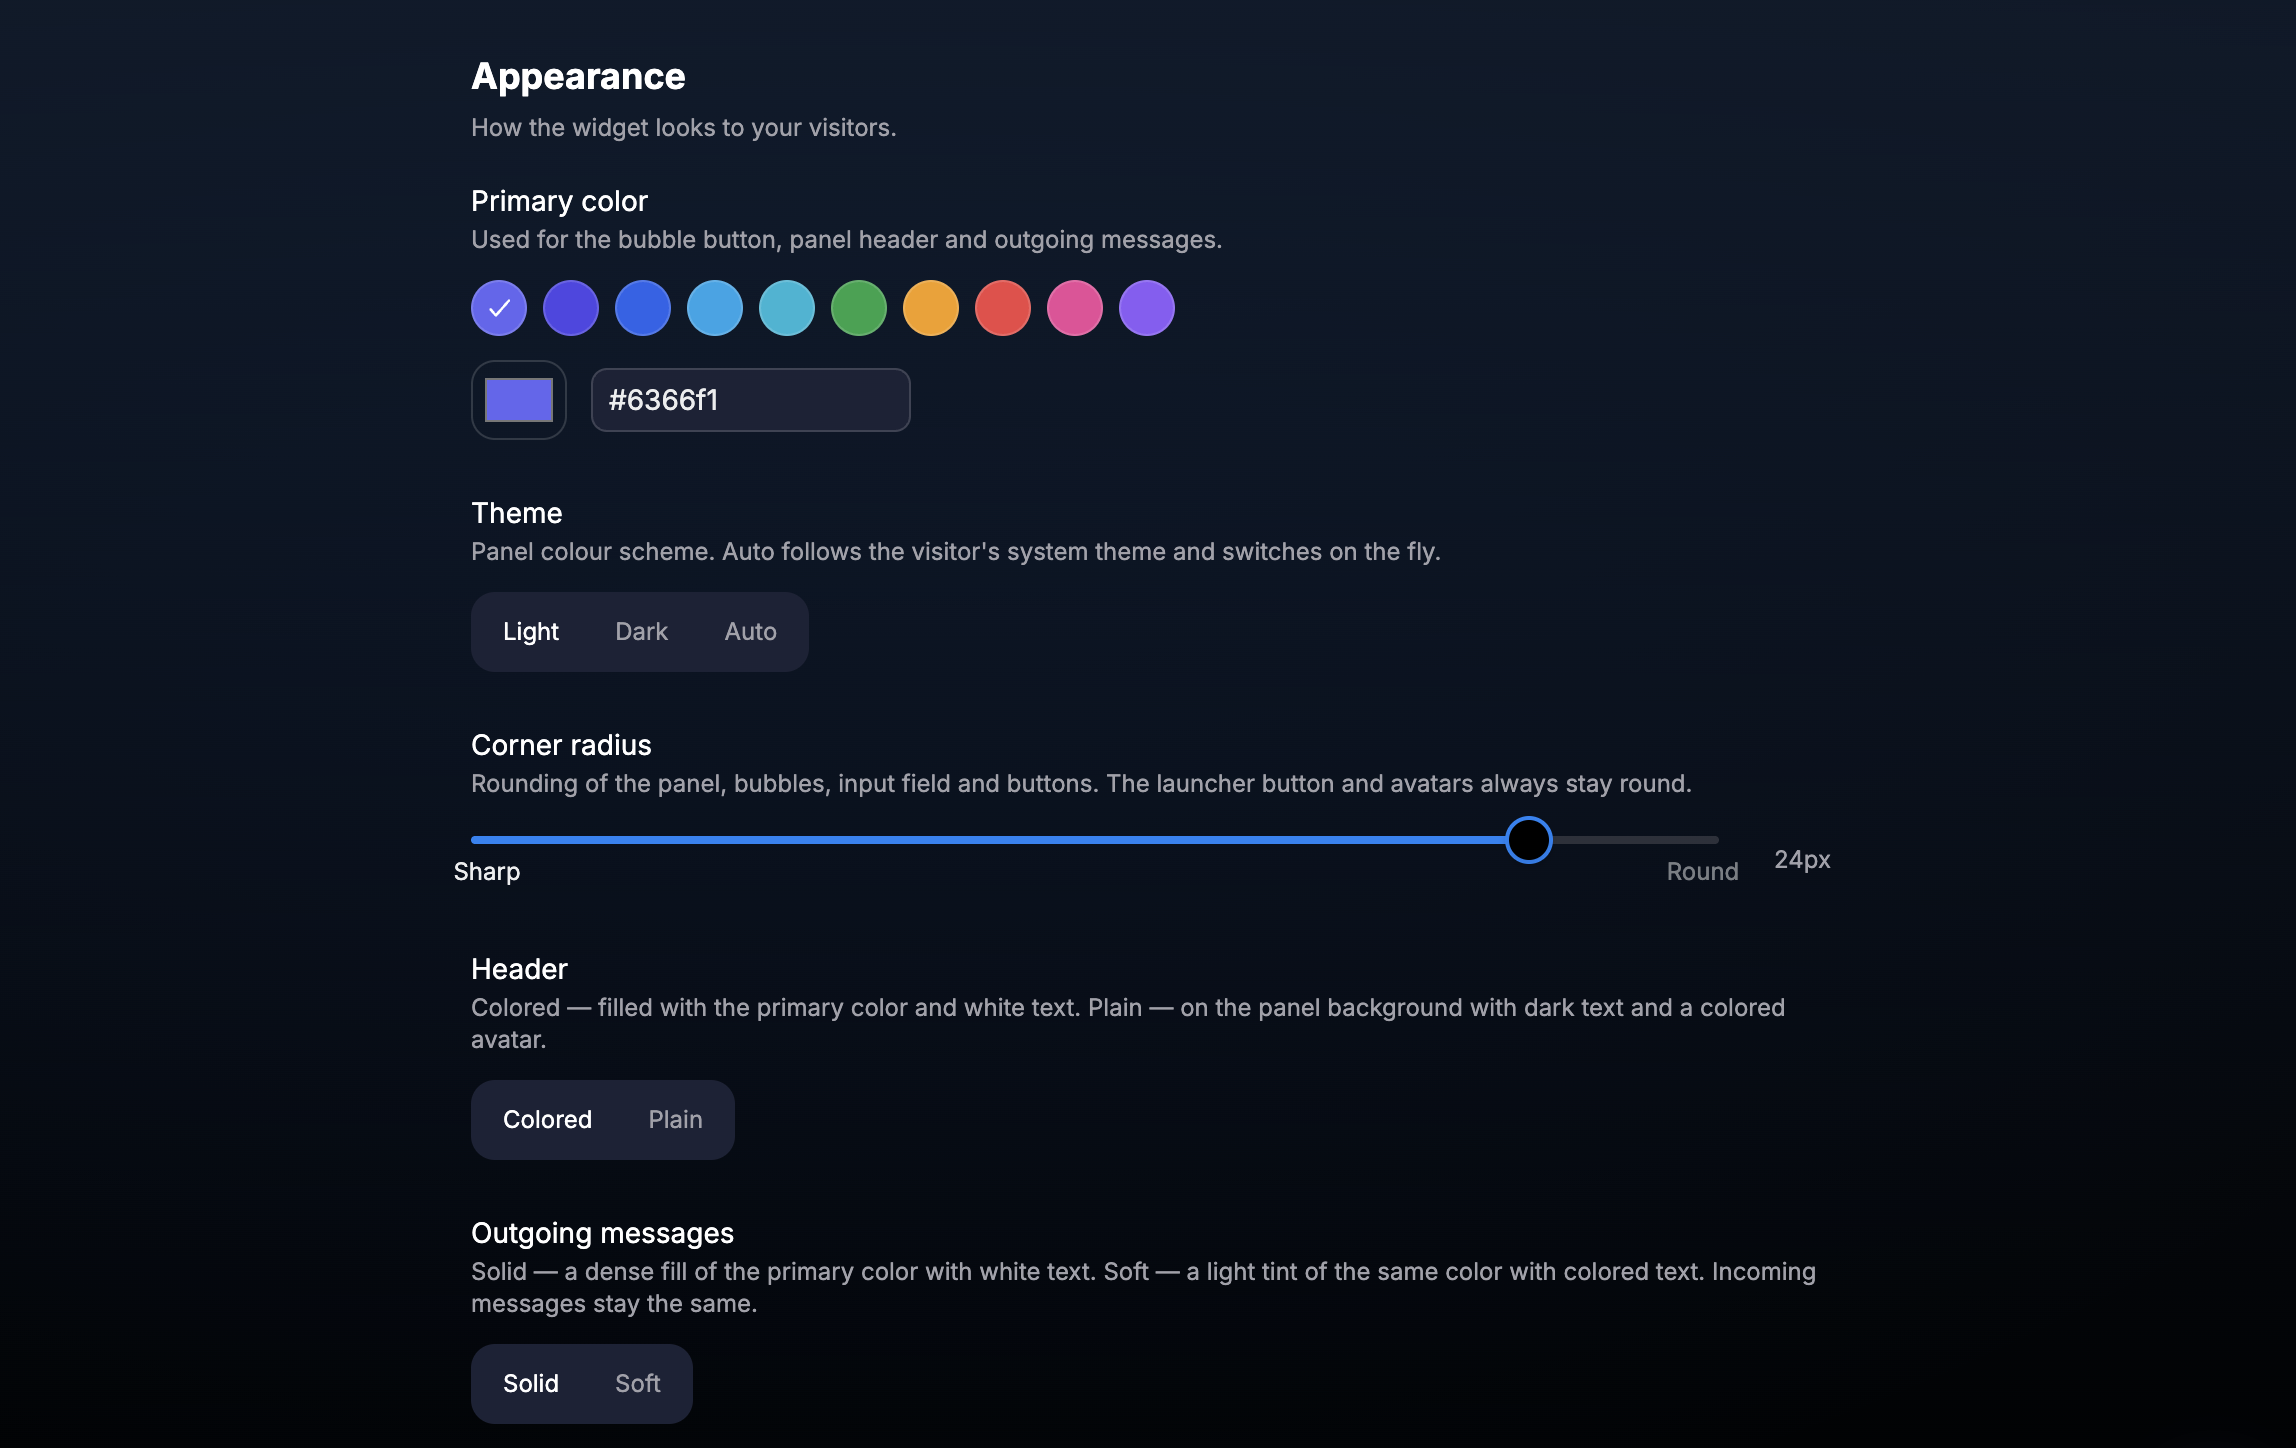
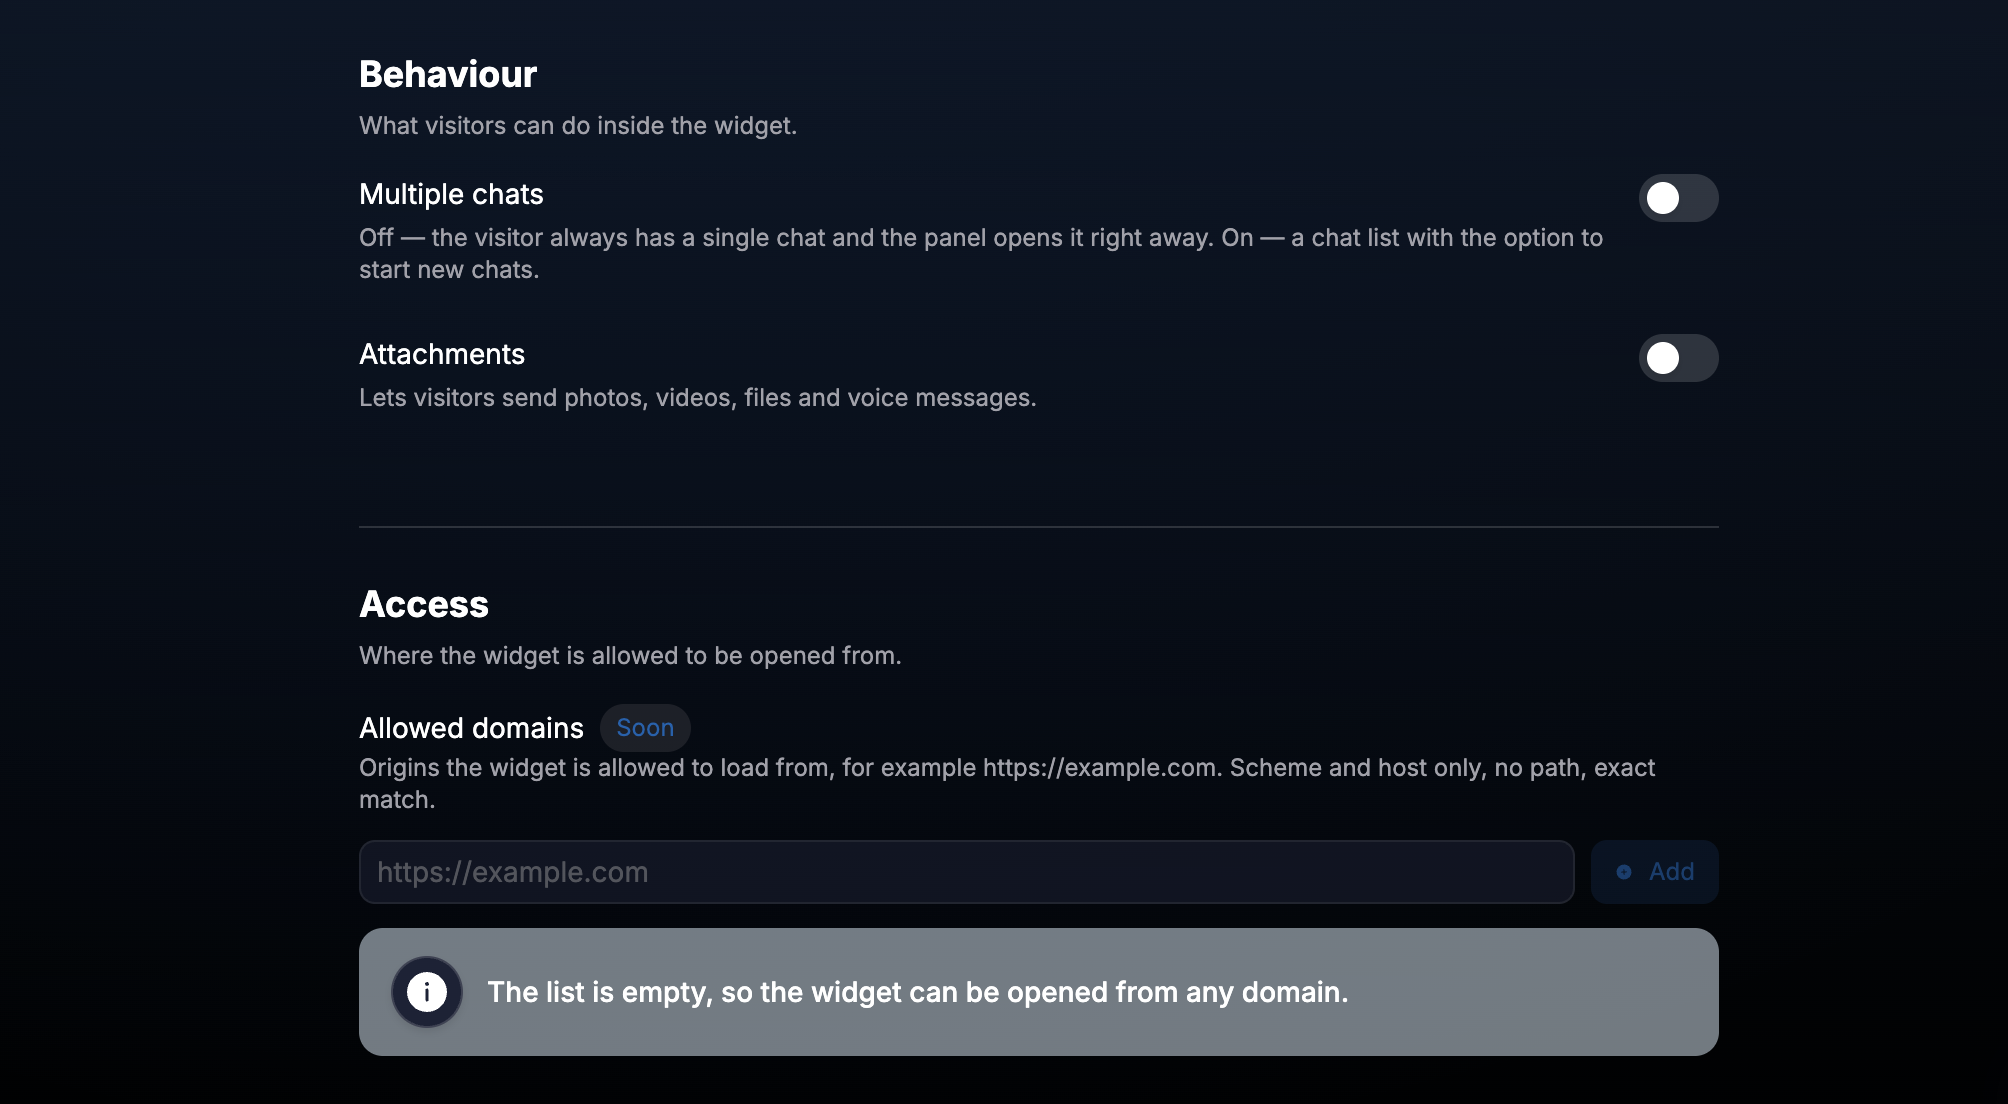
primary_color — color of the button, header, and outgoing messages.theme_mode — light, dark, or automatic.corner_radius — corner radius for the panel, messages, and input field in pixels.header_style — colored or standard.message_style — saturated or soft.multiple_chats — single chat or a list of chats with the ability to create new ones.attachments — attachments and voice message recording.Behavior and access
Enable multi-chat and attachments if necessary. In this same block, you can restrict the domains allowed to open the widget.
How the widget remembers the visitor
- Call init() without user. The server will create an external_id like visitor_<uuid>, and the loader will save it to localStorage.
- Pass a stable externalId from your system. Chat history will be linked to this identifier.
- Call identify({ externalId, firstName, ... }). The widget will recreate the session for the new user.
- Call ChatterfyWidget.shutdown() to remove the widget and reset the current session.
How it works
The loader creates an iframe, so the site's styles and scripts do not conflict with the chat interface.
The page and the iframe exchange commands via postMessage.
Bot and agent responses arrive automatically in real time.
Only one instance of the widget and one init() call should work on a single page.
Typical scenarios
Anonymous chat on a landing page
html
<script
  src="https://cdn-widget.chatterfy.ai/loader.js"
  data-widget-key="cli_..."
  onload="ChatterfyWidget.init()"
></script>
User account or SPA
javascript
ChatterfyWidget.init({
  user: {
    externalId: currentUser.id,
    firstName: currentUser.name,
  },
})

logoutButton.addEventListener('click', () => {
  ChatterfyWidget.shutdown()
})
Requirements and limitations
The loader is loaded via HTTPS from cdn-widget.chatterfy.ai.
Current versions of browsers are supported.
For voice messages, the page requires HTTPS; localhost is allowed for development.
If the site uses Permissions-Policy, microphone access must be enabled.
Service parameters apiBase and appBase do not need to be changed.
After changing colors, themes, multi-chats, or attachments in the bot settings, there is no need to update the code on the site — the widget will receive new parameters upon the next session start.
Was this article helpful?