

Integrating your own chat via Client API
The Client API allows you to connect your Chatterfy bot to your own website or application and build a completely custom chat interface. The API is designed to work directly from the browser: the fron
The Client API allows you to connect your Chatterfy bot to your own website or application and build a completely custom chat interface. The API is designed to work directly from the browser: the frontend uses a public client_key and a short-lived user session.
When to use the Client API. Choose this option if the ready-made widget does not fit your interface or logic requirements and you want to independently manage chats, messages, files, and real-time event rendering.
Creating an API (Web) bot
Open the new bot creation flow and follow the setup wizard. The main steps are the same for the widget and the API (Web); only the selected platform differs.
- On the platform selection screen, select API (Web) and click the continue button.
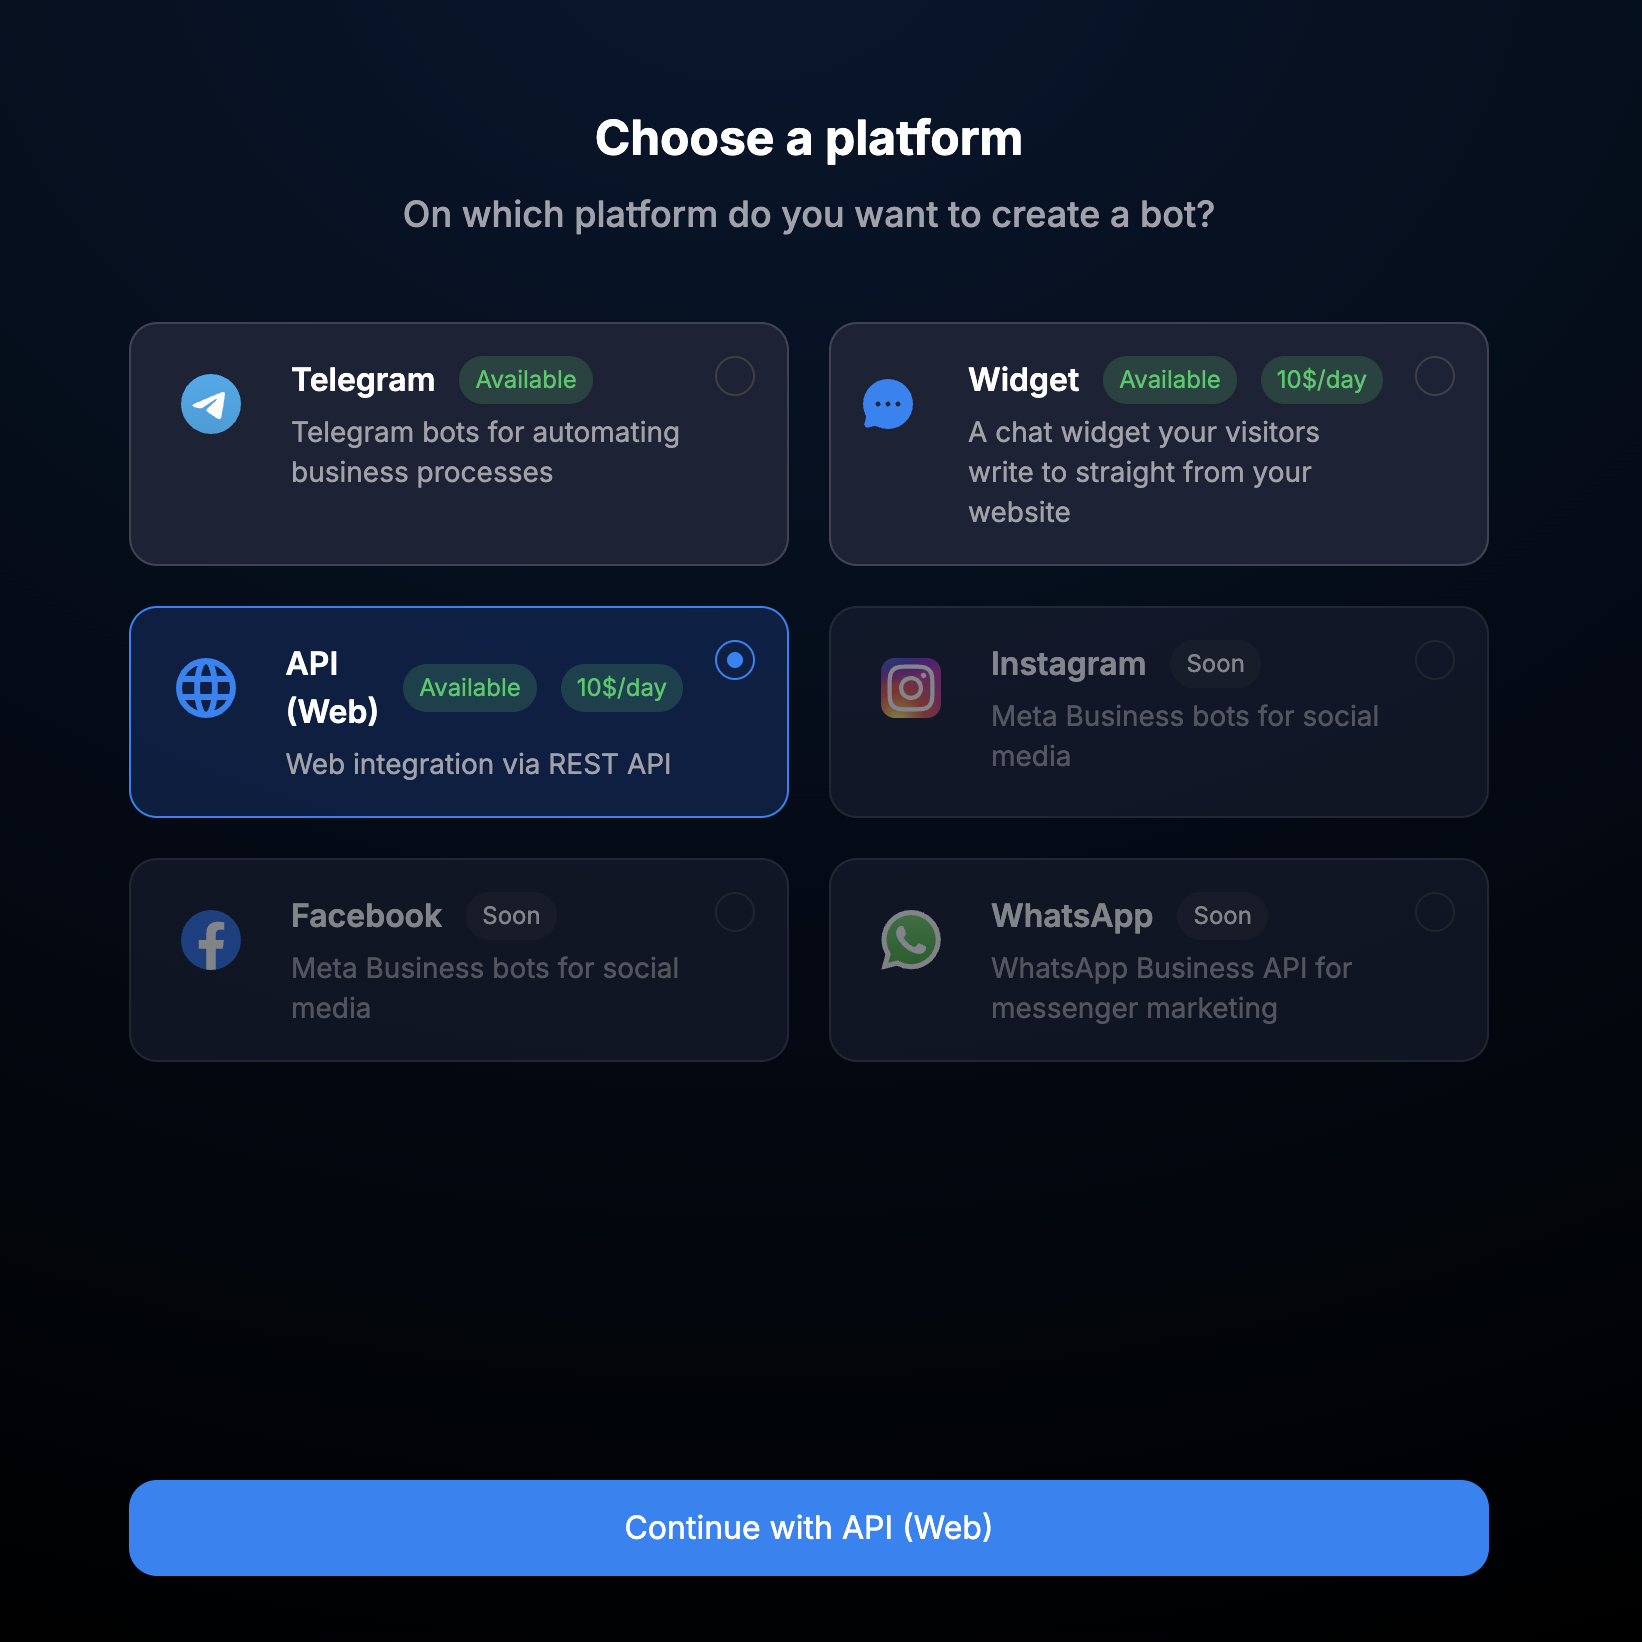
Selecting API (Web) when creating a bot. - Specify the space, bot theme, and add a description and tags if necessary.
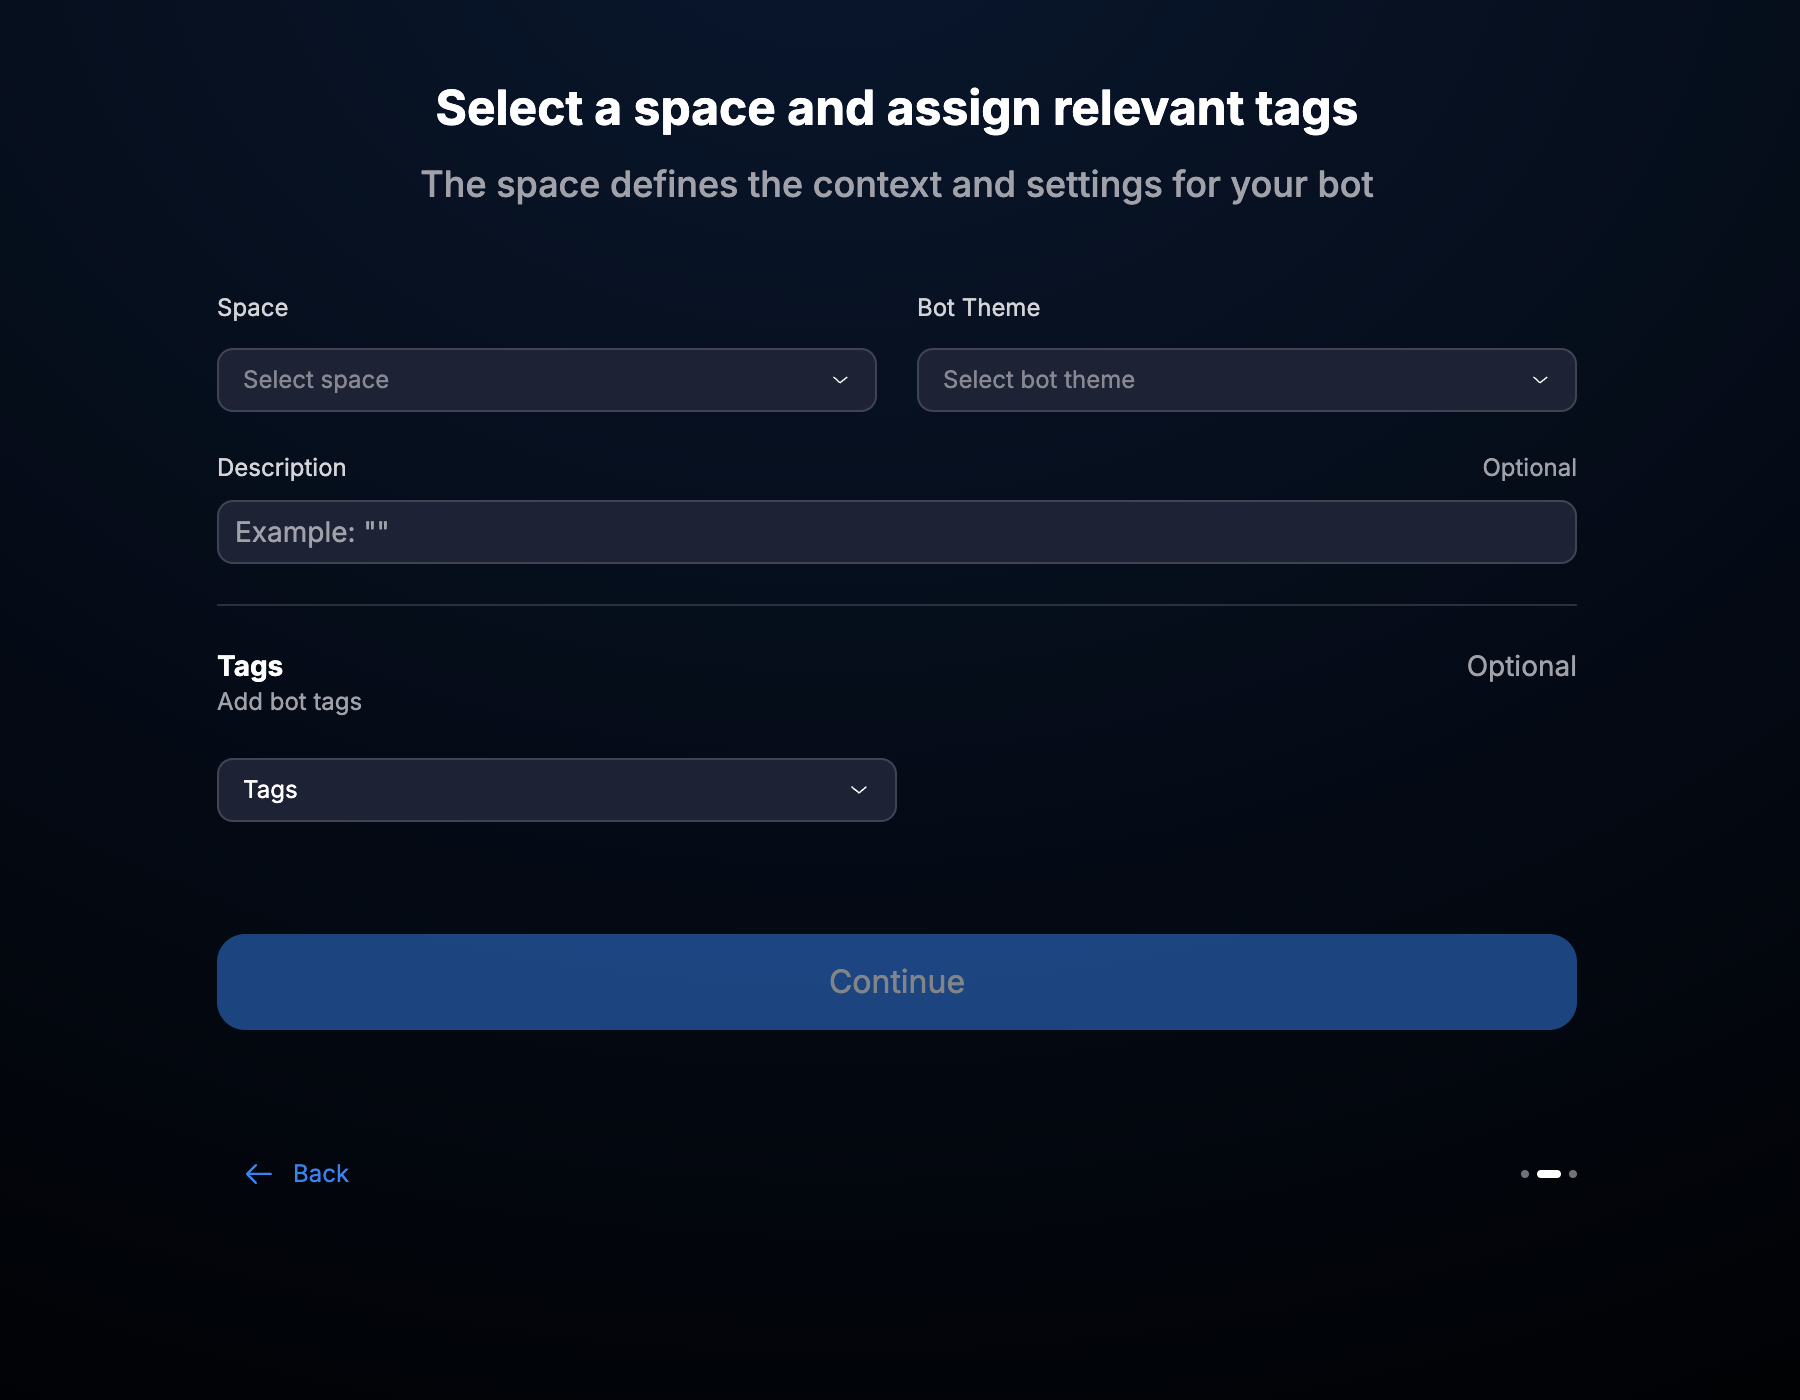
General parameters of the bot being created. - Provide a descriptive name. You can change it later in the bot settings.
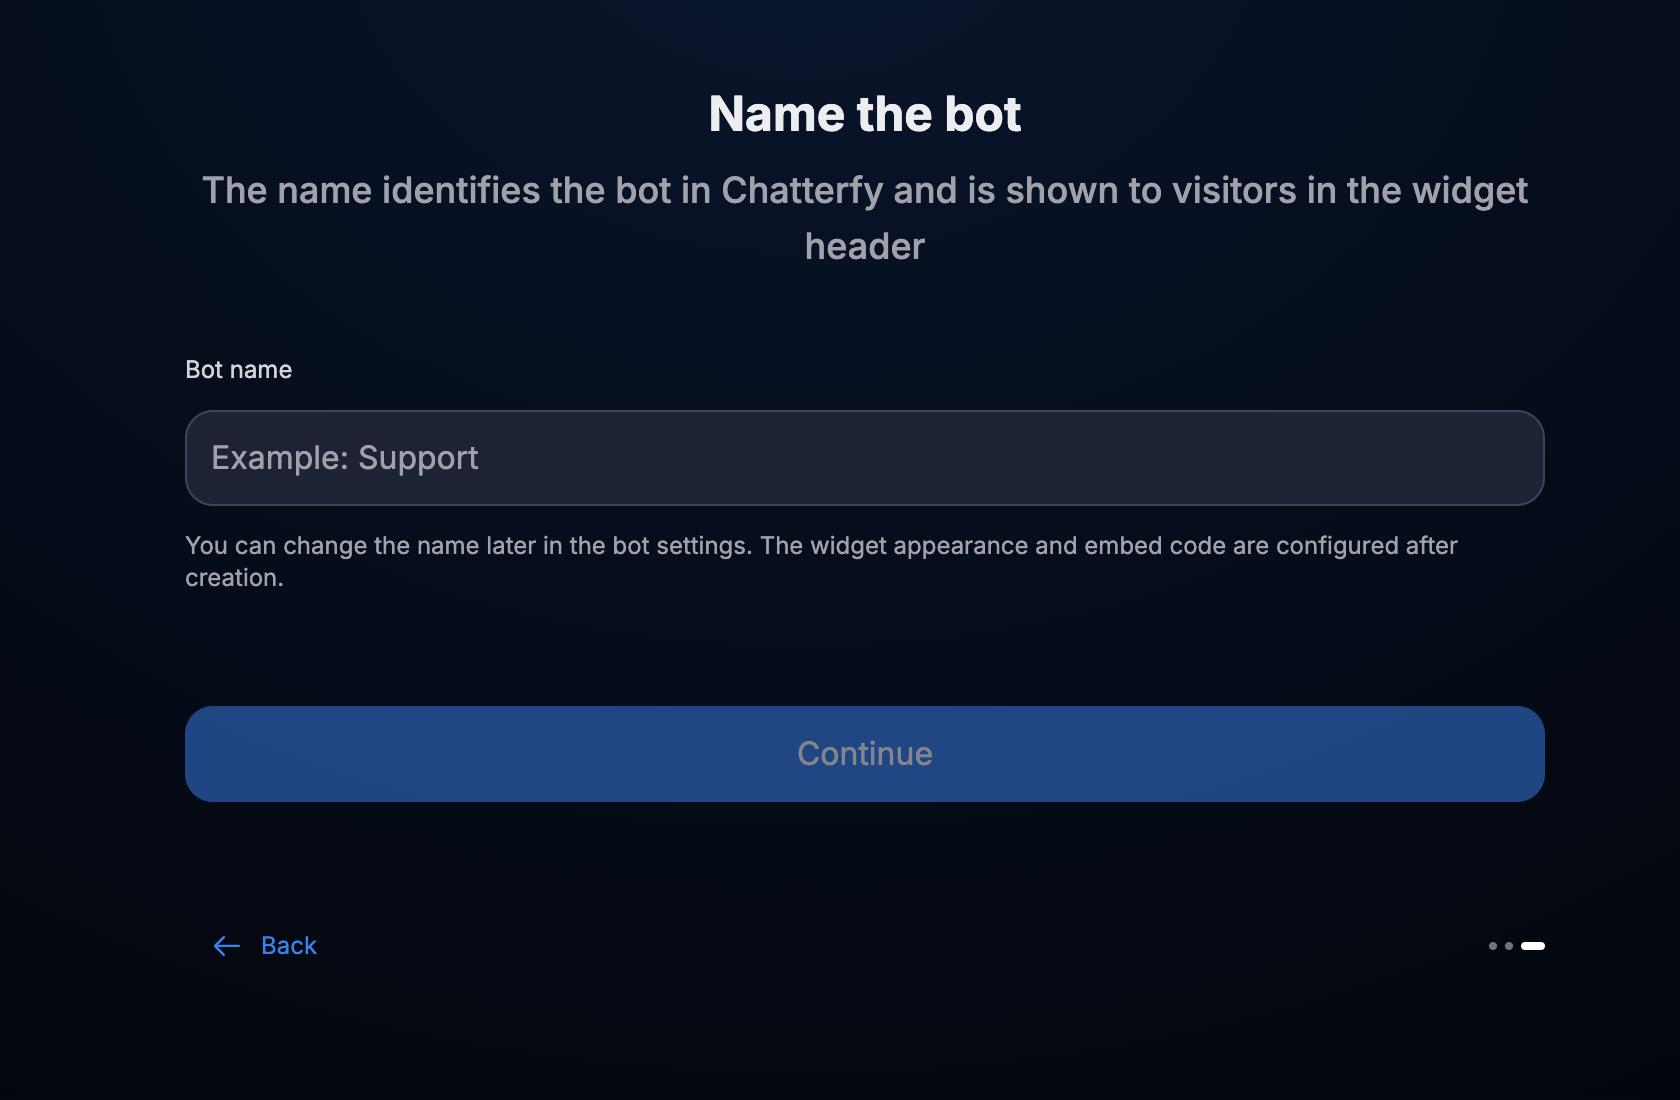
Bot name in the creation wizard. - You can import settings from an existing bot or configure a new bot manually.
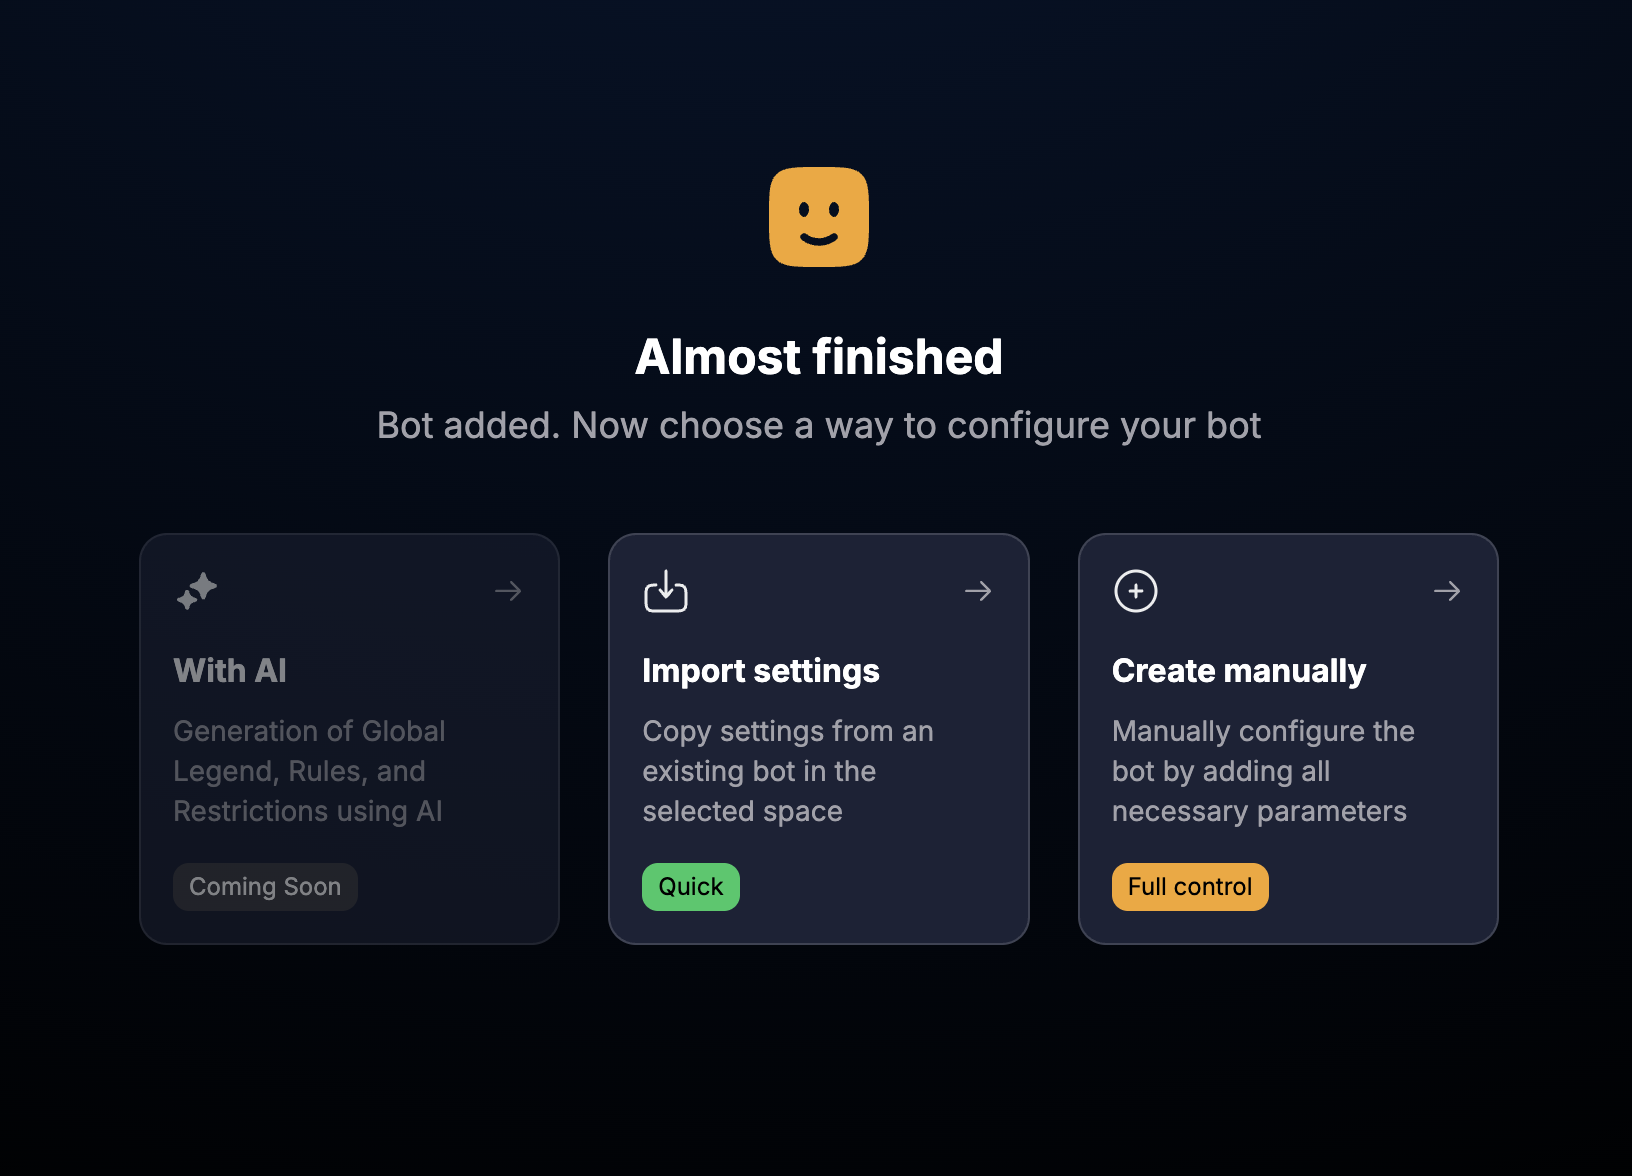
Importing settings or manual configuration. - Specify the response delay and create custom fields if necessary.
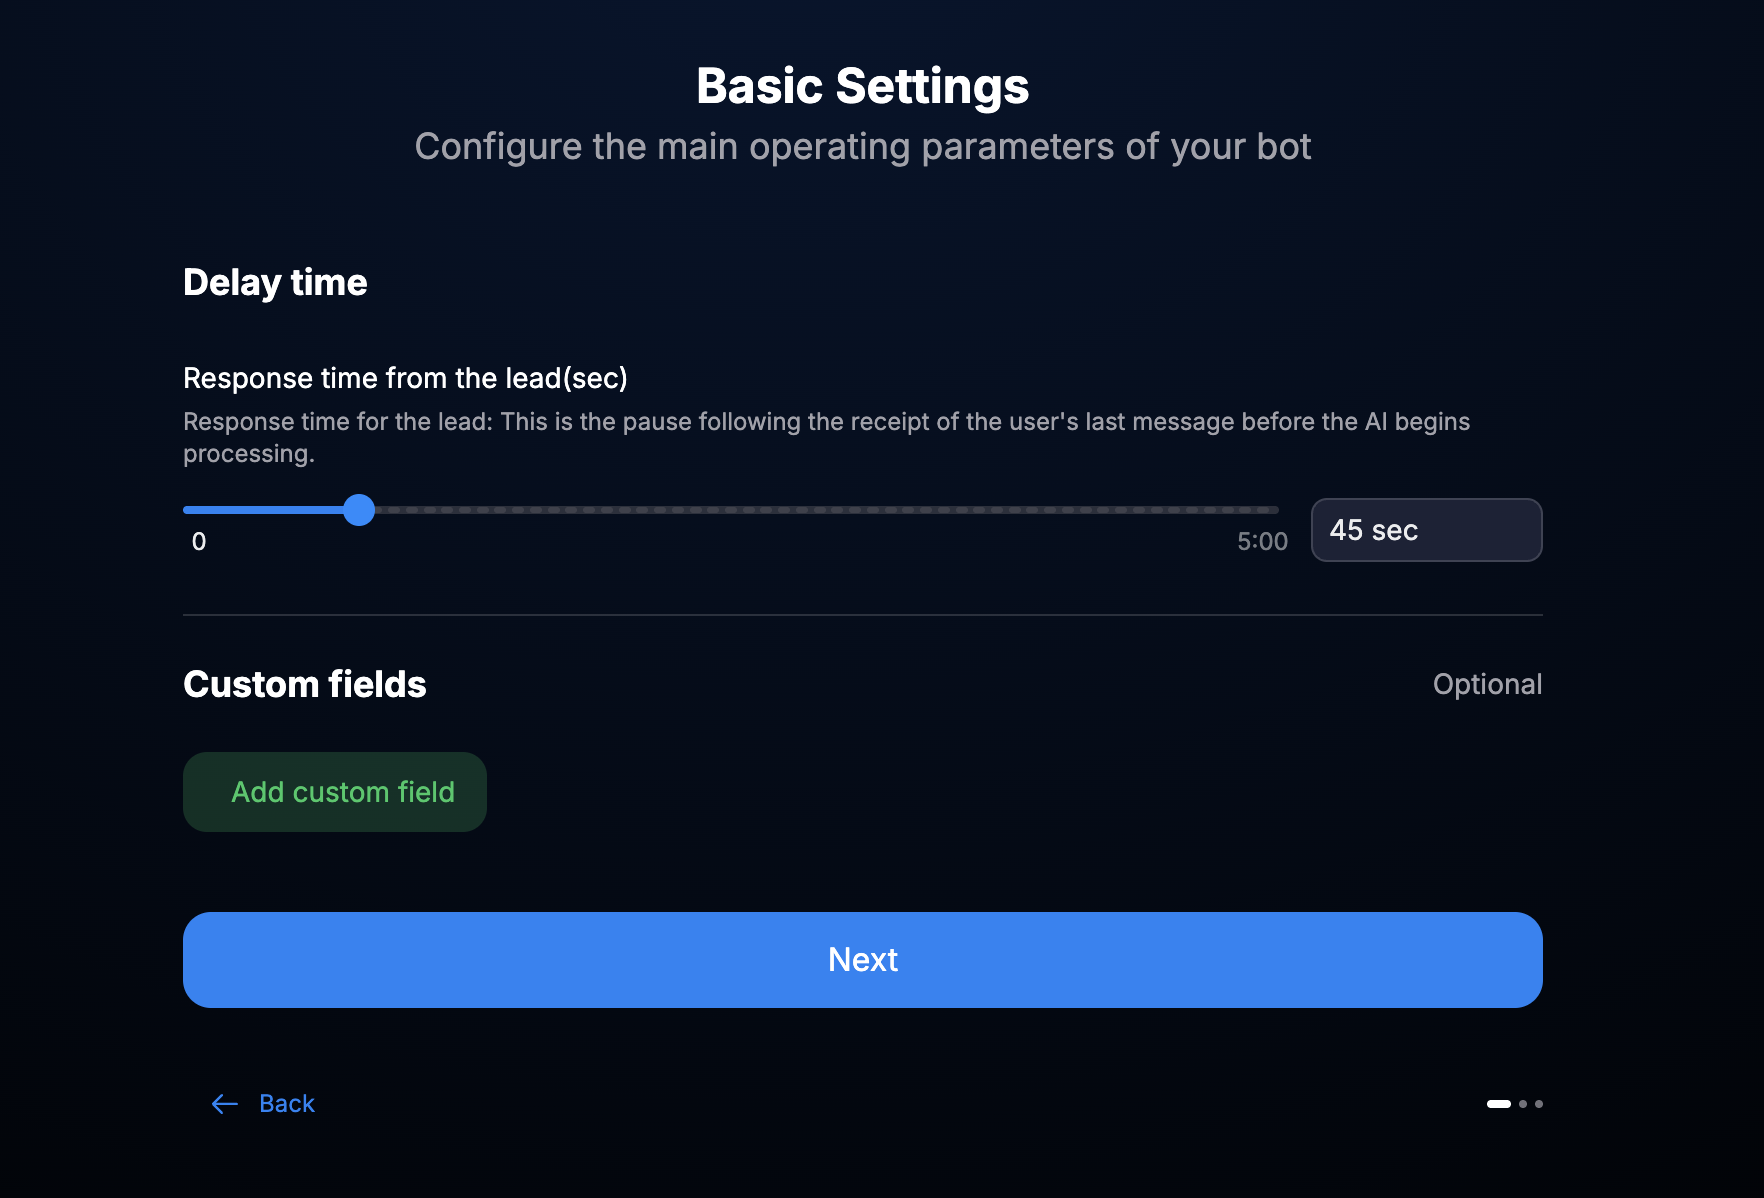
Response delay and custom fields. - Select the models for analyzing messages and generating responses.
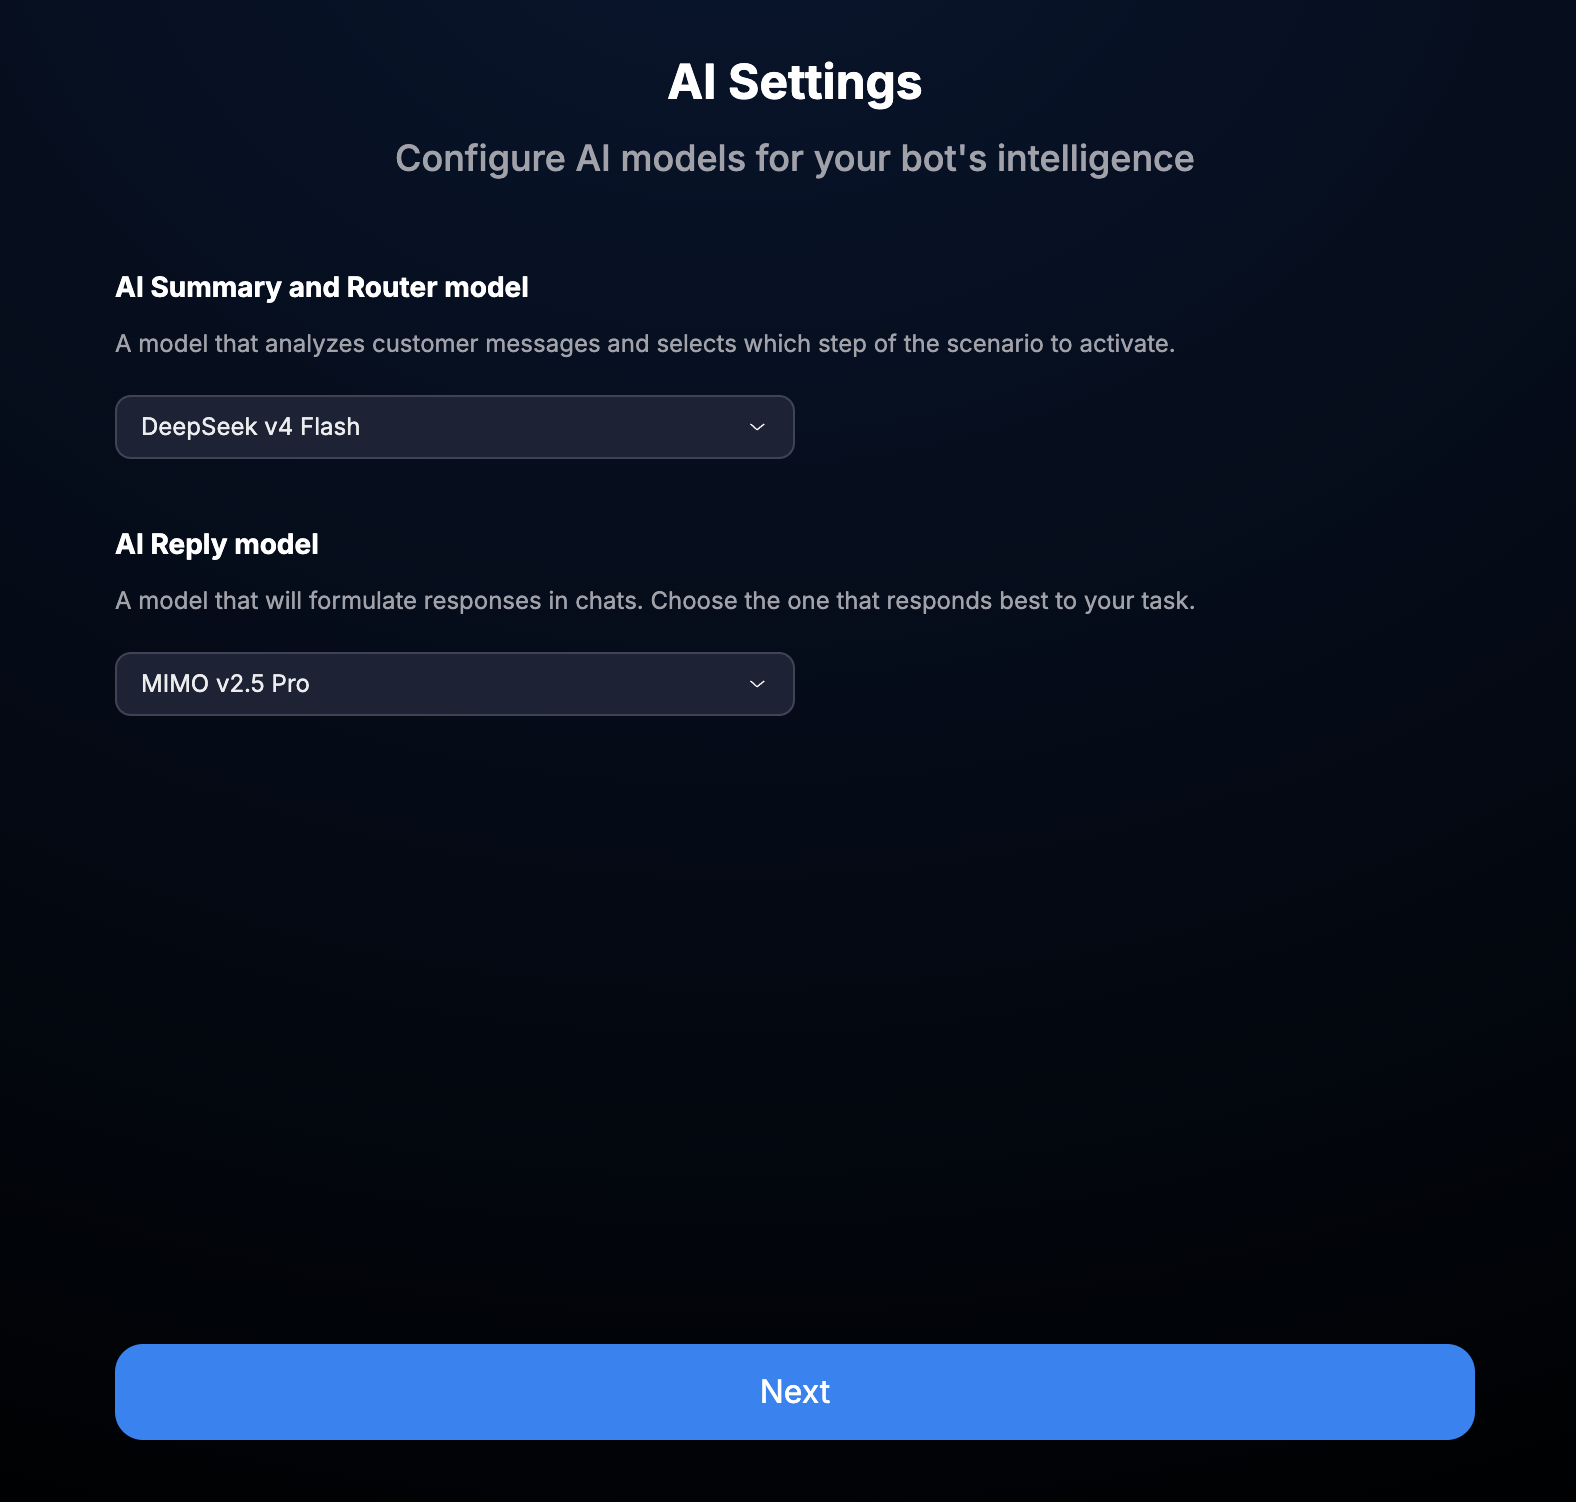
Models for routing and bot responses. - Describe the bot's role, prohibited actions, and response formatting requirements, then finish creation.
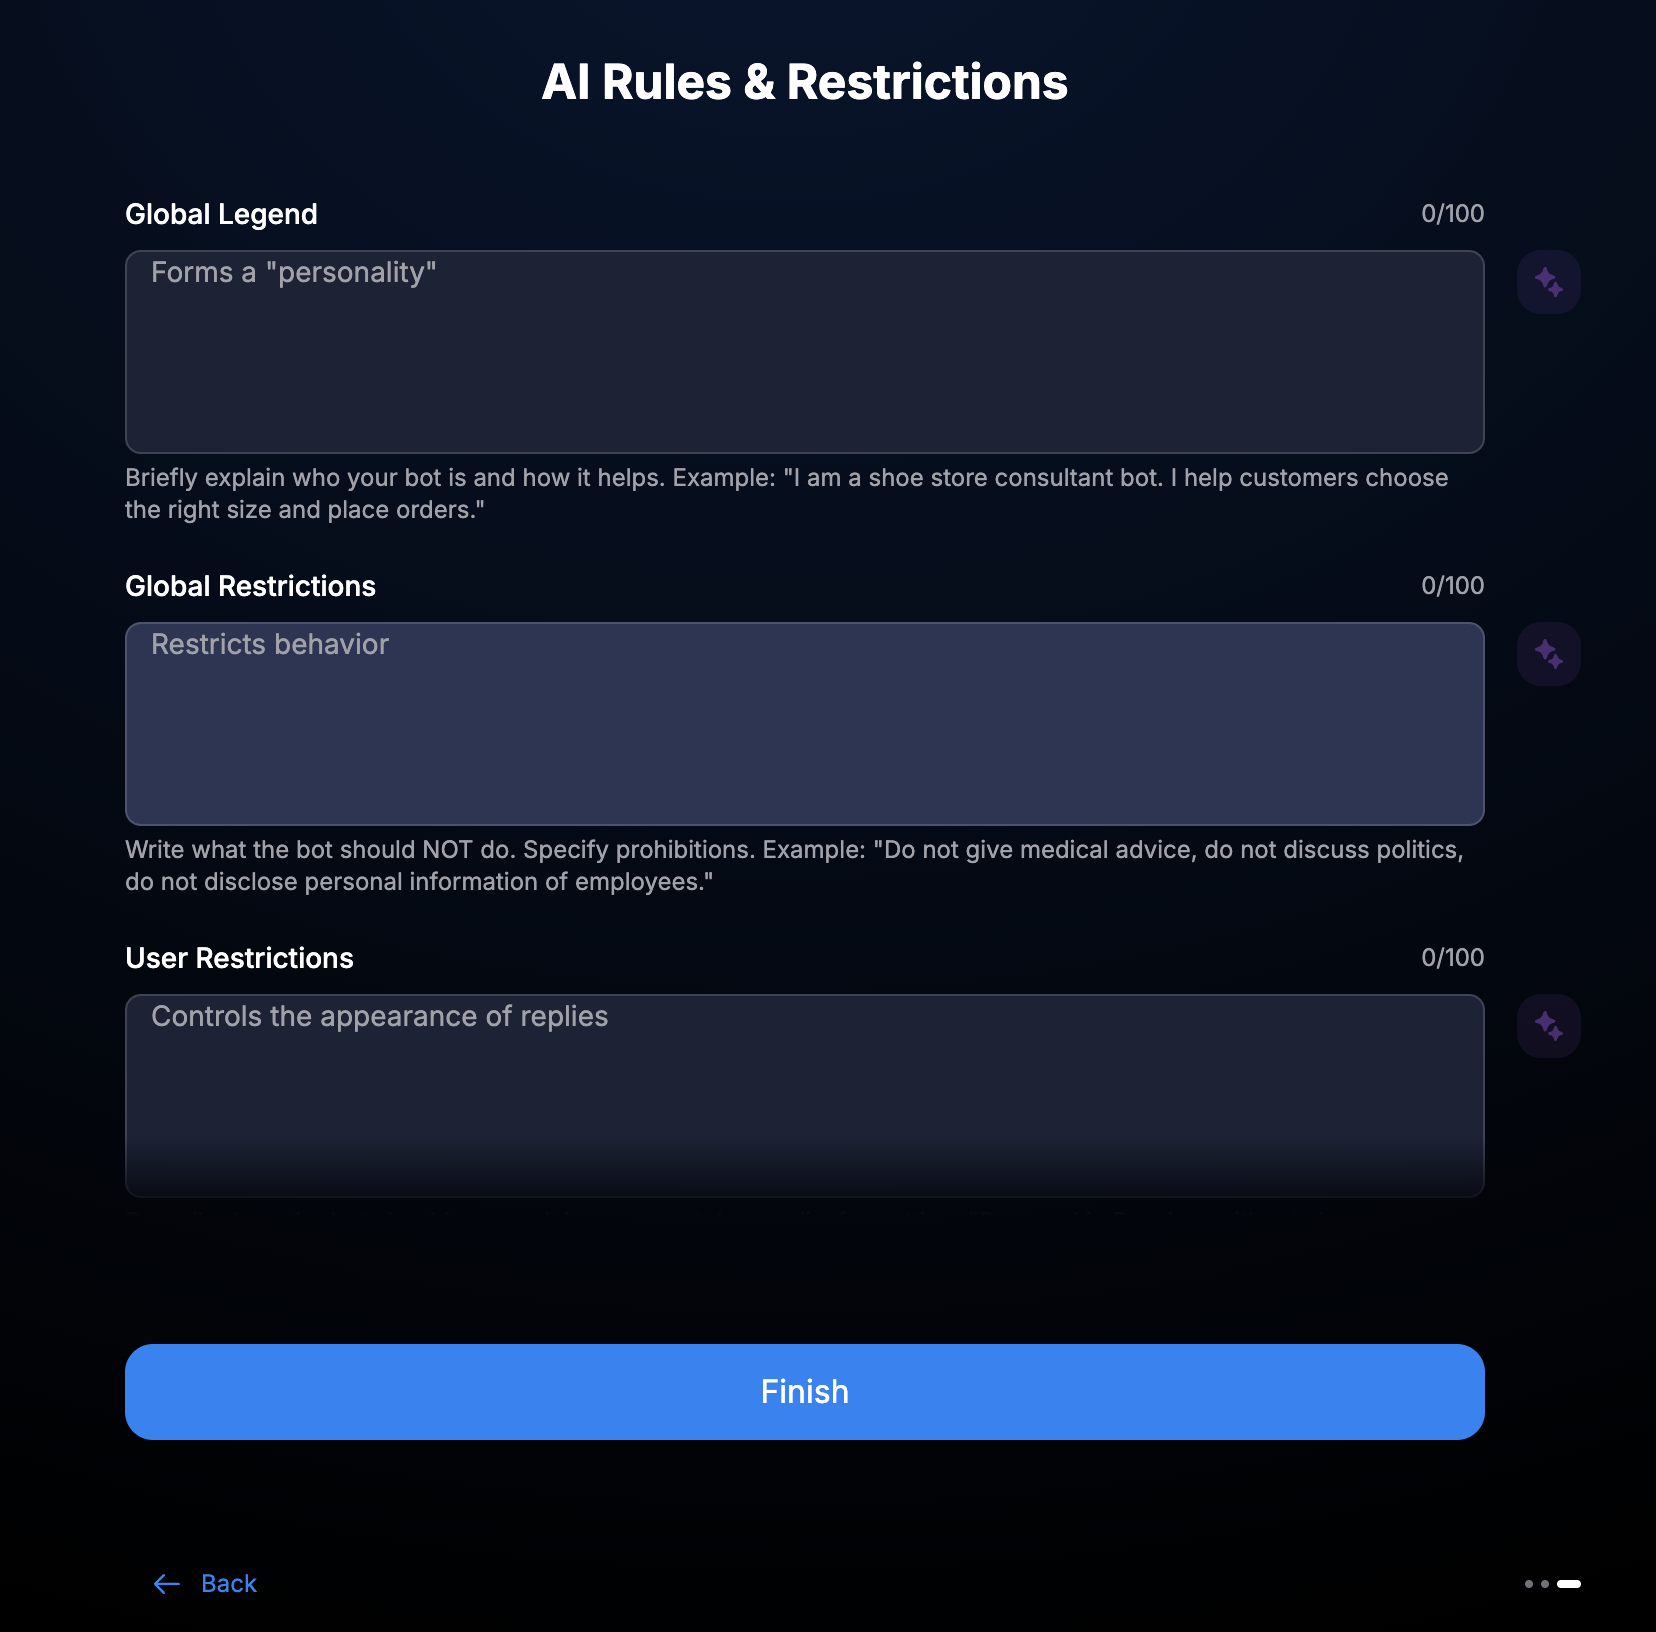
Global Legend, Global Restrictions, and User Restrictions.
Base addresses and format
Base URL: https://messenger-api.chatterfy.ai
Method prefix: /api/client
Format: JSON; file uploads use multipart/form-data.
Access model
How to get an API key
After creating a bot, open Bot Settings → API → Settings. The page displays the public key used for connecting via Web API.
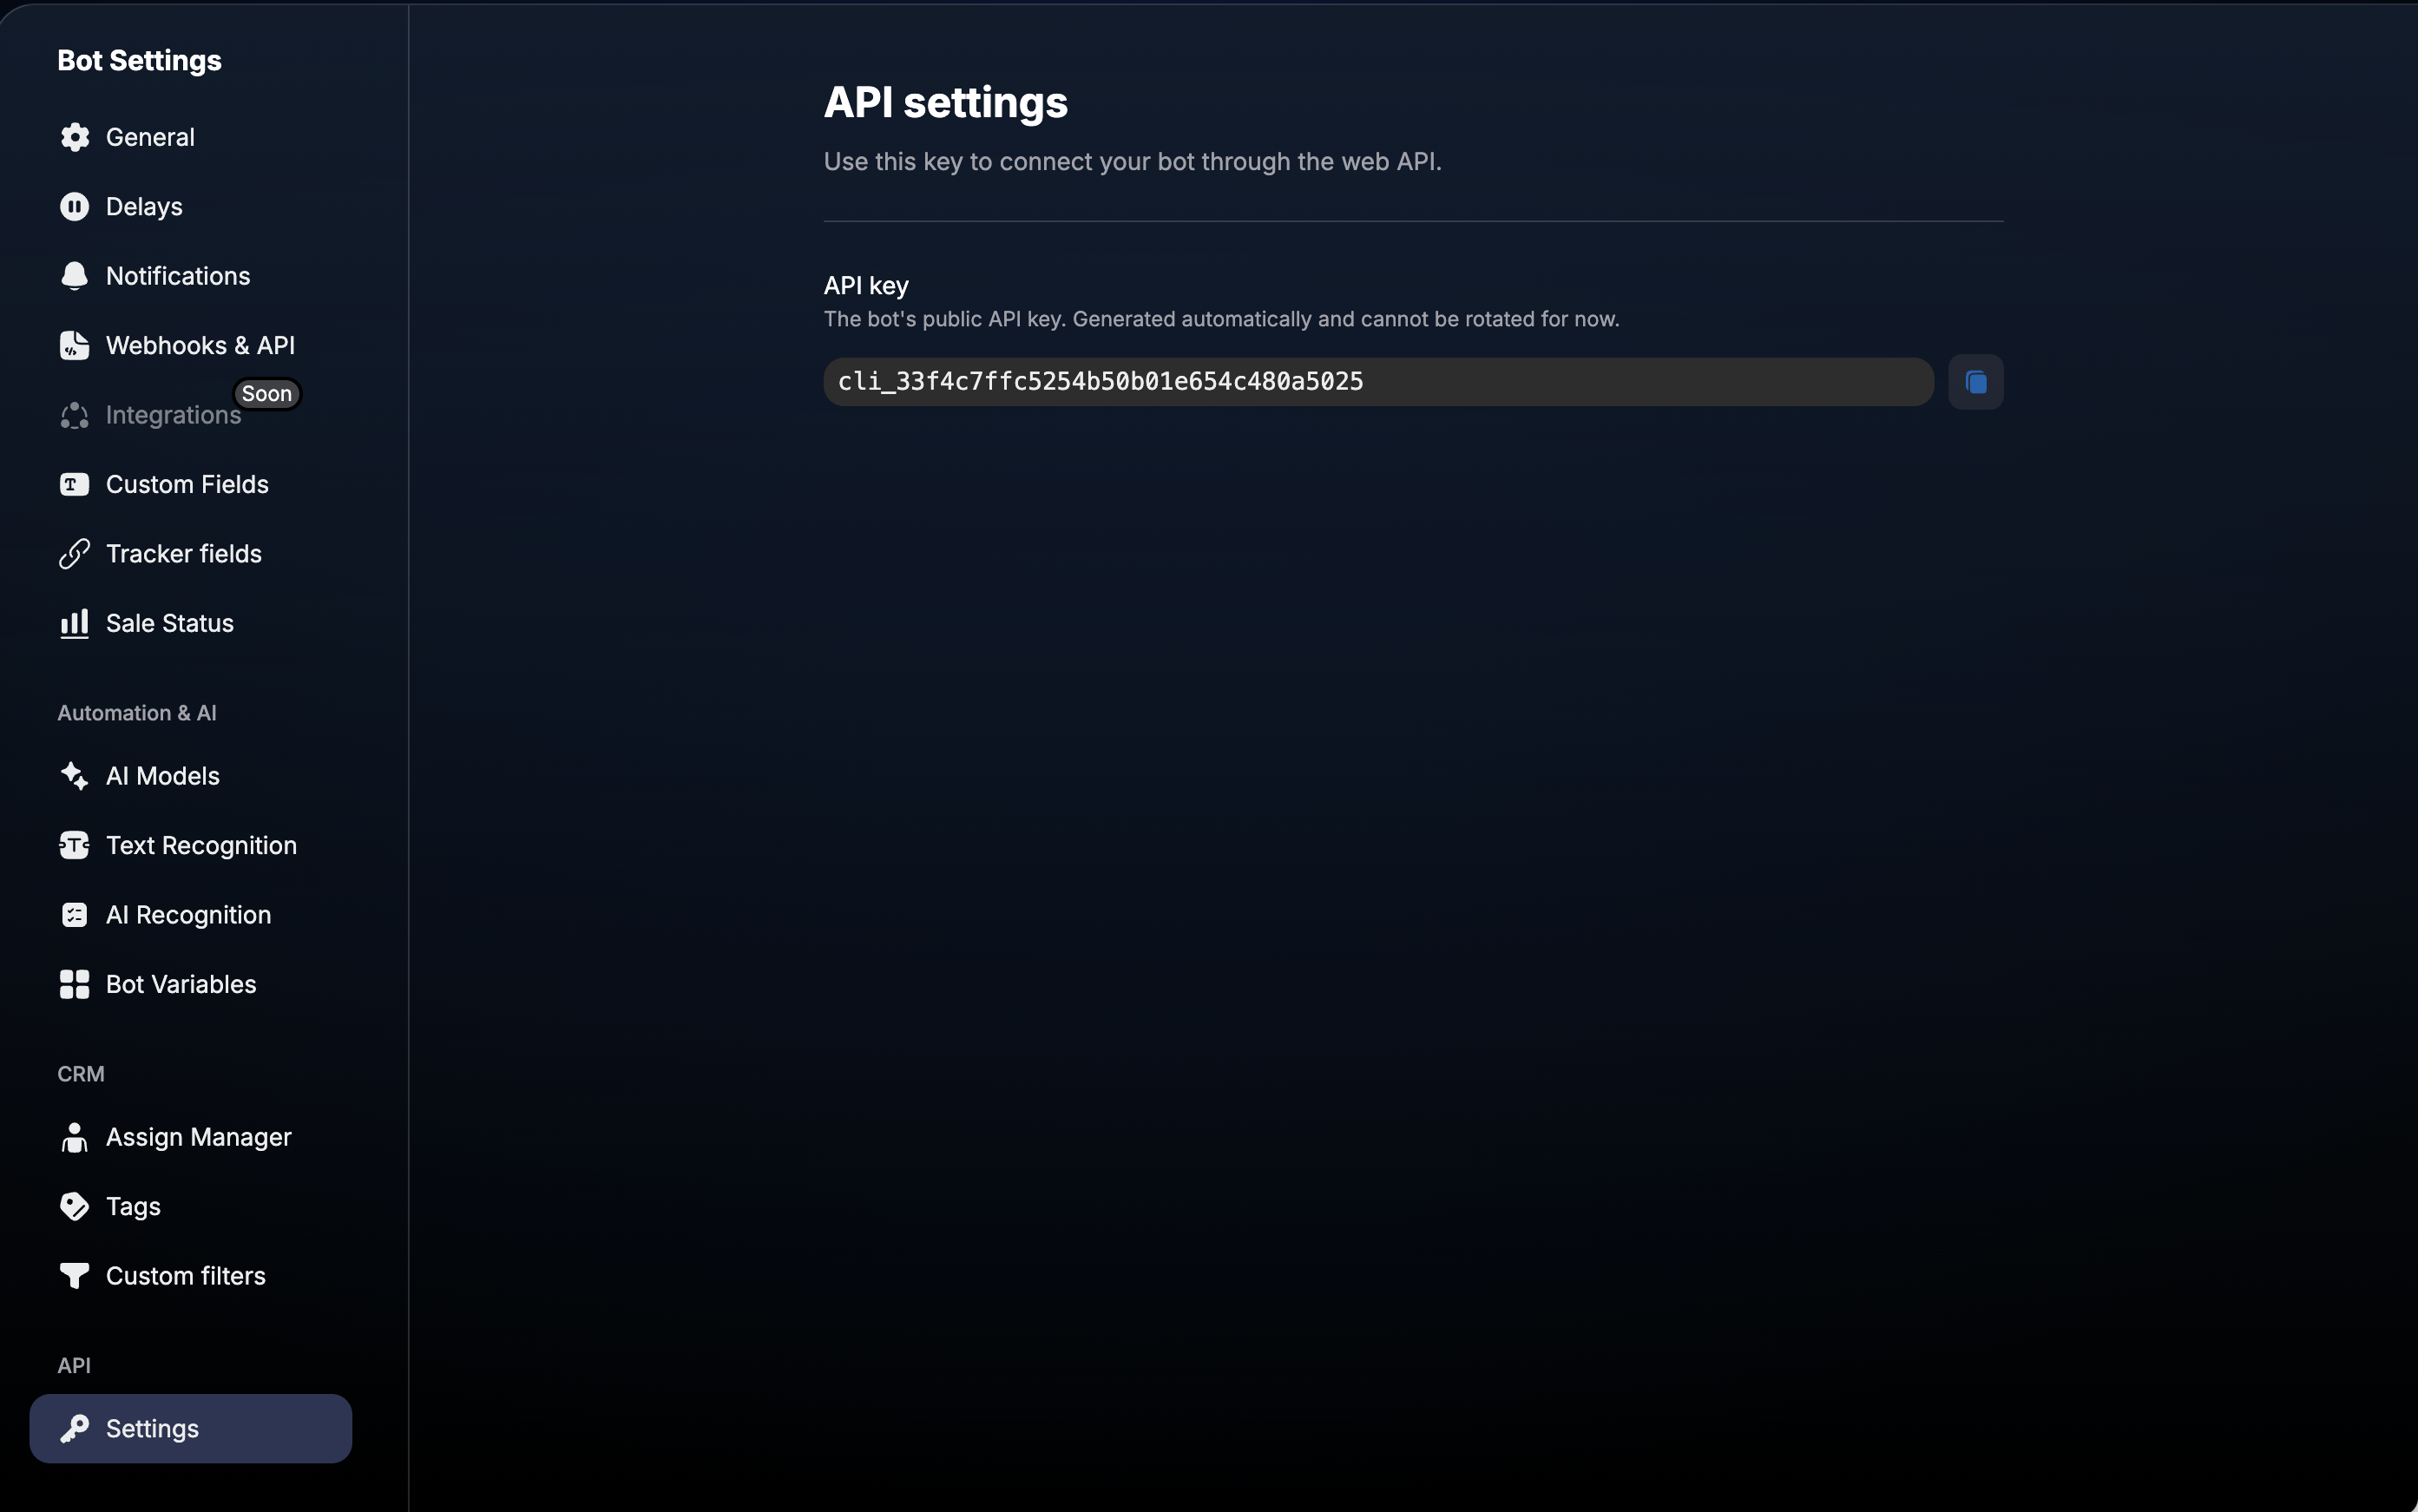
client_key — the bot's public key in the format cli_..., available in bot settings.session_token — a specific user's JWT. Valid for 24 hours by default and used in all requests after session creation.external_id — your user identifier. If not provided, the server will create visitor_<uuid>.If allowed_origins is specified in the bot settings, the session creation request will only be allowed from the specified domains. For any other Origin, the server will return 403.
General workflow
- POST /api/client/session returns a session_token, user, and realtime parameters.
- Use the Centrifugo data from the session response if the realtime block is present.
- Request GET /chats. If the list is empty, create a chat via POST /chats.
- Get messages via GET /chats/{chat_id}/messages and sort them by created_at.
- POST /chats/{chat_id}/messages creates a user message. The response from the bot or operator is received via realtime.
All methods, except session creation, require a header:
http
Authorization: Bearer <session_token>1. Session creation
POST /api/client/session — finds or creates a user by external_id and returns a session token.json
{
  "client_key": "cli_019f8433...",
  "external_id": "user-42",
  "first_name": "Alex",
  "last_name": "Taylor"
}
Only
client_key is mandatory. First name, last name, and external_id can be omitted.json
{
  "session_token": "eyJhbGciOiJIUzI1NiIs...",
  "expires_at": "2026-07-25T12:00:00Z",
  "user": {
    "id": "019be668-9658-7a8d-b0d5-c73aa98e73d2",
    "external_id": "user-42",
    "bot_id": "019be6...",
    "first_name": "Alex",
    "last_name": "Taylor",
    "image_url": null,
    "status": "active"
  },
  "realtime": {
    "provider": "centrifugo",
    "url": "wss://realtime.chatterfy.ai/connection/websocket",
    "token": "eyJhbGciOiJIUzI1NiIs...",
    "channel": "nexus:user#019be668-9658-7a8d-b0d5-c73aa98e73d2"
  },
  "widget": {
    "primary_color": "#4f46e5",
    "multiple_chats": false,
    "attachments": true
  }
}
Save user.external_id in localStorage and pass it during subsequent visits.
The realtime block is absent if realtime is disabled for the environment. In this case, you can work only via HTTP.
The widget block contains settings for the appearance and behavior of the bot. A custom interface can use or ignore them.
2. Working with chats
Get list
GET /api/client/chats returns the chats of the current user. The unread_msg_by_user field is convenient to use for an unread message badge.Create chat
POST /api/client/chats creates a new chat. The name field is mandatory.json
{
  "name": "support-chat",
  "additional_info": {
    "page": "/pricing"
  },
  "image_url": null
}
For single-chat mode, call GET /chats at startup. If the array is empty, create a chat and continue working only with it.
3. Messages
Get history
GET /api/client/chats/{chat_id}/messages returns an array of messages. Before displaying, sort it by created_at.json
{
  "id": "3946090380478382140",
  "content": "example-message",
  "content_type": "text",
  "sender_type": "outcoming",
  "chat_id": "019bef...",
  "sender": "operator",
  "files": null,
  "is_edited": false,
  "created_at": "2026-07-24T10:05:00Z"
}
incoming — a message from the user sent via Client API.outcoming — a message from a bot or operator.Send message
POST /api/client/chats/{chat_id}/messages creates a user message.
json
{
  "content": "example-message",
  "content_type": "text",
  "files": [],
  "complete_files": []
}
For complete_files, you can pass a file via a direct link:
[{ "url": "...", "type": "photo" }]. The response is 201 Created.Mark chat as read
POST /api/client/chats/{chat_id}/read resets the unread count and returns { "status": "ok" }.
4. File upload
A file is sent in two stages: first upload it, then add the received ID to the message.
- Send a POST /api/client/files request in multipart/form-data format. The file field is mandatory; type can be photo, video, audio, voice, or document.
- The 201 Created response contains the id, type, url, status, and file metadata.
- json
{ "content": "", "content_type": "photo", "files": ["019bef-file-id"] }
5. Real-time events via Centrifugo
Bot responses, operator messages, and read events arrive via WebSocket. Use the url, token, and channel from the realtime block of the /session response.
javascript
import { Centrifuge } from 'centrifuge';

const { url, token, channel } = session.realtime;
const centrifuge = new Centrifuge(url, { token });

const sub = centrifuge.newSubscription(channel);
sub.on('publication', (ctx) => {
  const { type, data } = ctx.data;

  if (type === 'message') {
    renderMessage(data);
  } else if (type === 'action') {
    handleAction(data);
  }
});

sub.subscribe();
centrifuge.connect();
message — new message: { type: "message", data: <message> }.action — action, e.g., read: { type: "action", data: { action: "read", chat_id: "..." } }.Messages sent by the current user also arrive in the channel. Perform deduplication by message.id to avoid showing the message twice — once from the HTTP response and once from the realtime stream.
6. Saving user session between visits
- Upon startup, retrieve the saved ID from localStorage.
- Pass the external_id to POST /session. If the ID does not exist yet, do not include the field.
- Save user.external_id from the response back to localStorage.
This way, visitors will return to their chat history. The uniqueness of external_id is ensured by your system.
Error codes
400 — invalid request body, chat_id, or upload without a file.
401 — session_token is missing or invalid.
403 — bot is turned off, Client API is disabled, Origin is not allowed, or the chat does not belong to the session.
404 — bot or chat not found.
500 — internal server error.
The error body has the format
{ "error": "error-description" }.Full minimal example
javascript
const BASE = 'https://messenger-api.chatterfy.ai/api/client';
const CLIENT_KEY = 'cli_019f8433...';
const LS_KEY = `chatterfy:${CLIENT_KEY}:external_id`;

async function startSession() {
  const externalId = localStorage.getItem(LS_KEY) || undefined;
  const res = await fetch(`${BASE}/session`, {
    method: 'POST',
    headers: { 'Content-Type': 'application/json' },
    body: JSON.stringify({
      client_key: CLIENT_KEY,
      external_id: externalId,
    }),
  });
  if (!res.ok) throw new Error(`session failed: ${res.status}`);

  const session = await res.json();
  localStorage.setItem(LS_KEY, session.user.external_id);
  return session;
}

function authHeaders(token) {
  return {
    Authorization: `Bearer ${token}`,
    'Content-Type': 'application/json',
  };
}

async function ensureChat(token) {
  const chats = await fetch(`${BASE}/chats`, {
    headers: authHeaders(token),
  }).then((response) => response.json());

  if (chats.length) return chats[0];

  return fetch(`${BASE}/chats`, {
    method: 'POST',
    headers: authHeaders(token),
    body: JSON.stringify({ name: 'support-chat' }),
  }).then((response) => response.json());
}

async function sendMessage(token, chatId, text) {
  return fetch(`${BASE}/chats/${chatId}/messages`, {
    method: 'POST',
    headers: authHeaders(token),
    body: JSON.stringify({ content: text, content_type: 'text' }),
  }).then((response) => response.json());
}

const session = await startSession();
const chat = await ensureChat(session.session_token);
const history = await fetch(`${BASE}/chats/${chat.id}/messages`, {
  headers: authHeaders(session.session_token),
}).then((response) => response.json());

await sendMessage(session.session_token, chat.id, 'example-message');
After starting the HTTP part, add a subscription to session.realtime so that bot and operator responses appear in the interface without polling the history.
Was this article helpful?